background image

English


I

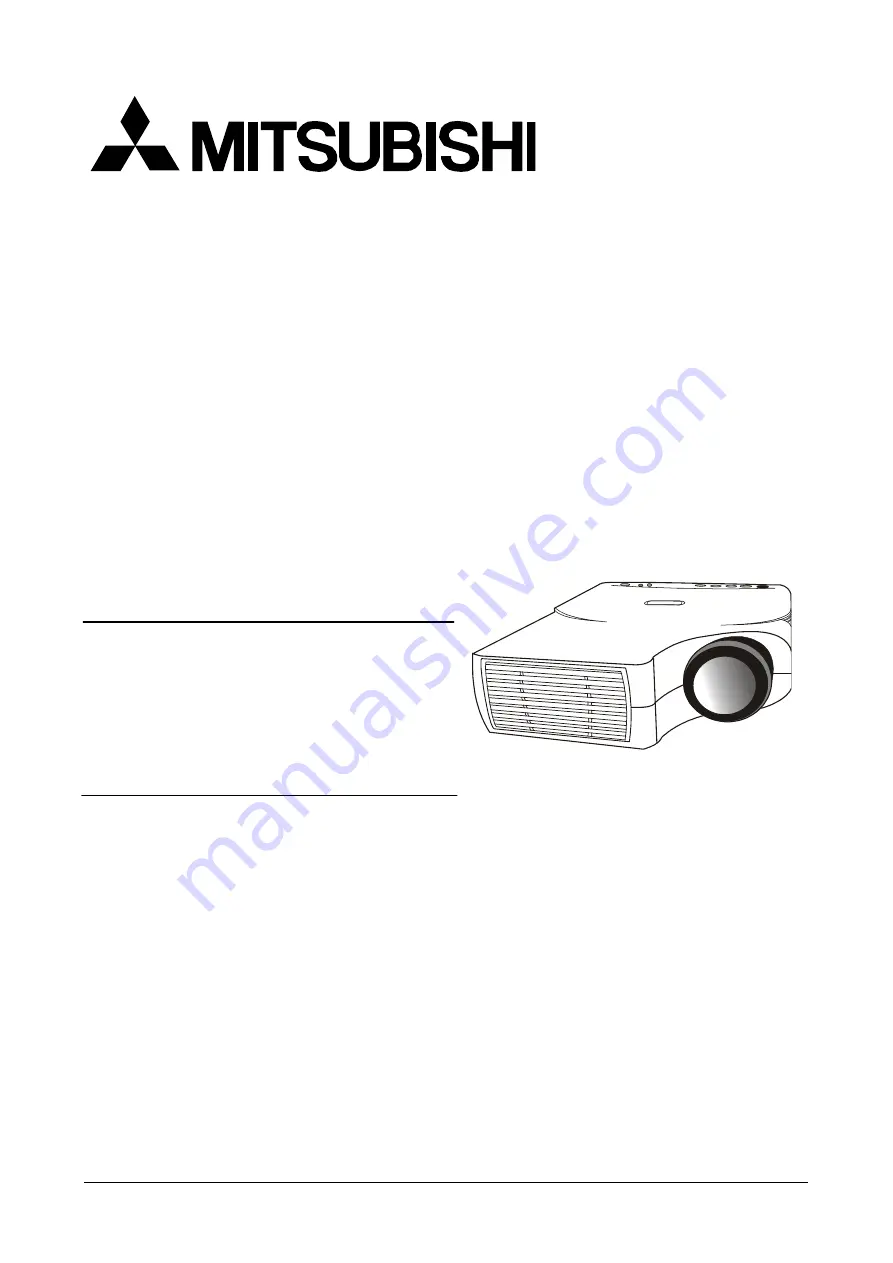
Data Projector

MODEL

LVP-XD10U

LVP-SD10U

OPERATING GUIDE 

Thank you very much for purchasing this DLP™ Technology Projector.

Please read this operating guide to ensure a correct use of the device. 

After reading

this manual, keep it for future reference.

1. High brightness
2. High resolution
3. Compact size, light weight for portability
4. RGB input Terminal
5. Mouse Function
6. Mouse Emulation
7. Complies with VESA DDC1/2B specifications

Outline

This DLP™ Technology Projector can display
various computer signals and NTSC/PAL/
SECAM video signals.

Features

Summary of Contents for LVP-SD10U

Page 1: ... correct use of the device After reading this manual keep it for future reference 1 High brightness 2 High resolution 3 Compact size light weight for portability 4 RGB input Terminal 5 Mouse Function 6 Mouse Emulation 7 Complies with VESA DDC1 2B specifications Outline This DLP Technology Projector can display various computer signals and NTSC PAL SECAM video signals Features ...

Page 2: ...jector complies with the requirements of the EC Directive 89 336 EEC EMC Directive as amended by Directive 93 68 EEC and 73 23 EEC Low Voltage Directive as amended by Directive 93 68 EEC The electro magnetic susceptibility has been chosen at a level that gains proper operation in residential areas on business and light industrial premises and on small scale enterprises inside as well as outside of...

Page 3: ...sons the fan continues to operate for about 1 minute after the projector has been powered off Please do not unplug the power cord until the fan stops 10 Do not look straight at the projector lens during operation The intense light beam may injure your eyes COMPLIANCE NOTICE OF FCC NOTE THIS EQUIPMENT HAS BEEN TESTED AND FOUND TO COMPLY WITH THE LIMITS FOR A CLASS B DIGITAL DEVICE PURSUANT TO PART ...

Page 4: ...trol 7 A CONTROL PAD 7 B REMOTE CONTROL 9 INSERTING BATTERIES IN THE REMOTE CONTROL 10 Usage and Replacement of Lamp 11 A LAMP TEMPERATURE STATUS LED INDICATOR 11 B REPLACING THE LAMP 13 OSD 15 A DISPLAY PAGE 16 B IMAGE PAGE 17 C CONTROL PAGE 18 D SOURCE PAGE 19 Other Correspondent Remote Functions and Messages 20 Maintenance and Troubleshooting 21 A LAMP REPLACEMENT 21 B CLEANING THE LENS 21 C TR...

Page 5: ...eight and B5 size D Keystone The projection position is already set to the height of the line of vision there is no keystone effect Even when projecting above or under the height of the line of vision image distortion if any can be adjusted using the hotkey KEYSTONE correction function E Multilanguage The OSD On Screen Display information screens and menus in 7 languages English French Dutch Itali...

Page 6: ...ant to watch CATV an AV box will serve the need Description A FRONT figure Figure 1 Front view B REAR figure Figure 2 Rear view NTSC U S and Canada standard PAL Western Europe standard SECAM France and Eastern Europe standard NTSC4 43 Middle East standard Ventilation Hole PROJECTION LENS COMPUTER IINPUT D SUB 15 PIN AV BOX CONNECTOR CONTROL PAD AC INLET CONTROL PORT FOR MOUSE ...

Page 7: ...Bottom view Installation A Positioning z This projector is basically designed to project on a flat projection surface It can focus from 1 5m 12m and adjust the screen size like figure below Figure 4 Positioning LAMP COVER ADJUSTABLE FEET ...

Page 8: ...oving the projector Replace the lens cover and rotate the feet fully clockwise to shorten the feet when moving the projector to prevent damage to the projector Figure 6 Moving the projector Caution Caution Caution Caution The carrier bag supplied is intended to protect the projector from dust and scratches on the surface of the cabinet It is not designed to protect the projector from external shoc...

Page 9: ... REMOTE CONTROL QUICK START CARD POWER CONNECTOR 2 PIN TO 3 PIN AAA BATTERIES VGA CABLE P N 246D016 10 PS 2 MOUSE ADAPTER P N 246D016 20 SERIAL MOUSE ADAPTER P N 246D016 30 GENERAL CABLE P N 246D096 40 RCA CABLE AUDIO VIDEO ATTACHED TO VA 10U P N 246D016 50 AUDIO CABLE ATTACHED TO VA 10U P N 246D016 60 S VIDEO CABLE ATTACHED TO VA 10U P N 246D016 70 POWER CABLE X3 P N 246D017 10 P N 246D017 20 P N...

Page 10: ...OL PORT OUTPUT COMPUTER INPUT COMPUTER IN CONTROL PORT MOUSE ADAER FOR PS 2 PORT SUPPLIED VGA CABLE SUPPLIED GENERAL CABLE SUPPLIED PS 2 PORT INPUT CONTROL PORT COMPUTER INPUT VGA CABLE SUPPLIED COMPUTER OUTPUT PS 2 PORT INPUT MOUSE ADAPTER FOR PS 2 PORT SUPPLIED CONTROL PORT OUTPUT GENERAL CABLE SUPPLIED COMPUTER IN 2 MPUTER OUTPUT ...

Page 11: ... horizontal frequency of the input signal exceeds the range of the projector B Standby Press the Standby On key for 2 seconds to turn off the lamp The LED will then blink green and the lamp will shut down but the fan will continue to run for about 1 minute to cool the lamp After the fan stops the LED will turn to a light solid orange Lamp Protection Procedure If you try to turn on the lamp again w...

Page 12: ...the upper distortion of the projected image when keystone occurs Keystone To correct the lower distortion of the projected image when keystone occurs Menu To call the OSD menu Standby On To turn the projection lamp on and off Standby On indicator Functions as an indicator showing the standby status Lamp status indicator Lights or blinks when the lamp does not light REMOTE RECEIVER MENU EXIT LAMP S...

Page 13: ...Auto To exit from the current page or OSD menu and save setting changes LASER LED STANDBY ON MENU FREEZE L CLICK MAGNIFY RETURN EXIT R CLICK VOLUME MUTE BLANK About laser beam This remote control is class 2 max output 1 mW laser diode 640 660 nm laser equipment Beam Divergence 3m distance about 5 0mm x 3 0mm 1 5mm CAUTION Pressing the LASER button on the provided remote control emits a laser beam ...

Page 14: ...works as mouse pad When the magnify function is active use disk pad to move through the picture Menu To call the OSD Menu To enter sub pages To select items Blank The blank screen is displayed by pressing Blank And the blank screen will be revealed partially from top to bottom by pressing Blank again Source Selects the input source Mute Mutes the sound Volume Adjusts the volume The sound gets loud...

Page 15: ...d service life The picture will become dark or the color will fade after the lamp has been used for a long time In such cases continued use of the lamp could cause a malfunction Replace the lamp with a new one A Lamp temperature Status LED Indicator 1 Lamp in excess of service hours When the LED light is a continuous green it means the lamp has exceeded 900 service hours After this light appears i...

Page 16: ...amp 2 Lamp is not well attached If the LED blinks rapidly it indicates that the lamp is not attached properly 3 Temperature is too high If the projector s internal temperature is too hot to operate safely the LED will blink slowly for one minute and then the lamp will turn off automatically 4 Normal status If the LED light is off it means the lamp and temperature inside the projector are normal Fi...

Page 17: ...ace the lamp The lamp is covered by a front glass panel and an air tight structure but in rare cases the reflector and the inside of the projector may be damaged by scattered broken pieces of glass which could cause injury while being handled z For replacement lamps please contact your dealer Model name VLT X10LP 1 Turn the main power switch off and disconnect the power cord from the outlet 2 Remo...

Page 18: ...ver and fix it using a screw z To prevent burns install the lamp cover and secure it using the screw z Do not turn on the power with the lamp cover removed z Whenever the lamp is replaced reset the total operation time of the lamp Do not reset if the lamp has not been replaced z Do not reset the timer without changing the lamp as this can cause the lamp to break Press the lamp cover back with a fe...

Page 19: ...matically disappear if no key is pressed within 10 seconds OSD FUNCTION Press the Standby On button for 2 seconds to turn on the lamp Press the MENU button to display the OSD menu and use the X KEYSTONE or W KEYSTONE buton to select the Control page Then press the Menu button again to highlight the Lamp item z The MENU is not displayed when the signal is not input Press the X KEYSTONE or W KEYSTON...

Page 20: ...ess Fig 21 Press the Menu button again to scroll through the items press KEYSTONE or KEYSTONE to adjust the item scale or press the Exit AUTO button to go back to the main OSD page Input status PC input without AV box PC input with AV box Video input with AV box Sub page Display Image Control Display Image Control Source Display Image Control Source Figure 20 Display sub page when the input source...

Page 21: ...input signal is from video S video Setting effects Auto Resize When Auto Resize is on the projector determines the best fit of the image to the screen H Phase If flicker occurs on a projected image users may try to adjust the H Phase manually H Size If the projected image is too wide or too narrow for the screen users may turn Auto Image off and adjust the H Size manually to fit the screen size H ...

Page 22: ... 23 Color Less More Tint Red Green Source is Video or S Video Setting effects Reset To reset display image and control settings to factory settings Language To select the OSD menu language 7 languages are supported English French Dutch Italian German Spanish and Simplified Chinese See Figure 24 Mirror To select Normal projection H Invert projection V Invert projection or H V Invert projection Auto...

Page 23: ...ct the selected input simultaneously and the OSD menu will still exist on the screen Items Description Source 3 input sources are available in the items when AV box is connected to the projector PC Video S video Volume To set the volume level of speaker built in the AV box Treble To set the treble level of speaker built in the AV box Bass To set the bass level of speaker built in the AV box Mute T...

Page 24: ...D message below will appear The message will disappear automatically 3 seconds after the volume is adjusted Magnify By pressing the magnify button the center of the picture can be magnified Press the button again and the image will be further magnified to a maximum of 4X Press the magnify button and the size of the magnified image will be reduced by 50 percent To return to the normal display mode ...

Page 25: ...lean the projection lens 1 Apply a non abrasive camera lens cleaner to a soft dry cleaning cloth abrasive cleaners solvents or other harsh chemicals might scratch the lens 2 Avoid using an excessive amount of cleaner 3 Lightly wipe the clean cloth over the lens 4 Affix the lens cover whenever the projector is not in use 4 ...

Page 26: ...prove its angle on the screen y Is the vertical offset properly corrected using the keystone function POOR COLOR y Select the correct video system y Adjust brightness contrast or saturation IMAGE IS BLURRED y Adjust the focus y Reposition the unit to improve its screen angle y Ensure the distance between the unit and screen is within the adjustment range of the lens REMOTE CONTROL DOESN T WORK y R...

Page 27: ...echanical Dimensions 24 5 cm L 6 2 cm H 19 8 cm W Net Weight 2 5 kg 5 5 lb Operational Temperature projector 10 C to 40 C Remote control D Preset Display Resolution Table Resolution H Sync kHz V Sync Hz Remark 640x350 31 5 70 1 640x400 37 9 85 1 VESA 640x400 31 5 70 0 720x400 37 9 85 1 VESA 640x480 31 5 60 0 VESA 640x480 37 9 72 8 VESA 640x480 35 66 7 Macintosh 640x480 43 3 85 0 VESA 800x600 35 2 ...

Page 28: ...old separately and is not included in the standard configuration of accessories in the unit Please contact your dealer when you need the box Model name VA 10U AV Control Pad RCA Jack For Video and Audio Input from VHS S Video Port For S Video Input Phone Jack For Video input Output Source select the source Volume up Turn the volume upward Volume down Turn the volume downward VHS S video AUDIO ...

Page 29: ... into the lower slots in the correspondent position in the projector 2 Slowly push the box to fit the unit and meanwhile insert the box plug into the A V connector closely 3 Plug in the correct cord into the correspondent jack or port to perform A V function 4 Select inputs by pressing Source key Figure 29 Connecting the Box Figure 27 Bottom View of AV box Figure 28 Side View of AV box ...

Page 30: ...26 English ...

Reviews: