Basic Hardware Installation
8380-383-115-BA
21
Issue 1, February 1999
3. 3. Dialer Vertical Mount
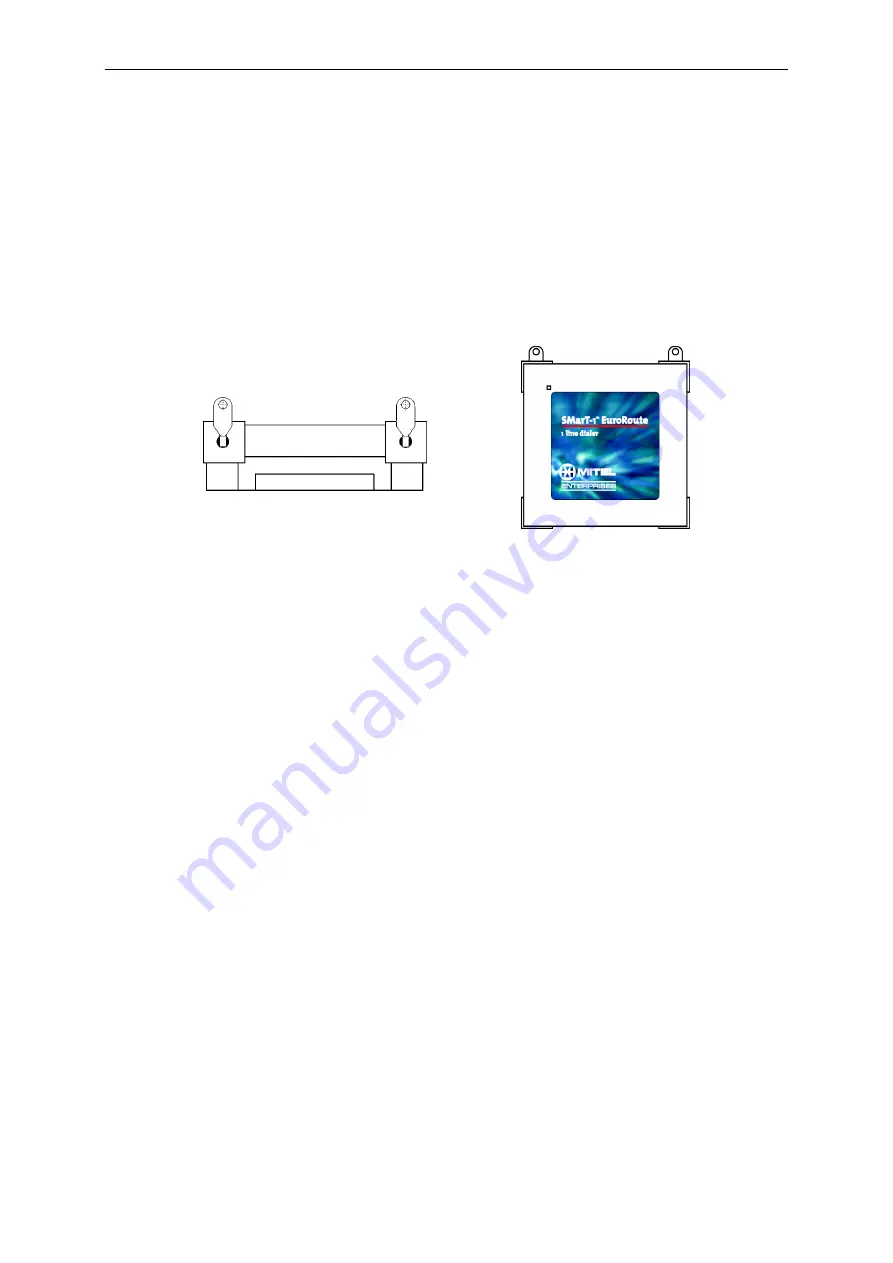
The Dialer can be placed on a desk or any other flat surface. The unit may also be mounted
vertically using the supplied clips and associated hardware, as shown in Figure 3.2.
Before mounting the Dialer to a wall, attach the metal clips to the top of the Dialer by pushing
the elevated part of the metal clip into the screw hole. Once the metal clips are attached, the
installer can apply 18mm #6 pan-head screws into pre-made holes in the wall. When attaching
the Dialer to a plaster wall, insert the nylon anchors into the pre-made holes before applying
the 3/4” #6 pan-head screws. The illustration below illustrates the positioning of the clips.
Figure 3.2 . Mounting Position
Note: The Dialer can also be vertically mounted using the four Velcro pads that are provided
with the unit.
3. 4. Powering up
The Dialer comes with a power supply. This is the only power supply which will operate the
Dialer reliably. Do not attempt to operate this unit with any other power supply. Plug the right
angle connector into the Dialer, then plug the power supply into a standard 230 VAC wall
outlet.
3. 5. Power Failure
If a power failure occurs, the Dialer will allow calls to be made but will not route the calls.
During a mains power interruption, a one way audio condition may be experienced by either
subscriber on calls that are in progress. If this condition occurs, please hang up and re-try the
call.
3. 6. Spare Parts
•
Euro Power Supply (Europe)
8380-024
•
Euro Power Supply (UK)
8380-041
•
Exchange Line Spare Cables
RJ11 plug to RJ11 plug
8380-036
•
RJ11 plug to BT plug
8380-026
•
RJ11 plug to BT socket
8380-027
•
German plug to RJ11 plug
8380-042
•
Important Product and Safety Information Guide
8380-900-031-BA
•
Mounting Clips (Bag of 50)
8380-043.
Rear View
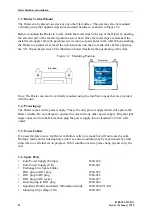
Front View
Summary of Contents for SmarT-1 50000241
Page 8: ...Table of Contents 8380 383 115 BA 7 Issue 1 February 1999 ...
Page 12: ...Safety Information 8380 383 115 BA 11 Issue 1 February 1999 ...
Page 18: ...SMarT 1 EuroRoute One line Dialer Installation 8380 383 115 BA 17 Issue 1 February 1999 ...
Page 20: ...System Requirements 8380 383 115 BA 19 Issue 1 February 1999 ...
Page 24: ...Initialisation 8380 383 115 BA 23 Issue 1 February 1999 ...
Page 28: ...Security Access Registers 8380 383 115 BA 27 Issue 1 February 1999 ...
Page 50: ...Line and Trunk Options 8380 383 115 BA 49 Issue 1 February 1999 ...
Page 58: ...Access Control Sequences 8380 383 115 BA 57 Issue 1 February 1999 ...
Page 68: ...Search Tables 8380 383 115 BA 67 Issue 1 February 1999 ...
Page 72: ...Common Option Data 8380 383 115 BA 71 Issue 1 February 1999 ...
Page 78: ...Cost Centre Code Options 8380 383 115 BA 77 Issue 1 February 1999 ...
Page 86: ...Appendix 2 Default Data 8380 383 115 BA 85 Issue 1 February 1999 ...
Page 90: ...Appendix 4 Hardware Specifications 8380 383 115 BA 89 Issue 1 February 1999 ...


