1
These instructions must be left with the user
Installation Guide
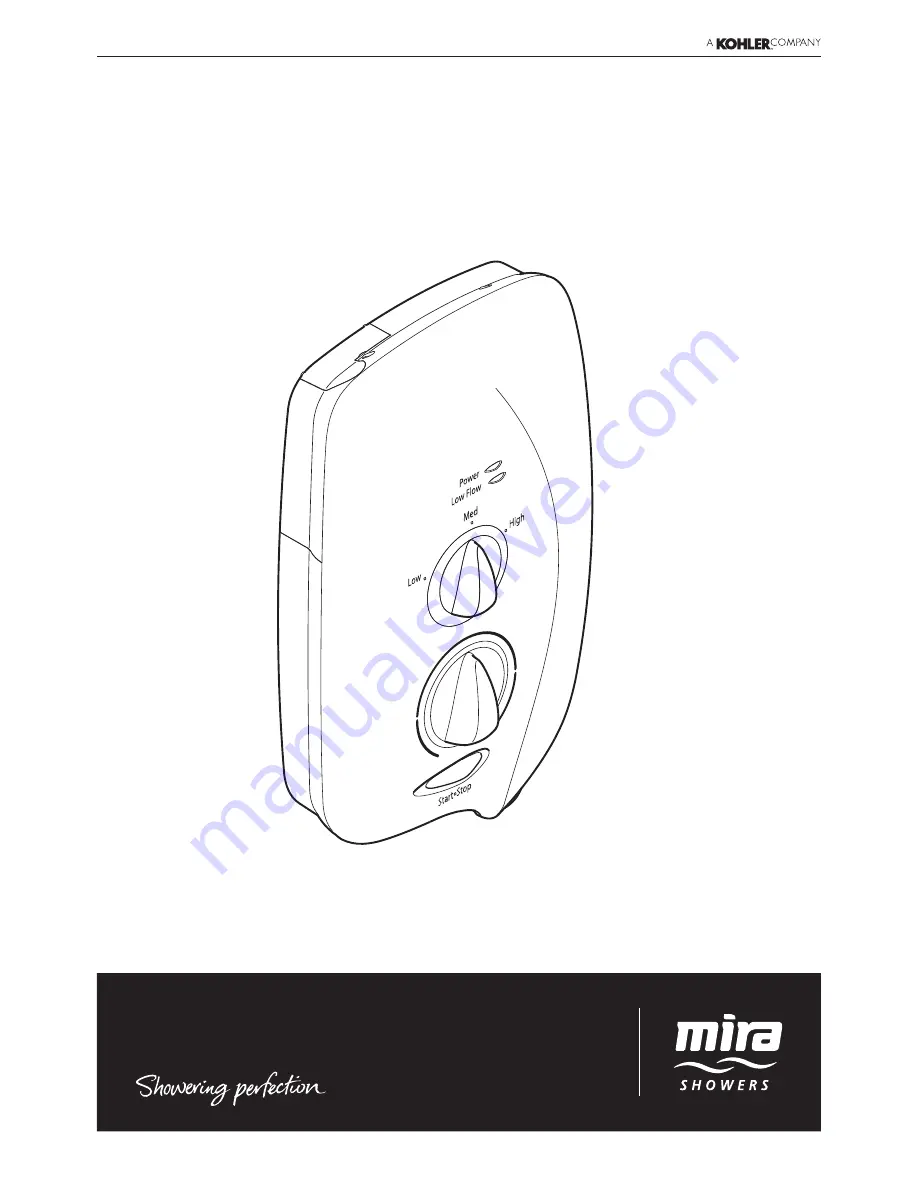
Mira Sport 7.5, 9.0 & 9.8 kW
Page 1: ...1 These instructions must be left with the user Installation Guide Mira Sport 7 5 9 0 9 8 kW...
Page 2: ...Patents and Design Registration 3 Important Safety Information 4 Pack Contents Checklist 5 Wiring Diagram 6 Specifications 7 Plumbing 7 Electrical 7 Dimensions 7 Installation Requirements 8 Plumbing...
Page 3: ...s guide Product Model Number Colour Mira Sport 7 5 J95A White Chrome Mira Sport 9 0 J95B J95V White Chrome Chrome Mira Sport 9 8 J95C J95W White Chrome Chrome Guarantee For domestic installations Mira...
Page 4: ...bility that the water in the shower is frozen 6 DO NOT switch the shower on if water starts leaking from the shower case Isolate the electrical supply to the shower immediately 7 DO NOT connect the ou...
Page 5: ...f with the part names and to confirm that the parts are included q 3 x Wall Plugs q 1 x Compression Nut q 3 x Fixing Screws q 2 x Case Inserts q 1 x Olive q 1 x Mira Sport 7 5 9 0 or 9 8 Documentation...
Page 6: ...BLACK BLUE BLUE GREEN GREEN BLACK RED RED RED Thermal Cutout Dual Disc L Solenoid Valve Pressure Power Selector Switch Low Flow Neon Power On Neon N E Tank Connection Inlet Connector Internal Wiring D...
Page 7: ...ort 9 0 Sport 9 8 Nominal Power at 230 V ac 6 9 kW 8 3 kW 9 0 kW Nominal Power at 240 V ac 7 5 kW 9 0 kW 9 8 kW Recommended MCB Rating 40 A 40 A 45 A Maximum Supply Cable Size 16 mm Recommended RCD Ra...
Page 8: ...and is fitted with a pressure relief valve It must be positioned over a water catchment area with the controls at a convenient height for the user 6 The shower must be fitted to a waterproof flat and...
Page 9: ...itable Zone of Backflow Risk 30 mm Minimum Toilet or Bidet FC5 Hand Basin FC3 Bath or Shower Tray FC3 Electric Shower 25 mm Minimum 25 mm Minimum 15 A full bore non restrictive servicing valve must be...
Page 10: ...ains system A separate supply must be provided from the consumer unit to the shower 5 DO NOT supply any other electrical equipment including extractor fans or pumps via this product 6 This shower must...
Page 11: ...Sport Attention Installer Caution Do not drill into buried cables or pipes Drill and plug the three holes using template R e m o v e c o v e r a n d determine supply pipe position For back inlet use s...
Page 12: ...wires are clear of all mounting holes Refit the Service Tunnel and Cover Make sure they fit correctly Do not overtighten screws Do not use alternative screws to secure the Cover This can cause intern...
Page 13: ...g COMMISSIONING Electrical supply is turned off at the mains Turn control to full cold Turn water supply fully on Check for water leaks Set control to LOW Switch on electrical supply Push START button...
Page 14: ...l affect the tone This is quite normal in use Set control to HIGH _ The temperature will rise further Adjust temperature as required Flow rate will adjust automatically Press STOP and isolate power Th...
Page 15: ...CTIONS The warmer the shower the lower the flow rate and vice versa _ COLD _ _ Hot water is produced by passing cold water through a heating tank The shower has three heater settings How Your Electric...
Page 16: ...wer select HIGH Adjust the temperature as required The flow rate will adjust automatically The Effect of Seasonal Changes The Effect of Other Water Devices Showering temperature will stabilize to with...
Page 17: ...burn or skin conditions can increase your WARNING THIS SHOWER CAN DELIVER SCALDING TEMPERATURES IF NOT OPERATED INSTALLED OR MAINTAINED IN ACCORDANCE WITH THE INSTRUCTIONS WARNINGSAND CAUTIONS CONTAIN...
Page 18: ...un for a few seconds before stopping _ Switch on electrical supply Press START button Set to desired position Allow 10 15 seconds for any temperature adjustments to reach the handset _ Check water tem...
Page 19: ...t double pole switch Fuse blown or MCB RCD tripped indicating possible electrical fault Switch on electrical s up p l y vi a the pullcord or wall mounted switch Renew the fuse or reset the MCB R C D I...
Page 20: ...hut off Flow Valve faulty Min static pressure to ensure shut off and prevent dripping is 20 kPa 0 2 bar N o t e I f o t h e r appliances are operating static p r e s s u r e m a y drop below 20 k P a...
Page 21: ...k excessively scaled Tu r n o ff o t h e r appliances whilst shower is in use Remove and clean Check case inserts are cut and fitted correctly Check services electrical or plumbing are not interferin...
Page 22: ...not turn off ON ON OFF ON Any Any Flowvalve solenoid or Start Stop switch faulty Supply pressure b e l o w 2 0 k P a 0 2 bar R e p l a c e a s necessary Contact local water company Check mains water...
Page 23: ...em of water Unscrew the hose from the showerhead and the shower outlet Inspect the hose Cleaning Many household cleaners contain abrasives and chemical substances and should not be used for cleaning p...
Page 24: ...sary Refit in reverse order making sure the Filter is screwed fully home Do not overtighten Make sure plumbing connections are sealed before restoring electricity supply Refit the cover making sure it...
Page 25: ...embly 1563 513 Screw Pack components identified A 1563 514 Low Flow Neon Assembly 1563 515 Power On Neon Assembly 1563 516 Outlet Connector 1563 517 Service Tunnel 1563 518 Component Pack components i...
Page 26: ...58 1563 517 1563 516 A A A B B B B B B B B B 1563 507 1563 519 1563 509 872 28 872 01 Important Push fit connectors must be assembled back to back onto terminals of micro switches A minimum air gap o...
Page 27: ...002 Stylish slim line and robust shower seat for use in or outside of the shower area Folds up when not in use Maximum User Weight 150 kg 23 5 stone Note Must be installed onto a solid wall Logic Sho...
Page 28: ...ee if simple home maintenance is required If you require further assistance call our Customer Services Team Extended Guarantees A selection of protection plans are available that enable you to cover r...