17
16
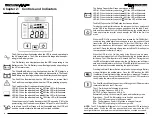
ON / OFF / TEST BUTTON
Turning the input circuit breaker (on the rear panel) to the on position will put
the UPS in the Bypass mode and supply power to the load. Press, hold and
then release the On/Off/Test Button during the audible alarm's first beep to turn
the inverter on and transfer the UPS to the On-Line mode. When the UPS is
On, press, hold and then release the On/Off/Test Button during the audible
alarm's second beep to turn the inverter off and transfer the UPS to the By-
pass mode. To turn the UPS off turn off the input circuit breaker on the rear
panel, wait for approximately 1-minute until the LCD and the fans turn off, and
then turn off the DC breaker(s) on the rear panel of the Battery Pack(s).
When the UPS is in the On-Line mode or the Economy mode, press, hold and
then release the On/Off/Test Button during the audible alarm's forth beep. The
UPS will perform a 10-second Self Test. During the test, the UPS will switch to
the Battery mode, the On-Battery icon will illuminate and the audible alarm will
sound. If the UPS fails the test, one of the icons will remain illuminated indicat-
ing the type of problem. The UPS will charge the batteries while the UPS is in
the Bypass mode, the On-Line mode or the Economy mode when there is
acceptable AC voltage present.
START-UP IN THE AC MODE:
The UPS must be connected to utility power and there must be an acceptable
AC voltage present. The Battery Pack(s) must be connected to the UPS and
the DC breaker(s) on the rear panel of the Battery Pack(s) must be in the on
position.
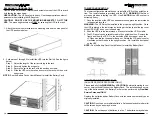
1. Turn on the input circuit breaker on the rear panel of the UPS. The fans will
turn on, the AC normal icon will flash off/on and the LCD will display ‘bPS’.
The UPS is now in the Bypass mode.
NOTE:
If there is a power interrup-
tion while the UPS is in the Bypass mode the load will not be backed up.
START-UP IN THE BATTERY MODE:
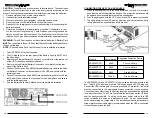
The Battery Pack(s) must be connected to the UPS and the DC breaker(s) on
the rear panel of the Battery Pack(s) must be in the on position.
1. Turn on the input circuit breaker on the rear panel of the UPS.
2. Press, hold and then release the On/Off/Test Button during the audible ala-
rm's first beep to transfer the UPS to the Battery mode.
3. The fans will turn on, then the UPS will start-up and perform a self-diagno-
sis for approximately 10-seconds. The following items are checked:
a)
Since there is no input voltage present, the UPS will automatically sel-
ect the default value for the output frequency (the default value is
60Hz).
NOTE:
If the UPS had been previously connected to an input
source of 50Hz then the output frequency will be 50Hz.
b)
The LCD displays input voltage, battery capacity bar graph, and the
battery mode icon will be flashing.
c)
Auto checks the rectifier.
d)
Auto checks the charger.
e)
Auto checks the battery.
f)
Auto checks the DC BUS voltage.
g)
Auto tests the inverter.
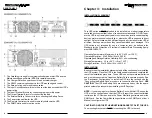
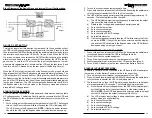
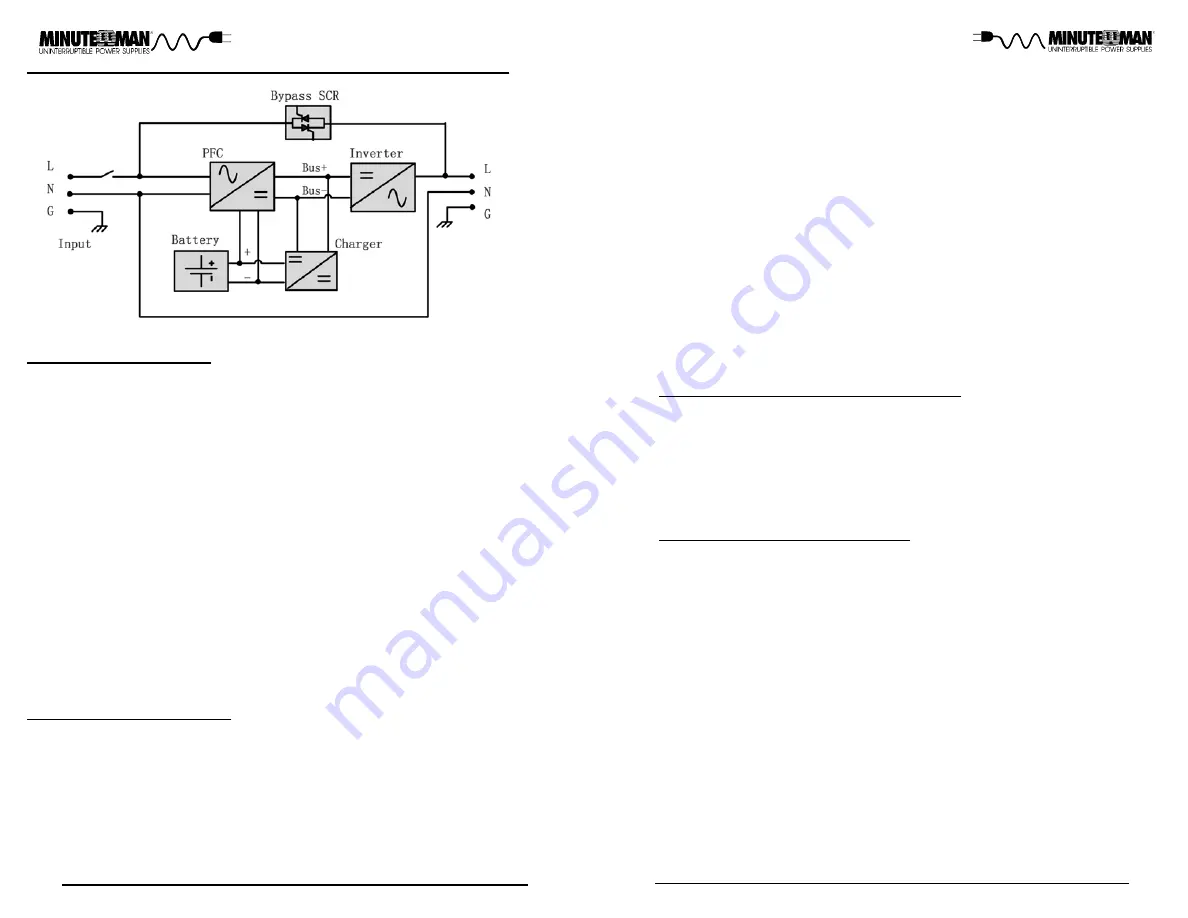
Block Diagram of the Basic Wiring and Internal Circuit Configuration
Output
2. Turn on the connected equipment one at a time.
3. Press, hold and then release the On/Off/Test Button during the audible ala-
rm's first beep to transfer the UPS to the On-Line mode.
4. The UPS will start-up and perform a self-diagnosis for approximately 10-
seconds. The following items will be checked:
a)
The UPS will auto detect the input frequency to determine the output
frequency (the default value is 60Hz).
b)
Displays input voltage, load capacity and battery capacity.
c)
Auto checks the rectifier.
d)
Auto checks the charger.
e)
Auto checks the battery.
f)
Auto checks the DC BUS voltage.
g)
Auto tests the inverter.
h)
If all the test pass successfully then the UPS will transfer to the On-Li-
ne mode.
NOTE:
If any of the test fail an error code will be display-
yed and the UPS will remain in the Bypass mode or the UPS will shut-
down depending on the type of error.
TURNING OFF THE UPS IN THE AC MODE:
1. Press, hold and then release the On/Off/Test Button during the audible ala-
rm's second beep to transfer the UPS to the Bypass mode.
2. Turn off all of the connected equipment.
3. Turn off the input circuit breaker on the rear panel of the UPS.
4. Wait for approximately 1-minute until the LCD and the fans turn off.
5. Turn off the DC breaker(s) on the rear panel of the Battery Pack(s).

