miniDSP Ltd, Hong Kong /
/ Features and specifications subject to change without prior notice
17
Now is a good time to explore the plugin and become familiar with all of the controls in each of the signal
processing blocks. Click on each of the blocks in the block diagram to see what the controls are.
At this time, the plugin is still in
offline
mode, so any changes you make will not be downloaded into the miniDSP
hardware. Since we will reset all of the processing parameters in the next section, you can feel free to
experiment with the user interface at this point.
2.3
G
O INTO ONLINE MODE
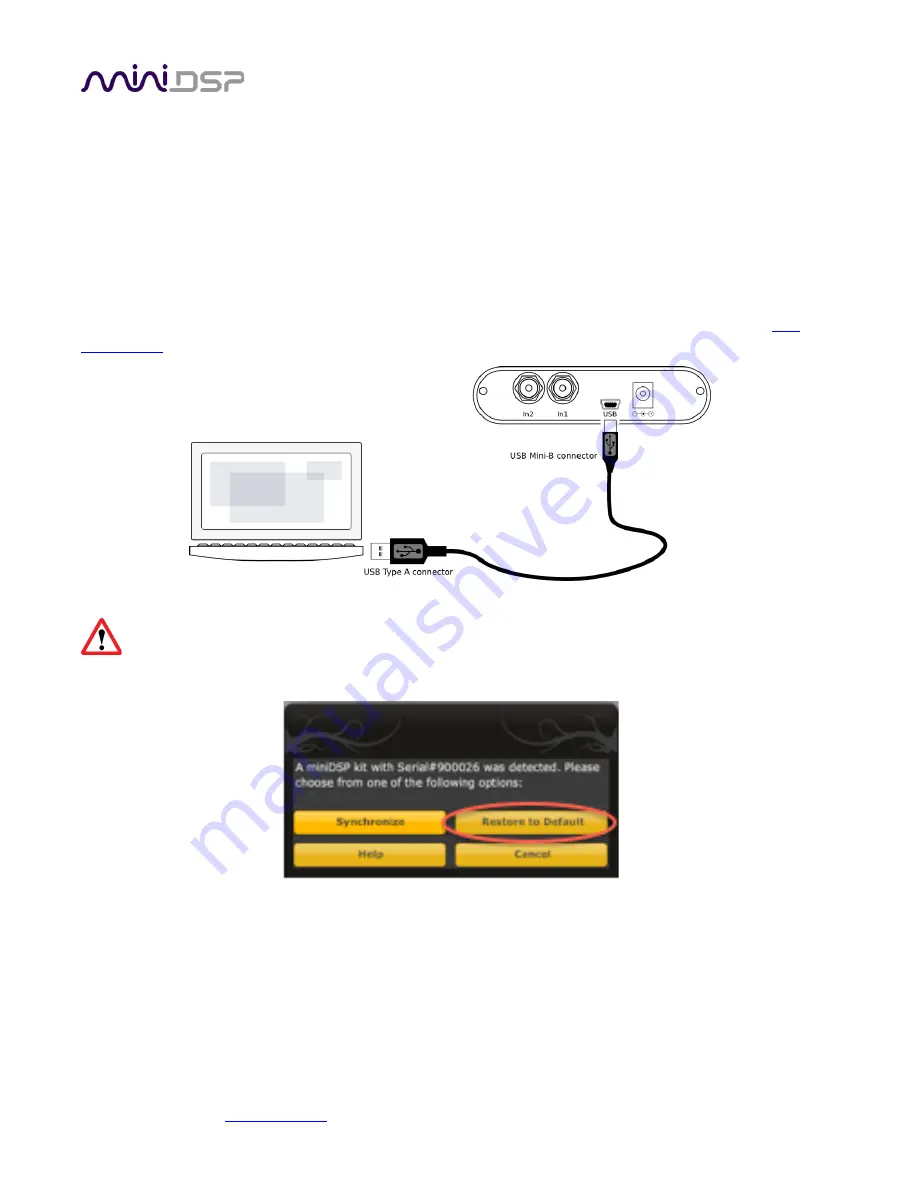
A USB connection to your computer is needed to go into online mode. Simply connect the supplied USB cable
from a free USB port on your computer to the miniDSP 2x4 or kit board. (In the case of the kit, see also
.) The USB connection will power the miniDSP hardware as well as provide data communication.
Don’t connect other equipment to the miniDSP 2x4
or kit board at this stage. That will be done after
correctly initializing the configuration.
Click on the
Synchronize
button, and the following dialog will appear:
Click on the
Restore to Default
button. This is essential the
first time you connect to the miniDSP
, as it ensures
that the miniDSP hardware unit contains an internal set of data that it understands. (Subsequently, you will
generally use the
Synchronize
button.)
Provided all goes well, you will see a confirmation dialog. The plugin is now in
online mode
. Any change that you
make in the plugin user interface will be immediately downloaded to the miniDSP hardware unit, so the change
will take effect in real time.


