36
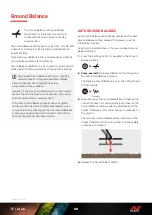
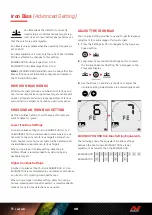
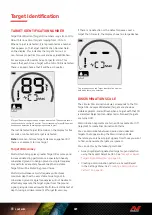
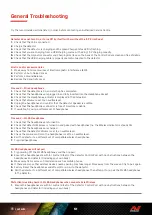
You can create your own discrimination
patterns to detect or ignore specific target
types, so you can dig more treasure and
less trash�
Targets are represented by both a Target ID number
and an individual segment on the Discrimination Scale
� Target ID segments can be turned On/Off
to either detect (accept) or ignore (reject) targets� All
Target IDs that are On will be accepted and all Target IDs
that are Off will be rejected�
The combinations of accepted and rejected segments are
referred to as discrimination patterns�
The Discrimination Scale has a range from −19 to 99�
Discrimination patterns are local, only the current Search
Mode Profile discrimination pattern will be changed�
CREATING A DISCRIMINATION PATTERN
1.
Press the Settings button to navigate to the Accept/
Reject setting�
2.
Use the Minus (–) and Plus (+) buttons to navigate to
the Target ID you wish to change� Each press moves one
segment in a clockwise/anticlockwise direction�
3.
The current selected Discrimination Segment will flash
slowly, and the exact Target ID number will be displayed�
Press the Accept/Reject button to toggle the
Target ID On/Off�
You can also rapidly turn a series of segments On/
Off by pressing and holding the Accept/Reject button�
For example, if segment 5 is selected and turned Off,
press-and-hold the Accept/Reject button to turn that
segment On, then continue to hold the button� The
selector will automatically move to the next segment
and turn it On, and so-on� To stop, release the button�
5.
Continue to navigate around the Discrimination Scale,
turning Target IDs On/Off with the Accept/Reject button
until you have created your discrimination pattern�
ACCEPT OR REJECT TARGETS
UPON DETECTION
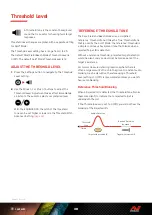
A target can be rejected upon detection if the
corresponding Target ID is currently Accepted in the
discrimination pattern�
If a Target ID is currently accepted and a detection occurs,
an audio response will be heard, the Target ID segment will
flash, and the Target ID number will be displayed�
To reject a detected target, press the Accept/Reject button�
Targets with that Target ID will now be rejected, and will
not be heard�
The last rejected target can be instantly re-accepted by
pressing the Accept/Reject button again, as long as no
other detection occurs before doing so�
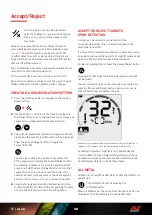
Example showing the detection of an accepted non-ferrous target with a
Target ID of 32� Segment 32 on the Discrimination Scale will flash�
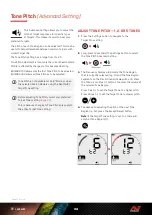
Accepting a rejected Target ID is not possible directly
from the Detect Screen� Rejected Target IDs must be re-
accepted by adjusting the discrimination pattern via the
Accept/Reject Setting in the Settings Menu�
ALL METAL
All Metal is turned Off by default each time the detector is
powered On�
Turn All Metal On/Off by pressing the
All Metal button�
When All Metal is On, the current discrimination pattern is
disabled so that all metal objects will be detected�
Accept/Reject
Summary of Contents for EQUINOX 700
Page 1: ...Instruction Manual...
Page 4: ...4 CONTENTS Getting Started...
Page 10: ...10 CONTENTS Search Modes...
Page 15: ...15 CONTENTS General Settings...
Page 23: ...23 CONTENTS Settings Menu...
Page 40: ...40 CONTENTS Target Identification Pinpointing Recovery...
Page 44: ...44 CONTENTS Headphones Batteries Charging...
Page 49: ...49 CONTENTS Errors Troubleshooting...
Page 53: ...53 CONTENTS Safety Care and Maintenance...
Page 56: ...56 CONTENTS Specifications Presets Compliance...


