Chapter 1 Before Using This Machine
16
1.1 Preparation
Assembling the Legs and Sheet Basket
Assemble the legs (CG-100/130AR) and attach the sheet basket (option).
When assembling the sheet basket, make use of the assembly instruction video as described below or read
the "Assembly Procedure" included with this machine carefully.
When assembling the legs (CG-100/130AR), make use of the assembly instruction video as described below
or read the "Assembly Procedure" included with this machine carefully.
The "Assembly Procedure" can be downloaded from the following URL:
https://mimaki.com/product/cutting/c-roll/cg-ar-series/download-manual.html
• The legs for the CG-60AR are options available separately. Contact your local dealer or our
service office. No "Leg Stand Assembly" video is provided for the CG-60AR. Read through the
"Assembly Procedure" included with this machine or downloaded from the following URL
carefully before assembling:
https://mimaki.com/product/cutting/c-roll/cg-ar-series/download-
1
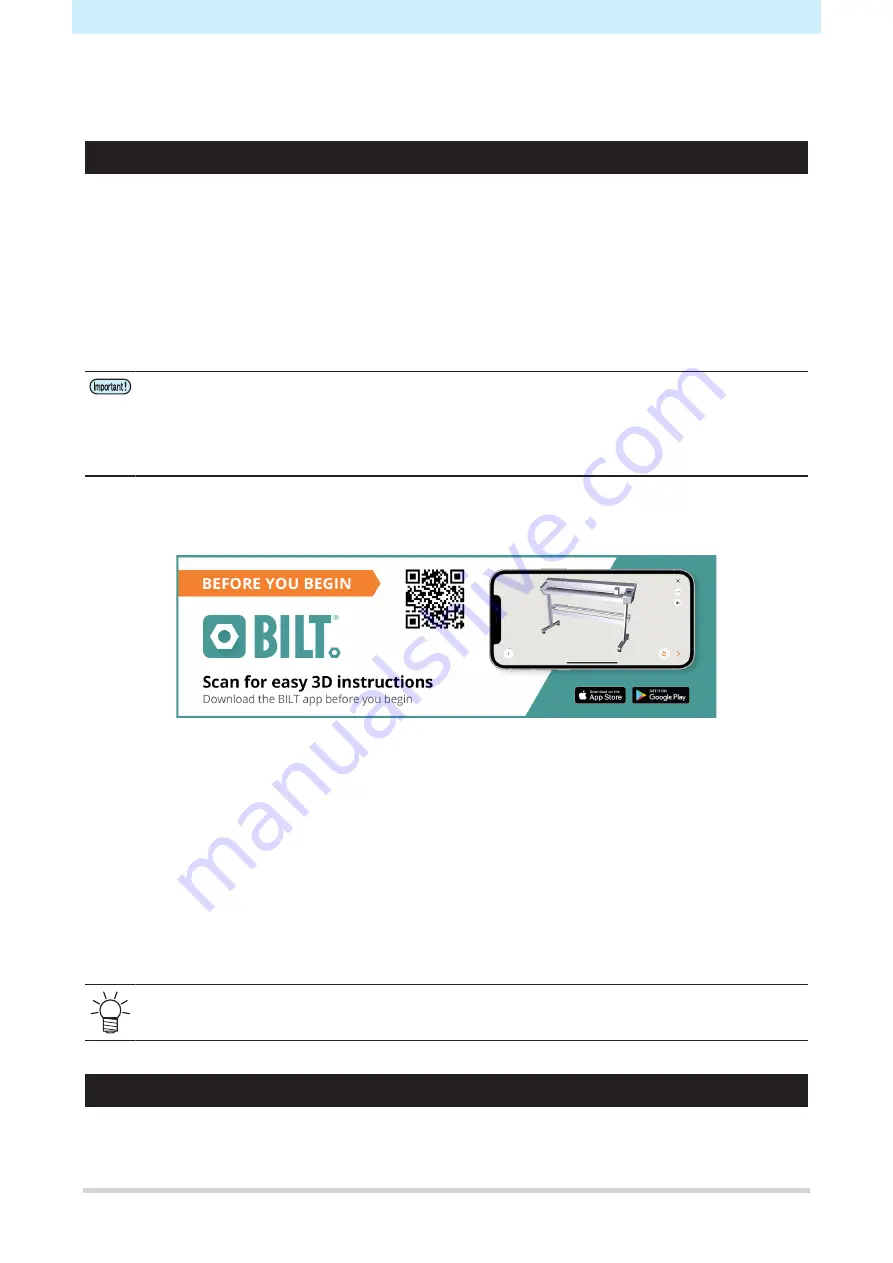
Scan the following QR code with a smartphone or tablet: (Required first time only)
• BILT starts up automatically, if it is already installed.
• If BILT is not installed, a screen appears for installing it. Install and launch BILT.
2
Tap on the bar at the top left of the BILT home screen.
3
Select [Settings] > [Languages], then tap on the desired language.
4
Enter "CG-AR Roll_Based Cutting Plotter" in [Product search] on the home screen.
5
Select [CG-AR Roll_Based Cutting Plotter] > [Leg Stand Assembly] (CG-100/130AR) or [Sheet
Basket Installation], then tap on [Start].
• The video will play.
• The video can subsequently be checked from the BILT [My stuff] page.
Attaching the cutter guard
The cutter guard is used to prevent the sheet from lifting up.
Summary of Contents for CG-100AR
Page 39: ...Chapter 1 Before Using This Machine 39 2 Shut down the computer connected to the machine 1 ...
Page 76: ...Chapter 2 Cutting 76 ...
Page 98: ...Chapter 3 Cutting Data with Register Marks 98 ...
Page 131: ...Chapter 4 Helpful Tips 131 4 Press the END key several times to exit 4 ...
Page 132: ...Chapter 4 Helpful Tips 132 ...
Page 133: ...Chapter 5 Settings This chapter Describes the individual settings FUNCTION 134 SET UP 135 ...
Page 150: ...Chapter 6 Maintenance 150 ...
Page 158: ...Chapter 7 Options 158 ...
Page 178: ...Chapter 9 Appendix 178 ...
Page 182: ...MEMO ...


