CHAPTER 4
SELF DIAGNOSIS FUNCTION
4-3
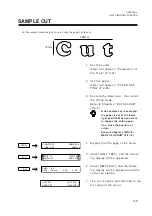
1
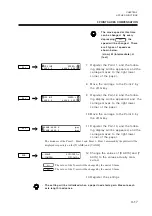
Set the cutter
Refer to Chapter 2 "Preparation of
the Tools" (P.2-21).
2
Set the paper.
Refer to Chapter 2 "PAPER SET-
TING" (P.2-25).
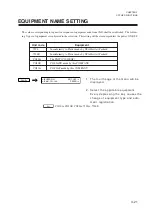
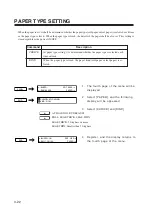
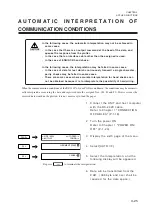
3 . Execute the data clear, then select
the offline mode.
Refer to Chapter 3 "DATA CLEAR"
(P.3-4).
• When sample cut is executed,
the paper is cut at the lower
right position.When you want
to change the cutting posi-
tion, move the position of
origin.
Execute Chapter 3 "MOVE-
MENT OF ORIGIN" (P.3-12).
4
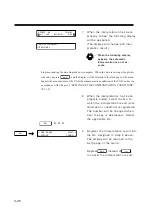
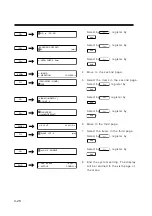
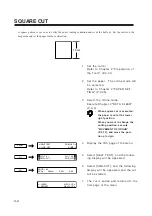
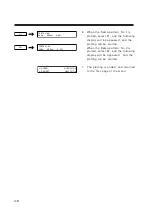
Display the fifth page of the menu.
5
Select [SELF TEST], and the follow-
ing display will be appeared.
6
Select [SMPL-CUT], and the follow-
ing display will be appeared and the
cut will be started.
7
The cut is ended and returned to the
first page of the menu.
280mm
75mm
SAMPLE CUT
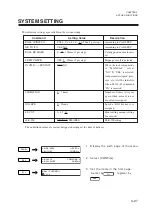
Cut the sample (shown below) so as to verify the quality of the cut.
-PAGE+
<--SELFTEST PRM-LIST-->
<--LINE : OFF DUMP-->
-F1+
PLOT # 1 PLOT # 2
SMPL-CUT SQR-CUT
- F3+
SMPL) # X
XXXg XXXcm X. XG X. XX
<--CLEAR AUTO CUT-->
<--PEN SET HALF CUT-->
Summary of Contents for cg-100AP
Page 16: ...xiv ...
Page 70: ...1 54 ...
Page 108: ...2 38 ...
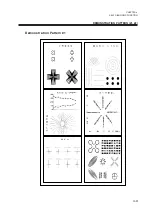
Page 145: ...CHAPTER 4 SELF DIAGNOSIS FUNCTION 4 9 DEMONSTRATION PATTERN 1 2 Demonstration Pattern 1 ...
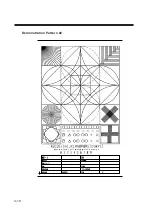
Page 146: ...4 10 Demonstration Pattern 2 ...
Page 173: ...CHAPTER 6 APPENDIX 6 13 Table of 82 special character codes supported ...
Page 179: ...D200310MAC 2 00 09061999 ...
Page 180: ... MIMAKI ENGINEERING CO LTD 1999 6 Printed in japan ...

