Miele KM 3054 Operating And Installation Instructions Download Page 1

Operating and installation instructions
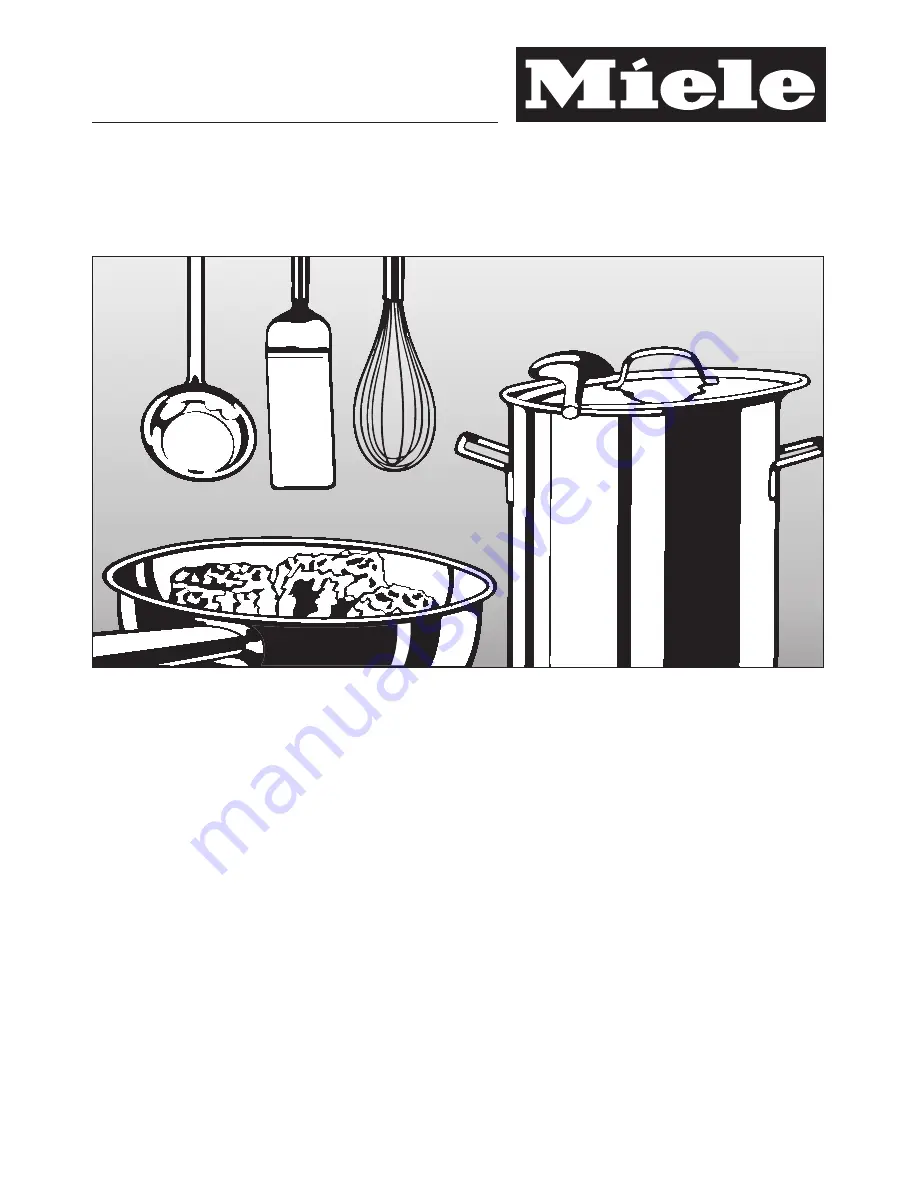
Gas hobs
KM 3054 (Town Gas or LP Gas)

To avoid the risk of accidents or
damage to the appliance it is

essential

to read these

instructions before it is installed
and used for the first time.

M.-Nr. 09 457 980

en - SG

Summary of Contents for KM 3054

Page 1: ...on instructions Gas hobs KM 3054 Town Gas or LP Gas To avoid the risk of accidents or damage to the appliance it is essential to read these instructions before it is installed and used for the first time M Nr 09 457 980 en SG ...

Page 2: ... autorizado para el país F Cet appareil est également homologué dans des pays différents de ceux mentionnés sur l appareil Pour que l appareil fonctionne parfaitement et en toute sécurité il est important de disposer de l exécution spécifique au pays et du type de raccordement approprié Pour le fonctionnement dans un pays autre que celui spécifié sur l appareil veuillez vous adresser au service ap...

Page 3: ... is usually located near the gas meter ß Eliminate all sources of ignition in a safe manner Do not smoke light cigarette lighters or matches ß Do not operate electrical lights or switches i e do not switch them On or Off ß Open all doors and windows to ventilate the area ß If the smell of gas persists evacuate the building 3 ...

Page 4: ...off 22 Easy switch off function 23 In operation residual heat indicator 23 Minute minder 24 Setting the minute minder 24 Altering the time set for the minute minder 24 To cancel the time set for the minute minder 24 Allocating the minute minder to a specific cooking zone 25 Suitable pans 26 Combi insert 27 Wok ring 27 Energy saving tips 28 Safety features 29 Thermo electric ignition 29 Safety swit...

Page 5: ...on 38 Building in dimensions 41 Installation 42 Electrical connection 44 Gas connection 46 Burner ratings 49 Conversion to another type of gas 50 Jet table 50 To change the main jets 51 To change the small jets 53 Function test 54 After sales service data plate guarantee 55 Contents 5 ...

Page 6: ...l burner de Medium burners fPan support for each burner lCooking zone symbol mResidual heat indicator nMinute minder oEasy switch off Cooking zone controls gFront right hRear right iRear left jFront left kLeft Description of the appliance 6 ...

Page 7: ...ries Wok ring The Wok ring supplied with your appliance can be used in instances where extra stability is required It is particularly suitable for Woks with a rounded base Combi insert for small pans If you are using a pan which is smaller than recommended in the chart under Pans then the combi insert supplied should be used Description of the appliance 7 ...

Page 8: ...ons Select cooking zone cIndicator lamp for minute minder dIndicator lamp for relevant zone e g back right hand cooking zone eTimer display 00 to 99 Time in minutes 0 to 6 Time in hours fIndicator light for half hours with a minute minder time of more than 99 minutes Description of the appliance 8 ...

Page 9: ...er burner cap bInner burner cap cBurner head dBurner base eIgnition safety device fIgnitor Small medium and large burners aBurner cap bBurner head cBurner base dIgnition safety device eIgnitor Description of the appliance 9 ...

Page 10: ...b is not designed for commercial use It is intended for use in domestic households and in similar working and residential environments The appliance is intended for domestic use only to cook food and keep it warm Any other use is not supported by the manufacturer and could be dangerous Miele cannot be held liable for damage resulting from incorrect or improper use or operation The gas hob is not i...

Page 11: ...ite a while after being switched off Keep children well away from the appliance until it has cooled down and there is no danger of burning Do not store anything which might arouse a child s interest in storage areas above or next to the hob Otherwise they could be tempted into climbing onto the appliance with the risk of burning themselves Keep all pans out of reach of children Turn pan handles in...

Page 12: ...erwise the appliance could be damaged Consult a qualified electrician if in any doubt For safety reasons this appliance may only be used after it has been built in Connection to the gas supply should only be undertaken by an registered gas installer under the gas safety regulations Registration of Gas Installers and Gas Contractors If the appliance is supplied without a plug or if the plug is remo...

Page 13: ...able or it is switched off at the isolator or it is switched off at the wall socket and the plug is withdrawn from the socket While the appliance is under guarantee repairs should only be undertaken by a service technician authorised by Miele Otherwise the guarantee is invalidated Faulty components must only be replaced by genuine Miele original spare parts The manufacturer can only guarantee the ...

Page 14: ...antee Correct use The appliance gets hot when in use and remains hot for quite a while after being switched off There is a danger of burning until the residual heat indicators go out If a cooker hood is installed above the gas hob ensure that the burners are always covered with a pan when in use Otherwise flames could reach the cooker hood parts of which could then be damaged or set on fire Do not...

Page 15: ...liance is switched on by mistake Do not cover the hob with e g with a hob cover a cloth or protective foil This could present a fire hazard if the appliance is switched on by mistake or if the hob is still warm Do not use plastic or aluminium foil containers These melt at high temperatures and could catch fire Do not heat up unopened tins of food on the hob as pressure will build up in the tin cau...

Page 16: ...sture and combustion products in the room in which it is installed To ensure that there is adequate ventilation especially when the appliance is in use make sure natural ventilation to the room is not hindered or use a mechanical ventilation device e g a cooker hood Intensive and prolonged use of the appliance may result in a requirement for additional ventilation e g opening a window or a more ef...

Page 17: ...er cooking or reheating time Do not use pans that are large enough to cover more than one burner The resulting build up of heat could damage the appliance If the appliance is installed behind a kitchen furniture door it may only be used with the furniture door open Do not close the door whilst the hob is in use or whilst there is any residual heat left in the appliance If the appliance has not bee...

Page 18: ...ppliance Electrical and electronic appliances often contain materials which if handled or disposed of incorrectly could be potentially hazardous to human health and to the environment They are however essential for the correct functioning of your appliance Please do not therefore dispose of it with your household waste Please dispose of it at your local community waste collection recycling centre ...

Page 19: ...tle washing up liquid applied with a soft sponge Dry all parts thoroughly after cleaning and then reassemble the burners see Cleaning and care Before using for the first time clean the appliance with a damp cloth only and then wipe dry The metal components have a protective coating which may give off a slight smell when heated up for the first time The smell and any vapours given off do not indica...

Page 20: ...rol is used to ignite the burner and to regulate the strength of the flame Small medium and large burners ß The gas supply is turned off Strongest flame Weakest flame Wok burner ß The gas supply is turned off Strongest flame The inner and outer burners operate at the highest setting Strong flame The outer burner operates at the lowest setting the inner burner at the highest setting Weak flame The ...

Page 21: ... operated a spark is produced on all cooking zones This is not a fault If the burner does not ignite turn the control to off ß Air the room or wait at least 1 minute before trying again If the burner does not ignite the second time turn the control to ß and see Problem solving guide When switching on re ignition sometimes occurs 1 2 clicks if the flame on the ignition safety device has gone out br...

Page 22: ...he pan base Flame tips which extend beyond the sides of the pan merely warm up the air in the room and can also damage pan handles and increase the risk of injury The burners can be regulated at any level between the strongest and weakest flame Switching off Turn the control clockwise to position ß This stops the flow of gas and the flame goes out Do not turn the control past the ß position Operat...

Page 23: ...for the easy switch off function is lit up until all active burner control dials are turned to ß In operation residual heat indicator The in operation residual heat indicator lights up when the hob is switched on and rmains lit during operation If the appliance is switched off the indicator light goes out briefly then lights up again as long as residual heat remains Do not touch or place any heat ...

Page 24: ...s An audible tone will sound at the same time To turn the audible tone off before this touch the m sensor The minute minder can be allocated to a specific cooking zone Setting the minute minder Touch the m sensor 00 and the minute minder indicator lamp will flash in the timer display Touch the or sensor until the time you require appears in the display e g 15 minutes The time set will then count d...

Page 25: ...this function for e g back right flashes The indicator lights for the cooking zones which are switched on light up anti clockwise starting with the front right Touch the or sensor until the time you require appears in the display e g 15 minutes The time set will then count down in minutes The time remaining will be shown in the timer display To set a switch off time for a further cooking zone proc...

Page 26: ...iable for this type of damage Remember when purchasing new pans that manufacturers usually refer to the diameter at the top of the pan in their documentation Any heat resistant pans can be used Pans with thick bases are preferable as these distribute heat more evenly With thin bases there is a danger of food overheating in places Stir the food frequently Select pans which are suitable for the burn...

Page 27: ...k ring supplied with your appliance can be used in instances where extra stability is required It is particularly suitable for Woks with a rounded base Make sure that the wok ring is securely in position to prevent it from slipping See diagram Woks are a special type of pan They have a small base diameter and large top diameter generally between 35 40 cm The wok burner is therefore particularly su...

Page 28: ...little water as possible Cooking times are greatly reduced when using a pressure cooker Turn the flame down promptly to a lower setting when the pan has come to the boil Wide shallow pans are preferable to tall narrow ones They will heat up faster Energy saving tips 28 ...

Page 29: ... approx 6 hours it will switch off automatically To use the burner again turn the control clockwise to the ß position and then switch it back on as normal System lock The system lock is set with the hob switched off When activated the hob cannot be switched on and the timer cannot be used If the system lock is activated the control lamps light up and LC appears in the minute minder display when a ...

Page 30: ...y The surfaces of the burner components will become more matt with time This is quite normal and will not affect the operation of the hob To avoid damaging the surface of your appliance do not use cleaning agents containing soda alkalines ammonia acids or chlorides cleaning agents containing descaling agents stain or rust removers abrasive cleaning agents e g powder cleaners and cream cleaners sol...

Page 31: ...t be removed When using a proprietary ceramic glass cleaning agent always follow the manufacturer s instructions Pan supports Remove the pan supports Wash them in the dishwasher or with a sponge and warm water with a little washing up liquid If necessary you could use the scouring pad on the reverse of a washing up sponge Controls With a sponge and warm water with a little washing up liquid Not di...

Page 32: ...on safety device d and the ignitor e extend through their respective holes in the burner head The burner head must click into place correctly Place burner cap a flat over burner head b When correctly positioned it will not slide about Important replace parts in the correct order after cleaning Cleaning and care 32 ...

Page 33: ... the ignition safety device e and the ignitor f extend through their respective holes in the burner head The burner head must click into place correctly Place the burner caps a and b in position Important replace parts in the correct order after cleaning Cleaning and care 33 ...

Page 34: ...ney The following guide may help you to find the reason for a fault and to correct it You should however note the following Repairs to the gas and electrical components of this appliance must only be carried out by a suitably qualified and competent person to ensure safety Repairs and other work by unqualified persons could be dangerous The manufacturer cannot be held liable for unauthorised work ...

Page 35: ...kwise to the ß position You can then operate the appliance as normal when power is restored The gas flame goes out after ignition The flames are not touching the ignition safety device it is not hot enough The burner is not correctly assembled There is dirt on the ignition safety device Assemble the burner correctly Remove any soiling The flame pattern has changed The burner is not correctly assem...

Page 36: ...ing covering the sensors or the hob Take any pans off the hob and wipe away any food deposits Interrupt the power supply to the hob for approx 1 minute If this does not solve the problem please call the Miele Service department F2 The in operation residual heat indicator is flashing The overheating protection mechanism has triggered Turn all the controls clockwise to position ß The hob can be used...

Page 37: ...for your appliance These products can be ordered online or from Miele see back cover for contact details Ceramic and stainless steel hob cleaner 250 ml Removes heavy soiling limescale deposits and aluminium residues E cloth microfibre cloth Removes finger marks and light soiling Optional accessories 37 ...

Page 38: ...are installed in such a way that they do not touch any parts of the appliance which become hot This could cause damage The electrical cable and a flexible gas connection pipe in countries where applicable must be installed in such a way so that they do not come into contact with any moving kitchen parts e g a drawer and cannot become trapped Observe carefully the safety distances given on the foll...

Page 39: ...minimum safety distance of at least 760 mm must be maintained For any flammable objects e g utensil rails wall units etc a minimum distance of at least 760 mm must be maintained between them and the appliance below When two or more appliances are installed together below a cooker hood e g a gas hob and an induction hob combiset which have different safety distances given in the installation instru...

Page 40: ...nces should be adhered to for safety reasons aMinimum distance of 50 mm at the back of the worktop cut out to the rear edge of the worktop bMinimum distance of 150 mm to the right of the worktop cut out to the nearest piece of furniture e g tall unit cMinimum distance of 150 mm to the left of the worktop cut out to the nearest piece of furniture e g tall unit Not allowed Recommended Not recommende...

Page 41: ...aFront bCasing depth cCasing depth including mains connection box dGas connection R 1 2 ISO 7 1 DIN 10226 Building in dimensions 41 ...

Page 42: ...hrough the cut out Place the hob in the cut out without securing it If the corners of the frame are not flush with the worktop surface the corner radius ß R4 can be carefully scribed to fit Connect the hob to the mains see Electrical connection Connect the appliance to the gas supply see Gas connection Secure the appliance using the brackets supplied a After installation Check that all the burners...

Page 43: ...licone This could result in damage to the appliance or the worktop if the appliance ever needs to be removed for servicing Tiled worktop Grout lines a and the hatched area underneath the hob frame must be smooth and even If they are not the hob will not sit flush with the worktop and the sealing strip underneath the hob will not provide a good seal between the hob and the worktop Installation 43 ...

Page 44: ... data plate match the household mains supply Connection should be made via a suitable isolator or a double pole fused spur connection unit which complies with national and local safety regulations and the on off switch should be easily accessible after the appliance has been built in If the switch is not accessible after installation depending on country an additional means of disconnection must b...

Page 45: ...ectrician The manufacturer cannot be held liable for the consequences of an inadequate earthing system such as an electric shock If the connection cable is damaged it must be replaced by a suitably qualified electrician with a special connection cable of type H 05 V V F pvc insulated available from the Miele Service Department The manufacturer cannot be held liable for damage which is the direct o...

Page 46: ...ation with the type of gas quoted on the data plate The gas installation must be carried out so that the connection is not subject to high temperatures when the appliance is in use It is particularly important that the flexible gas connection pipes and isolator valves do not come into contact with hot gas exhaust fumes Neither the flexible gas connection pipe nor the electrical cable must come int...

Page 47: ...roved stainless steel braided flexible tubing bearing EMSD approval marking such as EMSD APPROVAL GTXXXX and gas cock for connection connect from G connector to governor and connect up to gas supply point LPG Gas Connection Elbow joint connection aelbow join bgasket cnozzle dring erubber hose The gasket depicted above is to pre vent gas leakage After installation turn on the gas supply and use soa...

Page 48: ...ction pipe in accordance with DIN 3383 Section 1 A flexible gas connection pipe must not exceed 2 m in length A suitable sealant must be used to ensure that the connection is secure Using a 90 angle cGas connection R 1 2 ISO 7 1 DIN EN 10226 d90 angle Using a 90 angle will increase the building in depth in the area of the gas connection by approx 60 mm Gas connection 48 ...

Page 49: ...Small burner Town gas Liquid gas 1 30 0 95 69 0 25 0 20 Medium burner Town gas Liquid gas 2 00 1 7 124 0 30 0 35 Large burner Town gas Liquid gas 3 10 2 55 186 0 50 0 60 Wok Town gas Liquid gas 5 00 4 6 335 0 30 0 40 Total Town gas Liquid gas 13 40 11 50 837 49 Burner ratings ...

Page 50: ...ing to a different type of gas the main burner jets and the small burner jets have to be changed Jet table Main jetC Small jetC Town gas Small burner Medium burner Large burner Wok burner 1 50 1 92 2 50 2x 2 50 1 30 0 60 0 80 0 90 0 54 Liquid gas Small burner Medium burner Large burner Wok burner 0 52 0 66 0 81 2x 0 70 0 46 0 23 0 36 0 42 0 25 The jet markings refer to 1 100 mm of the jet diameter...

Page 51: ...ange the main jets Small medium and large burners Remove the pan support burner cap a and burner head b Using an M7 socket spanner unscrew the main jet f Fit the correct jets securely see jet table Finally secure the jets against inadvertent loosening with sealing wax Conversion to another type of gas 51 ...

Page 52: ...cap ab and burner head c Using an M7 socket spanner unscrew the main jet d Fit the correct jets securely see jet table Finally secure the jets against inadvertent loosening with sealing wax Conversion to another type of gas 52 ...

Page 53: ...ull the control knobs off Remove the cover see illustration Lift the top of the appliance off Using a small screwdriver unscrew small jet a in the gas fitting Pull out the jet with a pair of pliers Fit the correct jets securely see jet table Finally secure the jets against inadvertent loosening with sealing wax Conversion to another type of gas 53 ...

Page 54: ...er The flame must not go out on the lowest setting or when the control is turned quickly from a high to a low setting On the highest setting the flame must have a distinctive and visible core Stick the label supplied with the jets above the label stating the type of gas being used Conversion to another type of gas 54 ...

Page 55: ...l number of your appliance These are given on the data plate N B A call out charge will be applied for service visits where the problem could have been resolved as described in these instructions Space in which to stick the extra data plate supplied with the appliance Ensure that the model number is the same as the one on the front of these instructions Guarantee For information on the appliance g...

Page 56: ...Alteration rights reserved 1613 M Nr 09 457 980 00 ...

Reviews: