4
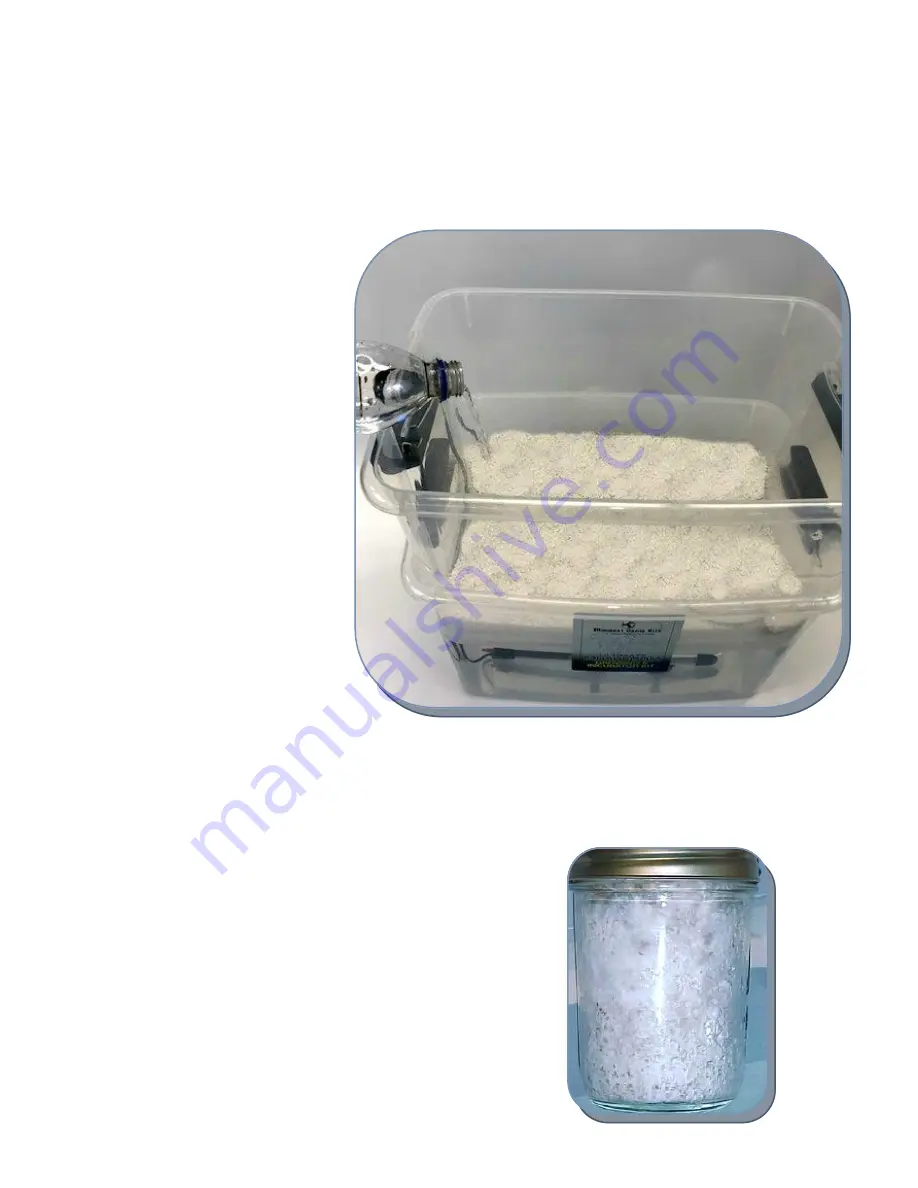
You are now ready to add your perlite!
The perlite goes on the bottom of the inner chamber after you birth the jars. Per-
lite evaporates water and this is what creates the high humidity levels needed.
Mix with filtered water to get a moist mix.
Don’t over saturate either. This provides
the humidity needed. You want it wet
enough so it’s moist when you push down
on it, but you don’t want to see any
standing or pooling water. You can simp-
ly add water like shown here or use the
wetting instructions in the grow guide,
either method works fine.
**TIP**
You can add hydrogen peroxide to
the perlite to help keep it clean. You may add
a cup of regular over the counter peroxide to
the perlite every week if desired. Peroxide
breaks down into water & oxygen after 48
hours, so it is very safe to use. This can also
be added to the outer tub as well to keep the
water from becoming stagnate. Do not use
any other chemicals, as they may corrode the
heater.
**Tip** During this stage do not leave your Thermometer/Humidity Gauge in the fruiting chamber for extended periods of
time. The high humidity can cause failure over time. We advise placing it in the fruiting chamber when you are making ad-
justments and let it dry out first to improve the accuracy and extend the life of the unit. You can safely remove the lid any-
time to check on your growing mushrooms during this time. As long as you see water droplets on the side or lid when you
open it, you are over 90% humidity!
It’s time to remove your cakes from the jars!
We recommend waiting an extra 2-3 days after they appear
fully colonized to make sure the center is 100% colonized.


