


© 2014 Microsoft
Page 58
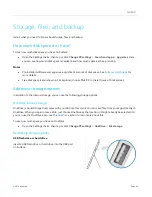
To start backing up and creating a history of your files, you'll first need to set up a File History drive and turn File
History on. We recommend backing up your files to an external drive or network.
To set up a drive or network location for your backup, see
Set up a drive for File History
Networking
Surface has built-in Wi-Fi that you can use to get online. Once you’re online, you can browse the Internet, get
apps, send email, and access other computers and devices on your network.
Connect to a Wi-Fi network
1.
Open the Settings charm, then tap or click the wireless
network icon ( )
.
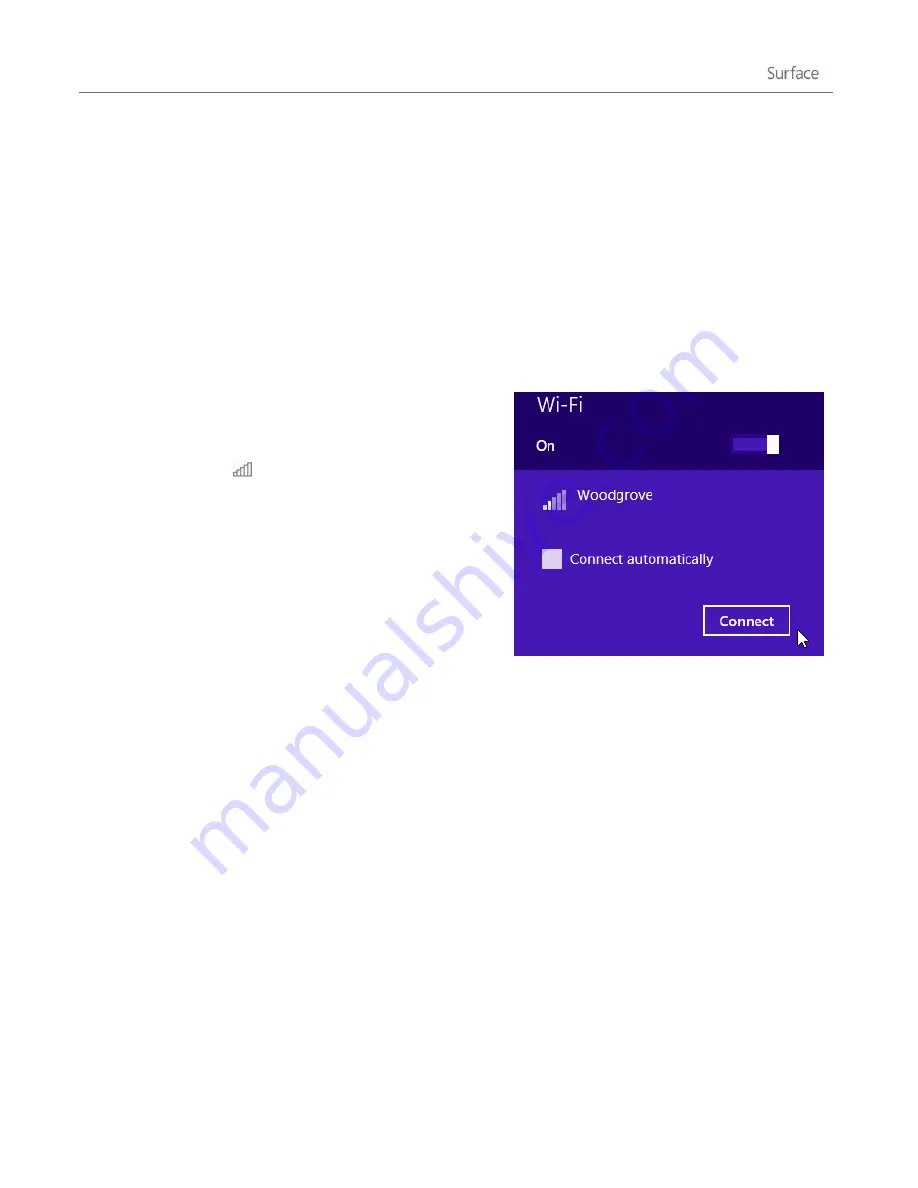
2.
Tap or click a network name and then choose
Connect
.
(If you want to connect to this network every time it's
in range, select
Connect automatically
).
3.
If prompted, type your network security key (network
password), and then tap or click
Next
. If you need help
finding your wireless network password, see
find your wireless network password
4.
If prompted, choose whether or not you want to connect to other PCs and devices on the network.
Choose
No
if you’re connecting to a network in a public place like a café.
If you have problems connecting to a wireless network, see
Can’t connect to a wireless network
No Wi-Fi networks?
When a Wi-Fi network isn’t available, you can try one of the following options:
Surface 2 (AT&T 4G LTE)
: You can use the built-in 4G/LTE connectivity. For info about this, see
networking on Surface 2 (AT&T 4G LTE)
You might be able to use your phone’s Internet connection (see
in this guide).
Use the Skype Wi-Fi app to find a Wi-Fi hotspot. See
Use a wired connection (see
Connect to a wired network
below).
You might be able to use a portable wireless router or USB dongle with 3G, 4G, or LTE. To learn more,
see