


■■■■■■■■■■■■■■■■■■■■■■
Initial start-up
■■■■■■■■
33
The MIRA Cal DS default is to automatically synchronize when you
select
[Connect]
.
The user can change synchronization settings when MIRA XTR DS /
MIRA DS is connected to the software.
3
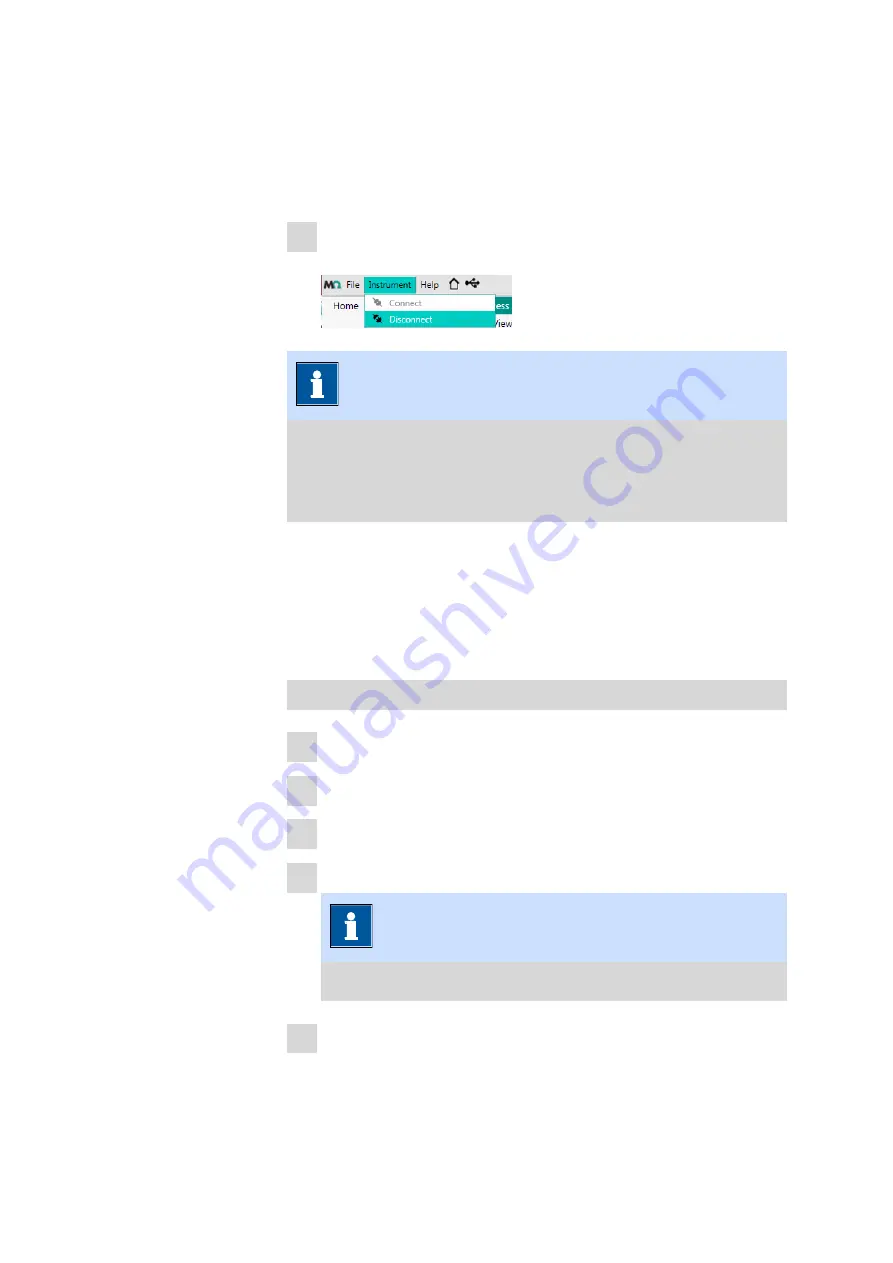
To disconnect MIRA XTR DS / MIRA DS from the software, click on
Instrument
▶
Disconnect
.
NOTICE
More than 1 instrument can be used with the software. They can be
synchronized to the same database in order to achieve a clean data
management. However, the instruments cannot be connected to the
software simultaneously, they must be used consecutively.
5.3
Configuration
5.3.1
Create and edit libraries
Spectra for libraries come from samples that have previously been
acquired or imported into the sample database.
Create a library
1
Go to the
Library
view.
2
Go to the
Home
tab.
3
Click on
[New]
.
4
Add metadata (library information).
NOTICE
After a library is created, its name cannot be changed.
5
Go to the
Add Samples
tab.
Summary of Contents for 6.06071.020
Page 1: ...MIRA Cal DS MIRA Cal DS Tutorial 8 105 8069EN 2021 09 15 ...
Page 2: ......
Page 29: ... Installation 23 6 Click on Next 7 Click on Finish to complete the installation ...
Page 34: ...Install MIRA Cal DS 28 3 Click on Next 4 Click on Install ...
Page 35: ... Installation 29 5 Click on Next 6 Click on Finish to complete HazMasterG3 installation ...


