MIOConsole3d Session
325
As you move the mouse over various hotspots in the Overviews, the cursor will dynamically change to
indicate what will be affected if you click and drag.
From the bottom half of a track, click to select that segment, <command>-click or click-drag to select
multiple segments.
From the top half of a track, click-drag for time range selections.
You can click and drag and drop segments within tracks and between tracks.
• Hold the option key to copy rather than move a segment when dragging it.
• Hold the shift key (after starting the drag) to constrain the segment to its original time on the timeline.
• Hold the command key down while dragging to defeat the current grid setting.
Click and drag the edges of segments to trim the start or end of the segment.
Click and drag fade line to adjust the length of the fade.
Note:
If you hold the “f” key down, clicking and dragging at the edge of the segment will prefer
adjusting the fade length rather than the segment trim.
Hold the “g” key and click on a segment to adjust the segment gain.
<control> click a segment to popup a context menu with segment commands:
• Reveal in Finder…
• Reveal Take folder in Finder…
• Rename Segment…
• Trim Top to Click
• Trim Tail to Click
• Trim Top to Playhead
• Trim Tail to Playhead
• Split Segment at Click
• Split Segment at Playhead
• Split Segment at Loop Points
• Trim Segment to Loop Points
• Align to grid
• Delete Segment
• Mute Segment
• Adjust Segment Gain…
• Export Segment to File…
• Bounce Track to File…
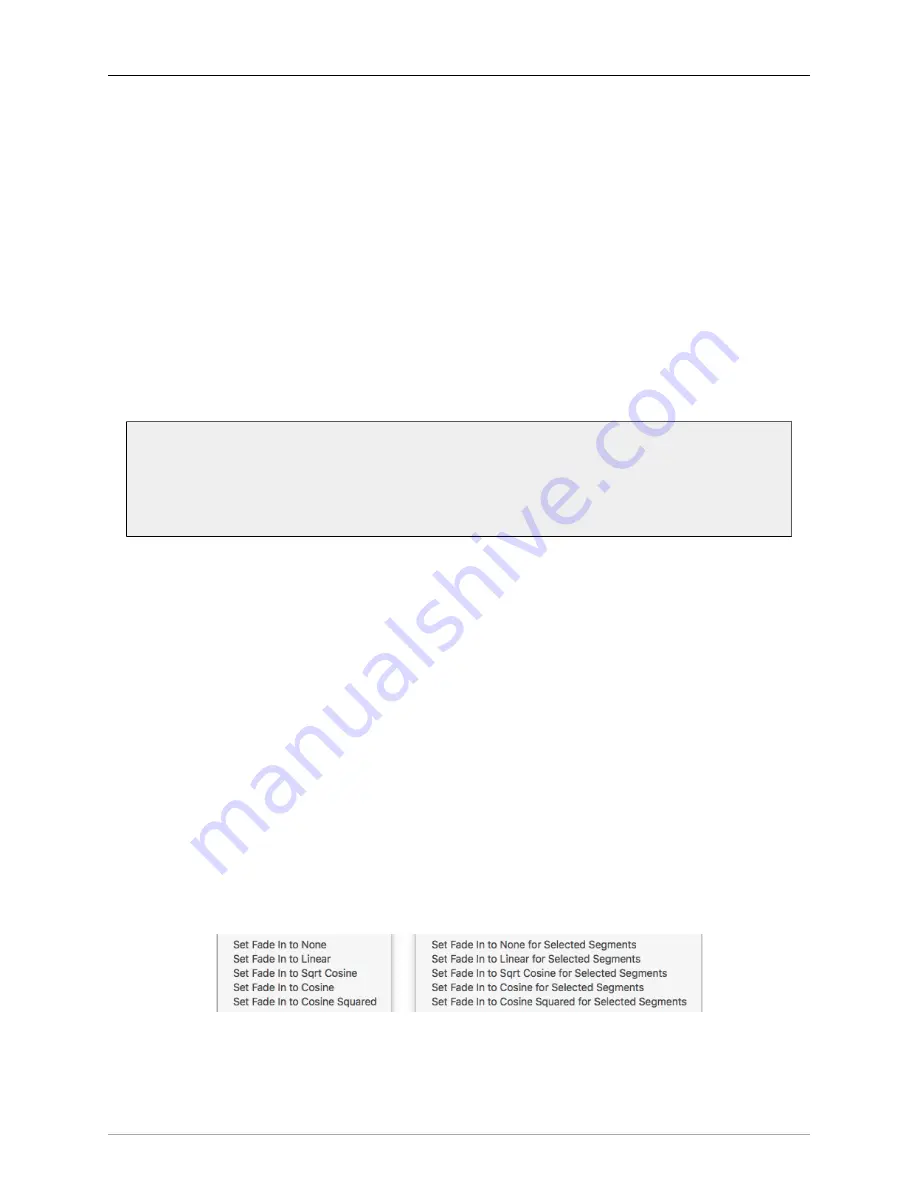
Zoom in to highlight and <control> clicking a fade will add the
Fade Types
to the segment commands list.
Figure 12.13: Session: Segment Fade Types contextual menu
The Fade Type items are contextual, and will show “for Selected Segments” when multiple segments are
selected (above right).


