MIOConsole3d Session
323
• Delete Mark: Removes the clicked on mark
• Delete Selected Marks: Removes all the selected marks
Clicking on the text fields in the list will allow you to edit them.
You can click and drag the strip in-between the
Marker list
and the
Track Overviews
to adjust how the
window is split between the two areas. The split you set is saved and restored with the Session state.
The
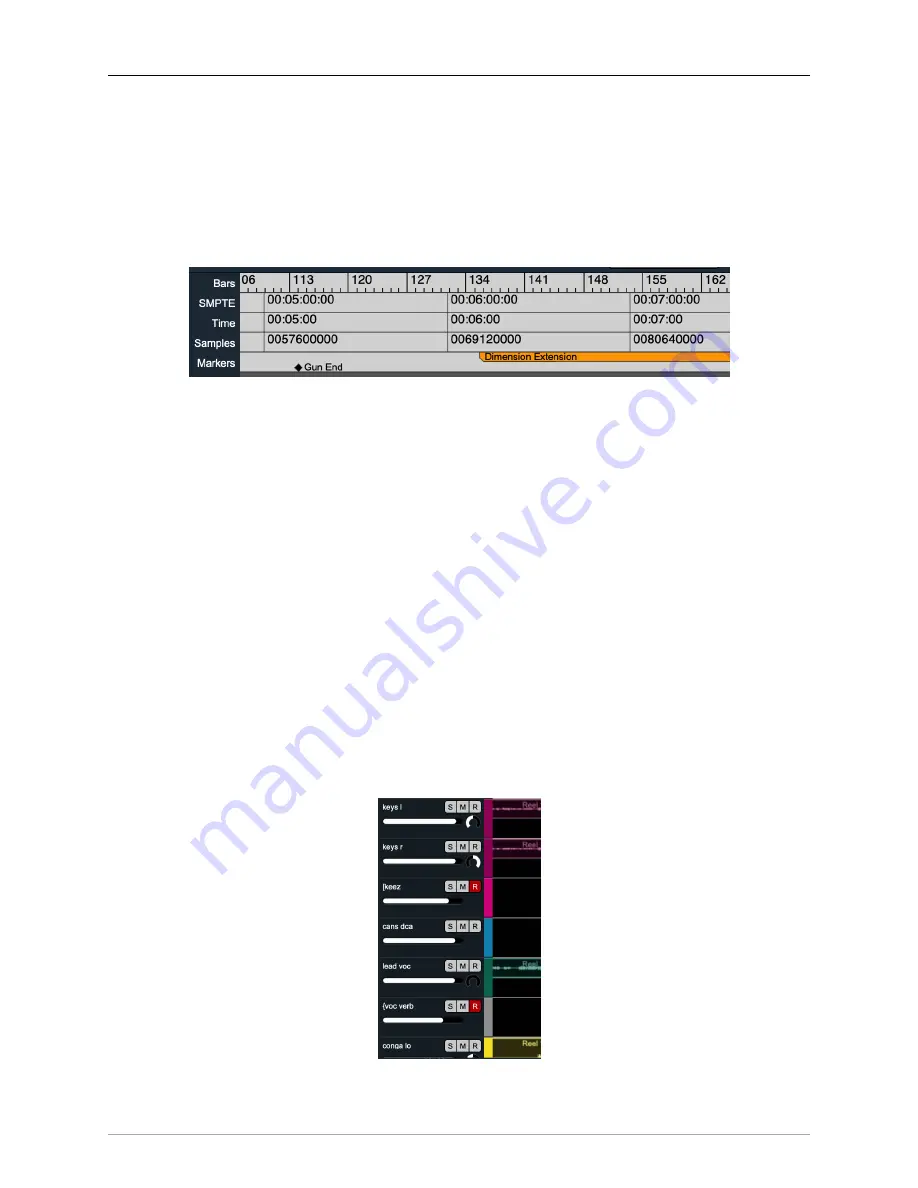
Timeline rulers
provide rulers to help you navigate your session. The following rulers are available:
Figure 12.10: Timeline rulers
• Bars and Beats
• SMPTE
• Time
• Samples
• Markers
You can <control>-click in the Timeline rulers to popup a context menu that allows you to choose which
rulers are visible. Clicking on one of the rulers will cue the playhead to that position. Double clicking will
cue the Playhead and start playback.
You can click and drag markers to change their positions. <command>-click drag the edge of a marker to
change its start or end time independently (thus changing the duration).
Below the rulers are three lanes that are always visible - the top one is for the current loop region, the
middle one for the current Autopunch region and the bottom one is for the timeline selection region. You
can click and drag a region to move it, or click and drag the edges to move the edges independently.
Click and drag in the lane (outside of the existing region) to directly set the region. A simple click (with no
drag) will cue the playhead to the click location.
The
Track headers
show the name of the track (taken from the associated mixer strip scribble strip), the
track color, and if there is room the Solo, Mute, Record Enable, Fader and Pan from the associated mixer
strip. When the track-height is small enough, these extra controls will be hidden.
Figure 12.11: Track headers


