Before operating this product,
please read these instructions completely.
User’s Guide
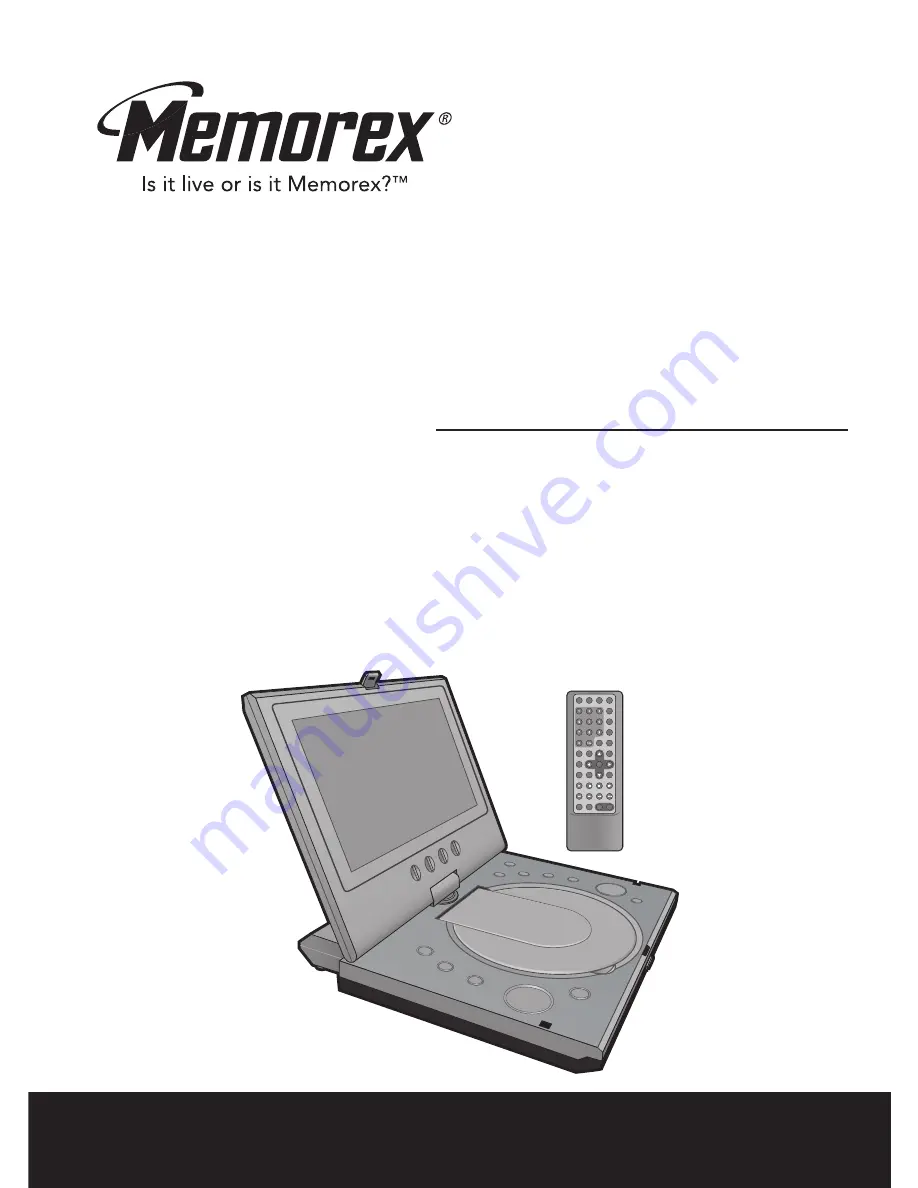
7'' TFT DISPLAY PORTABLE DVD PLAYER
WITH REMOTE CONTROL
MVDP1076
Page 1: ...Before operating this product please read these instructions completely User s Guide 7 TFT DISPLAY PORTABLE DVD PLAYER WITH REMOTE CONTROL MVDP1076...
Page 2: ...tate Button 22 Headphone Jack s 22 Source Button 22 OSD Button 23 LCD Button 23 Volume 23 DVD Operation 24 Playback of a DVD 24 Skip 26 Search 26 Slow Motion 26 Pause Step 26 Time Search 26 Title Sear...
Page 3: ...DO NOT TRY TO OPEN THE ENCLOSURE VISIBLE LASER RADIATION MAY BE PRESENT WHEN THE ENCLOSURE IS OPENED DO NOT STARE INTO BEAM WARNING TO REDUCE THE RISK OF FIRE OR ELECTRIC SHOCK DO NOT EXPOSE THIS PRO...
Page 4: ...into an outlet on a circuit different from that to which the receiver is connected Consult the dealer or an experienced radio TV technician for help Modifications not authorized by the manufacturer ma...
Page 5: ...help to prevent hearing damage or loss in the future After all we want you listening for a lifetime We Want You Listening For A Lifetime Used wisely your new sound equipment will provide a lifetime o...
Page 6: ...use the DVD player occasionally NOTES ON LOCATING THE DVD PLAYER When you place this DVD player near a TV radio or VCR the playback picture may become poor and the sound may be distorted In this case...
Page 7: ...ure condensation occurs during the following cases When you bring the DVD player directly from a cold place to a warm place When you use the DVD player in a room where you just turned on the heater or...
Page 8: ...move both the DC plug and the AC IN plug to disconnect the AC adapter when not using BATTERY PACK INSERTION REMOVAL Follow the diagram below to insert or remove the Battery Pack 7 POWER SOURCES TO REM...
Page 9: ...rst time After the initial charge it should take approximately five hours to charge A fully charged Battery Pack can operate for about 2 hours To rotate the screen twist in a clockwise direction up to...
Page 10: ...Navigation Button 13 ROTATE Button 14 POWER Button 15 SETUP Button 16 MENU Button 17 Play Pause p Button 18 Navigation Buttons 19 ENTER Button 20 Power Indicator 21 Remote Sensor 22 Stop Button 23 Sc...
Page 11: ...REPEAT A B Button 14 REPEAT Button 15 SEARCH Button 16 OSD Button 17 SUBTITLE Button 18 AUDIO Button 19 ANGLE Button 20 CLEAR Button 21 PROG Button 22 SETUP Button 23 ENTER Button 24 Navigation Button...
Page 12: ...akage 4 Do not try to recharge a battery not intended to be recharged it can overheat and rupture Follow battery manufacturer s directions 1 Remove the Battery Compartment door by sliding it downward...
Page 13: ...en connecting the unit refer to the owner s manual of the TV as well as this manual When connecting the unit to the TV make sure the power is off and both units are unplugged before making any connect...
Page 14: ...eakers perform the Tone Test on the AV Amplifier and adjust the Volume control s until the desired sound is achieved For best results sit in the viewing position and have someone adjust the volumes fo...
Page 15: ...fter correctly positioning the speakers perform the Tone Test on the AV Amplifier and adjust the Volume control s until the desired sound is achieved For best results sit in the viewing position and h...
Page 16: ...TING When connecting the unit refer to the owner s manual s of the external unit s as well as this manual When connecting the unit make sure the power is off and all units are unplugged before making...
Page 17: ...his DVD player will not operate with some DVD discs as they are preset If a function you selected does not run as desired refer to the manual accompanying the DVD disc AUDIO CD Data on an audio CD is...
Page 18: ...ration and is intended for home and other limited viewing uses only unless otherwise authorized by Macrovision Corporation Reverse engineering or disassembly is prohibited Region Management Informatio...
Page 19: ...e top of the screen using the Navigation buttons 2 then press the ENTER button 3 to select it 3 Use the Navigation buttons 2 to select one of the Setup options then press the ENTER button 3 to select...
Page 20: ...wing on the TV screen 1 LANGUAGE SETUP MENU Press the SETUP button to enter the menu select LANGUAGE using the Navigation buttons then press the ENTER button to select it Select change the Setup optio...
Page 21: ...will follow automatically the video format on the DVD disc IMPORTANT In the USA the standard is NTSC 1 VIDEO SETUP MENU Press the SETUP button to enter the menu select VIDEO using the Navigation butt...
Page 22: ...ENTER button to reset the functions of the player to the original factory settings 1 RESET SETUP MENU Press the SETUP button to enter the menu select RESET using the Navigation buttons then press the...
Page 23: ...e jacks The speakers will be disconnected when headphone s are connected 1 HEADPHONE JACK S Press the ROTATE button on the main unit to flip the display s picture 180 This is useful when the screen is...
Page 24: ...LCD button 1 to cycle through Brightness Contrast and Color then use the Navigation button 2 on the remote or use the Alternate Navigation button on the main unit to adjust When finished press the LC...
Page 25: ...s inserted incorrectly dirty damaged or is not present at all NO DISC will appear in the display Always hold the disc without touching either of its surfaces When inserting a disc position it with the...
Page 26: ...e Stop button 1 STOP PLAY TO RESUME will appear on the screen Because the unit will remember where you stopped simply press the PLAY button 2 to resume playback where you left off resuming playback If...
Page 27: ...rmal playback The DVD will move forward or backward at high speed until the PLAY button 3 is pressed again normal playback will resume at that point 2 1 3 1 SKIP SEARCH During playback press the SLOW...
Page 28: ...title number Press the ENTER button 4 and playback will start 3 1 2 2 4 1 TIME SEARCH Use this feature to directly go to a specific time Press the SEARCH button 1 once Press the Navigation buttons 2 t...
Page 29: ...ction press the SEARCH button 1 twice the bookmark menu will appear on the screen Use the Navigation buttons 2 to select the desired bookmark and press the ENTER button 3 the DVD will then begin playi...
Page 30: ...more to cancel Repeat mode REPEAT OFF will appear temporarily on screen 1 While in the Playback mode press the Repeat A B button to define where you want the section to start Press the Repeat A B butt...
Page 31: ...e on all discs 2 1 AUDIO MENU SUBTITLE MENU Press the MENU button 1 and the Main Menu of the disc will appear Use the Navigation buttons 2 to select the desired option and then press the ENTER button...
Page 32: ...move the image on the TV screen This is not available on all discs 1 2 1 Press the ANGLE button repeatedly to select an alternate angle This feature is not available on all discs 2 1 ZOOM IN The image...
Page 33: ...on 2 to begin Programmed playback Playback will begin on the first chapter that you programmed and the player will continue to play all of the chapters that you programmed in the order in which you pr...
Page 34: ...k and remaining track time will appear as well as the track number To stop playback press the Stop X button 1 STOP PLAY TO RESUME will appear on the screen for three seconds Press the PLAY button 2 to...
Page 35: ...that point 2 1 3 1 SKIP SEARCH Press the SEARCH button 1 once Press the Navigation buttons 2 to select after TIME then use the Number buttons 3 to select the desired time Hour Minutes Seconds within...
Page 36: ...avigation buttons 2 to select a blank bookmark box then when the desired section appears press the ENTER button 3 to bookmark it To remove the bookmark menu from the screen press the SEARCH button 1 a...
Page 37: ...EAT SINGLE will appear on the screen and the currently playing track will repeat continuously Press the REPEAT button a third time REPEAT ALL will appear on the screen and all tracks on the disc will...
Page 38: ...ammed and the player will continue to play all of the tracks that you programmed in the order in which you programmed them NOTE To stop Programmed playback press the Stop button 1 2 4 PROGRAMMED PLAYB...
Page 39: ...ose the disc tray 2 1 2 After loading a picture CD the pictures will automatically show as a slideshow on the screen Press the Skip n 1 or o 2 button to select the previous or next picture After the s...
Page 40: ...e menus see page 20 Clean the disc This is normal on some discs Select the correct TV type PS LB WIDE which matches the TV you are using Install a fresh battery Install battery according to the diagra...
Page 41: ...DVD not inserted or inserted upside down A non playback disc is inserted The disc is not placed in the guide The disc is dirty Some features and functions are not available on all discs If the audio o...
Page 42: ...the disc to the outer edge of the disc Never wipe in circular motions Discs should be stored in their cases after each use to avoid damage Do not expose discs to direct sunlight high humidity high tem...
Page 43: ...able Discs Played DVD VIDEO Disc 12cm single sided single layer 12cm single sided dual layer 12cm double sided single layer 8cm single sided single layer 8cm single sided dual layer 8cm double sided s...
Page 44: ...Memcorp Inc Weston FL Printed in Hong Kong Visit our website at www memorexelectronics com...