background image

85830 Digicam DE+EN RC1 Cover.FH11   Thu Jan 03 10:23:03 2008      Seite 1     

Probedruck

C

M

Y

CM

MY

CY CMY

K

MTC - Medion Technologie Center

D-45467 Mülheim / Ruhr

Deutschland

Hotline: 01805 / 633 466

 Fax: 01805 / 654 654

(0,14 Euro/Min. aus dem deutschen Festnetzes der Telekom,

abweichende Mobilfunknetzpreise möglich.)

Servicebereich der Homepage:

www.medion.de/service

www.medion.com

Digitale Kamera

Digital Camera

Bedienungsanleitung

User Manual

Medion Electronics Ltd.

120 Faraday Park, Faraday Road, Dorcan

Swindon SN3 5JF, Wiltshire

United Kingdom

Hotline: 0871 37 61 020

Fax: 01793 715716

www.medion.co.uk

GB

D

MD 85830

03/08

Summary of Contents for MD 85830

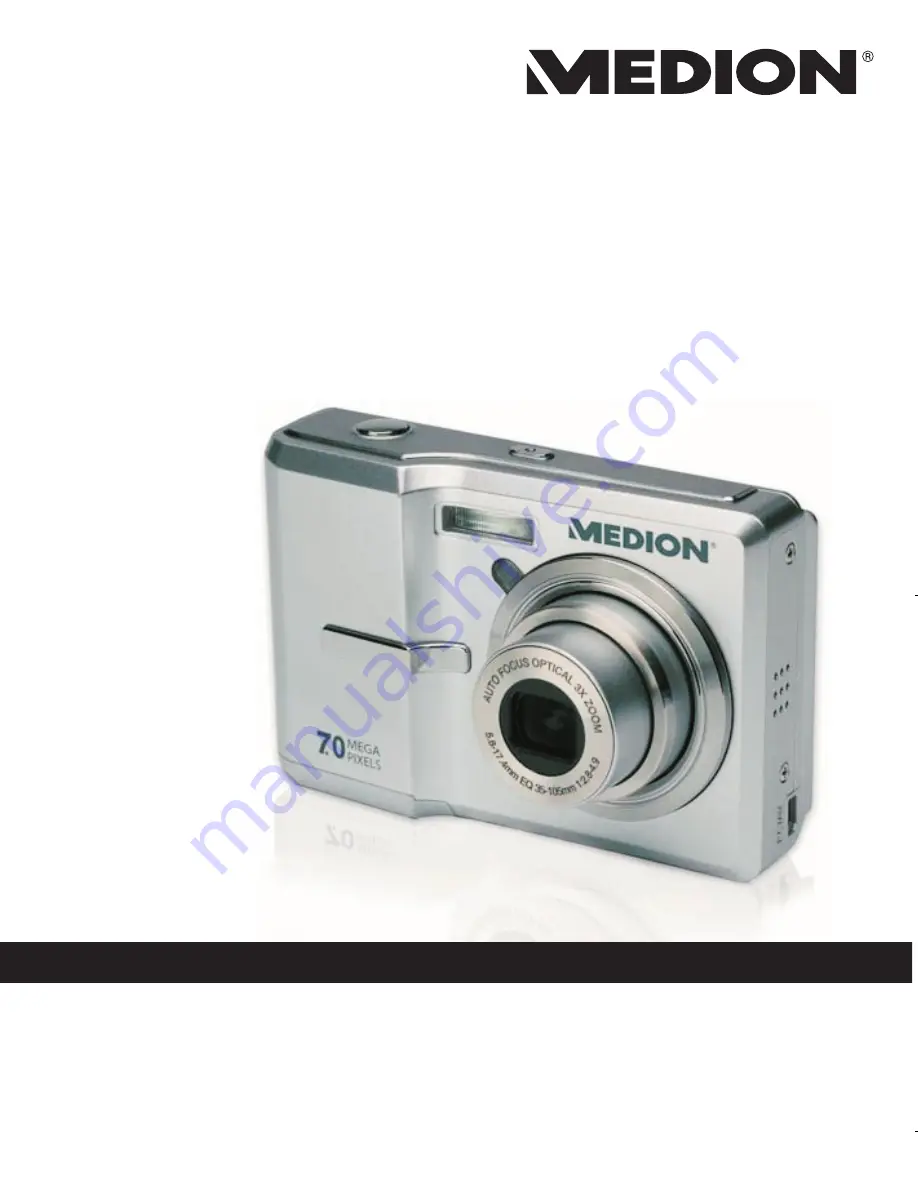
Page 1: ...Digitale Kamera Digital Camera Bedienungsanleitung User Manual MD 85830...

Page 2: ...no guarantee that interference will not occur in a particular installation If this equipment does cause harmful interference to radio or television reception which can be determined by turning the equ...

Page 3: ...rself Do not expose the camera to moisture or extreme temperatures Allow the camera to warm up when moving from cold to warm temperatures Do not touch the camera lens Do not expose the lens to direct...

Page 4: ...2 Bottom View 3 Left Right View 3 LED Indicators 3 Camera Buttons 4 Navigation Buttons 4 The Scene Button 6 Function Buttons 7 LCD screen 8 Capture Video Mode Display 8 Camera Setup 13 Attaching the W...

Page 5: ...24 White Balance 24 Color 24 Saturation 24 Contrast 25 Setup 25 Photo Video Playback 26 Playback Mode Display 26 Viewing Photos Videos on the LCD Screen 28 Viewing M Burst Photos 28 Listening to Voice...

Page 6: ...Auto Power Off 37 Video Out 38 USB Mode 38 Date Stamp 38 Date and Time 39 Language 39 Image Storage 39 Format 40 Reset 40 Voice Memo 40 PictBridge Print PTP 41 Image Storage 41 This Image 42 Index Pri...

Page 7: ...kage It should contain Digital camera USB AV 3 in 1 cable Wrist strap Two AA batteries Camera pouch Quick start guide for all regions Bundled AP CD Application Software Driver and User s Manual for al...

Page 8: ...era Views Front View Back View Top View Flash Zoom Lens Wrist strap loop Self timer LED Microphone OK button Four way navigation buttons LCD screen Menu button Scene button Zoom button Playback button...

Page 9: ...steady Ready to take pictures Green blinking Camera busy Red blinking Fail to focus Self timer LED Assist Lamp Off Self timer off Red blinking 1Hz Self timer count down flashes during last 8 seconds R...

Page 10: ...Press to enable AF area selection when Selected Area is selected in Focus Zone submenu 3 In Playback mode Press to start and pause the video playback Press to stop the voice memo playback 4 In USB mo...

Page 11: ...forward video playback 5 In USB mode MSDC N A PTP Press to select the next image in This Image submenu Down Screen 1 Moves down in the OSD menus 2 In Capture mode Press to turn off extra icons on the...

Page 12: ...n dis plays on the LCD screen Press to pan left in AF area selection 4 In Video mode Press to display the first frame of the last video recorded 5 In Playback mode Press to pan left in magnify crop mo...

Page 13: ...ode Copy Scroll to Copy mode Video Scroll to Video mode Icon Button Function MENU Menu Press to display the Menu options Playback Press to review photos videos clips saved in the internal memory or on...

Page 14: ...n modes Press the Down Screen button to switch between a Full display all icons are displayed or a Simple display only mode icon and focus area are shown while other icons are hidden Capture Video Mod...

Page 15: ...screen English No Name Scene Icon 1 Scene indicator Auto P Mode Portrait Night Portrait Landscape Sport Night Landscape Backlight Museum Snow Sunset Fireworks Party Beach Copy Video 2 Image Resolutio...

Page 16: ...Burst Burst Mode Self Timer 2 Seconds 10 Seconds 6 Macro indicator Macro Mode 7 Image Counter Capture Mode Quantity 9999 Video Mode Timer 00 00 00 8 Memory Interface SD Card Internal Memory 9 Date Sta...

Page 17: ...D screen English 15 AF Frame 16 ISO Speed Auto ISO 80 ISO 100 ISO 200 ISO 400 ISO 800 17 Focus Zone Multi Zone Center Selected Area 18 Sharpness High Normal Low 19 Contrast High Normal Low 20 Saturati...

Page 18: ...12 Introduction LCD screen English 21 White Balance Auto Sunny Tungsten Fluorescent Cloudy 22 Camera Steady Warning 23 AE Metering Average Matrix Spot...

Page 19: ...larger loop of the strap though the short loop and pull tight to attach the strap to the camera Inserting the Batteries Follow these instructions to insert the two AA batteries into the battery compa...

Page 20: ...Follow these instructions to insert the SD MMC SDHC card 1 Open the battery com partment at the bottom of the camera 2 Insert the SD MMC SDHC card into the memory card slot as shown 3 Close the batter...

Page 21: ...r pow ering on the camera After the desired language is selected the Date and Time menu pops up Use the navigation but tons to toggle each field and adjust the value Press the OK button to confirm Not...

Page 22: ...camera as still as pos sible as a longer exposure time more than 1 30 second is required Using Macro Mode Macro mode is designed for close up photography and can capture all detail even when your sub...

Page 23: ...lf timer burst mode 1 Press the Right Self timer Burst mode navigation button to cycle through the self timer or and burst photography options or on the LCD screen 2 Once you have selected an option f...

Page 24: ...face the camera will set the focus to Multi Zone with a green or red focus frame Recording your First Video You can also record video clips with the camera To record a video clip 1 Turn the camera on...

Page 25: ...right after it s taken To record a voice memo 1 Hold the Shutter button to start recording and release the Shutter button to stop recording 2 While recording the selected image is shown on the LCD sc...

Page 26: ...button to confirm Refer to the following sections for more detailed information about each setting Image Resolution The Image Resolution setting refers to the size of the image in pixels Use the Up Do...

Page 27: ...time the Up Down nav igation buttons are pressed Press the OK button to return to the Capture menu and save the current setting which will take effect until it is changed again EV Compensation The EV...

Page 28: ...g and preview it on screen before confirming your choice Use the Up Down naviga tion buttons to select from the options Five white balance settings are available Auto default Sunny Tungsten Fluorescen...

Page 29: ...Up Down navigation buttons to select from the options Four color settings are available Vivid Color default Black White Sepia Sharpness The Sharpness setting allows you to enhance the finer details o...

Page 30: ...wn navigation buttons to high light an option and press the OK button to con firm Refer to the following sections for more detailed information about each setting Video Resolution The Video Resolution...

Page 31: ...apture Settings 25 Video Capture Menu English Contrast See Contrast on page 24 for more details on the setup menu options Setup See The Setup Menu on page 36 for more details on the setup menu options...

Page 32: ...G 2005 12 12 2005 12 12 00 00 00 00 00 00 12345678 JPG 2005 12 12 00 00 00 0 3EV 0 3EV 0 3EV 000_0005 AVI 000_0005 AVI 2005 12 12 2005 12 12 12 23 40 12 23 40 000_0005 AVI 2005 12 12 12 23 40 2 30 2 3...

Page 33: ...e 00 00 00 Length of the video clip 7 Quantity 1 140 2 30 8 SD card Internal memory 9 Histogram 10 File Name Photo mode XXX 0000 JPG Video mode 000_0005 AVI 11 Date and Time 2005 12 12 00 00 00 12 Nex...

Page 34: ...video clip finishes playing the LCD screen displays the first frame of the clip Viewing M Burst Photos To view your multi burst photos on the LCD screen 1 Press the Playback button The most recent pho...

Page 35: ...mera and make sure that the camera s video out format is set to the same as that of the TV See Video Out on page 38 for more information 2 Connect the USB AV 3 in 1 cable to the USB port on the camera...

Page 36: ...1 In Playback mode press the Up Flash Delete navigation button to display the Delete menu 2 Press the Up Down navigation buttons and the OK button to select from the three available options Cancel Se...

Page 37: ...ory card and take it to a photographic shop for printing or use it with a DPOF compatible printer To set DPOF 1 Press the MENU button to select DPOF from the menu 2 Press the Up Down navigation button...

Page 38: ...it Select to exit to the main menu Resize The Resize function allows you to change the image resolution To resize a photo 1 Press the MENU button to select Resize from the menu 2 Press the Up Down nav...

Page 39: ...ttons and the OK button to rotate the select image OK Select to rotate the image Exit Select to exit to the main menu Protect You can lock a photo or video to protect it from being accidentally erased...

Page 40: ...allows you to move images stored in internal memory to a memory card To move an image 1 Press the MENU button to select Move from the menu 2 Press the Up Down navigation buttons and the OK button to...

Page 41: ...instructions to complete the installation Connect the camera s USB port to a free USB port on your PC using the USB cable The camera s internal memory and or SD MMC SDHC card appear as removable driv...

Page 42: ...s and press the OK button to enter further submenus and to confirm your selection Refer to the following sections for more detailed information about each setting File Number The File No setting allow...

Page 43: ...able Off Low default High Auto LCD Off The Auto LCD Off setting allows you to adjust the length of time that the LCD screen will remain lit before turning off to save battery power Three options are...

Page 44: ...on PTP func tion please See PictBridge Print PTP on page 41 MSDC default The camera is set up to act as a mass storage device allowing only for transfer of files between your camera and PC Date Stamp...

Page 45: ...menu options Image Storage The Image Storage setting allows you to specify where photos and video clips will be stored The camera features 10 5 MB internal memory but you can also insert an SD MMC SD...

Page 46: ...at action Reset The Reset setting allows you to reset the camera to the original factory default settings This means all modifications you have made to the camera set tings will be cleared Once select...

Page 47: ...e USB mode is not set at PTP an error message displays on the LCD screen When a PTP compliant printer is connected to the camera the Printer Connecting screen displays on the LCD screen The Print menu...

Page 48: ...vious next file 2 Press the Up Down navigation buttons to set the number of copies 3 Press the Up Down navigation buttons again to select the paper size Default Size 4 x 6 Letter A4 4 Press the Up Dow...

Page 49: ...r A4 2 Press the Up Down navigation buttons to set the number of copies After the number of cop ies is set press the Up Down navigation but tons again to continue or cancel the action DPOF Image See D...

Page 50: ...on buttons to set the number of copies 3 Press the Up Down navigation buttons to select the Paper size Default Size 4 x 6 Letter A4 4 Press the Up Down navigation buttons to select Continue or Cancel...

Page 51: ...105mm Focus Mode Normal 50cm to infinity Macro 15cm 50cm Shutter Speed 8 1 1500 Sec Viewfinder None Field of View 99 by LCD Camera Features Auto Power Off Time Out Yes ISO Equivalent Auto ISO80 100 20...

Page 52: ...e Compensation Selectable 2 0EV with 0 3 EV steps Sharpness High Normal Low Color B W Sepia Vivid Color Metering Average Matrix Spot Focus Multi Zone Single Zone Center Selected area Flash Range 2 5m...

Page 53: ...rd Microphone Yes Mono Power Battery AANiMH Alkaline Rechargeable batteries x 2 Battery Life Alkaline CIPA 100 images Capability Camera Interface USB 2 0 full speed Host Platform Windows XP Vista Stan...

Page 54: ...batteries LCD screen displays Card Requires Formatting Memory card format not recognized Re format the memory card LCD screen displays Card is Full Memory card is full Replace the memory card with a...

Page 55: ...ed above and is eligible for repair or replacement under the terms of the warranty to return your product please telephone MEDION on the service hotline number You will be sent a pre paid transportati...

Page 56: ...materials subject to wear and tear i e for parts which have to be replaced periodically during the normal use of the product such as video projector lamp Non critical failures that fall within indust...

Page 57: ...ing of the call II Special warranty conditions for MEDION PC notebook pocket PC PDA and navigation devices PNA The following terms apply to MEDION PC notebook desktop pocket PC and laptop products and...

Page 58: ...the special warranty conditions for repair or replacement of your MEDION product on site apply The following provisions must be made by you for carrying out repairs or replacements on site MEDION or i...

Page 59: ...aus dem deutschen Festnetzes der Telekom abweichende Mobilfunknetzpreise m glich Servicebereich der Homepage www medion de service www medion com Medion Electronics Ltd 120 Faraday Park Faraday Road...

Reviews: