Editing records (Performing Common Tasks)
Using Phone Lookup
The Phone Lookup option lets you add a telephone number from the Address list to an entry in
another application. For example, you can add your dentist's telephone number to your dental
appointment date in the Date Book.
1.
Display the record in which you want to insert a phone number. The record can be in the Date
Book, the To Do List, or the Memo Pad.
2.
Do one of the following:
·
Tap the Menu icon. Tap Options, and then tap Phone Lookup.
·
Tap the inverted tab at the top of the screen; then tap Options and tap Phone Lookup.
·
In the text input area, drag a diagonal line from the lower left to upper right to display the
Command toolbar. In the text area, write an L, the ShortCut for the Phone Lookup command.
3.
Select a record or write the first few letters of the name you want to add. Tap Add to add the
information to the record.
TIP
You can automatically replace text from any of the standard applications discussed in this manual
with the name and phone number found within your Address Book using Phone Lookup. Just place
your cursor or drag and highlight a section of text you want to replace, then follow step 2 above.
When the search is complete, the name and phone number of the candidate will be added.
Sorting records
You can sort lists of records in various ways, depending on the application. Sorting is available in
applications that display lists—in the Address Book, To Do List, and Memo Pad.
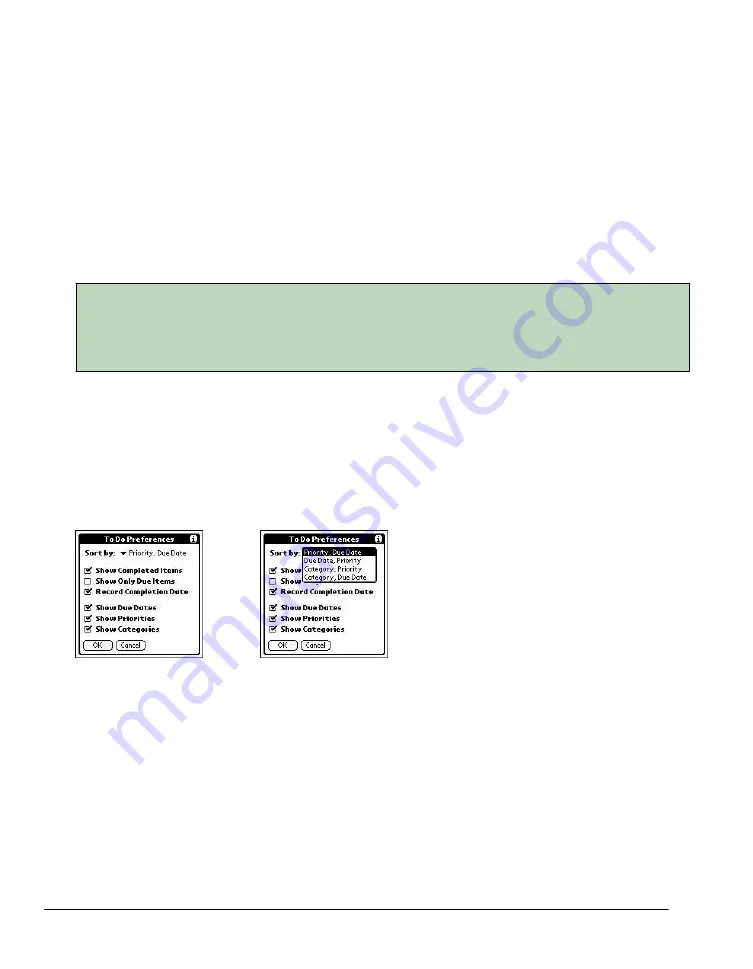
To sort records in the To Do List :
1.
Open the application to display the list screen.
2.
Tap Show.
3.
Tap the Sort By pick list, and select an option.
4.
Tap OK.
To sort records in the Address Book and Memo Pad:
1.
Open the application to display the list screen.
2.
Do one of the following:
·
Tap the Options icon. From the Options menu, tap Preferences.
·
Tap the inverted tab at the top of the screen; then tap Preferences in the Options menu.
·
In the text input area, drag a diagonal line from the lower left to upper right to display the
Command toolbar. In the text area, write an R, the ShortCut for the Preferences command.
Summary of Contents for MEZ1000
Page 1: ...User s Guide for Meazura MEZ1000 ...
Page 9: ...Part 1 Part 1 Introduction to the Meazura MEZ1000 RDA ...
Page 26: ...Part 2 Part 2 Entering Data in Your Meazura MEZ1000 RDA ...
Page 36: ...Part 3 Part 3 Managing Applications ...
Page 46: ...Part 4 Part 4 Working with Applications ...
Page 75: ...75 ...
Page 76: ...Part 5 Part 5 Using the Attention Manager ...
Page 81: ...Part 6 Part 6 Using an Expansion Card ...
Page 87: ...Part 7 Part 7 Performing Common Tasks ...
Page 98: ...Part 8 Part 8 Beaming Information ...
Page 101: ...Part 9 Part 9 Exchanging and Updating Data using HotSync Operations ...


