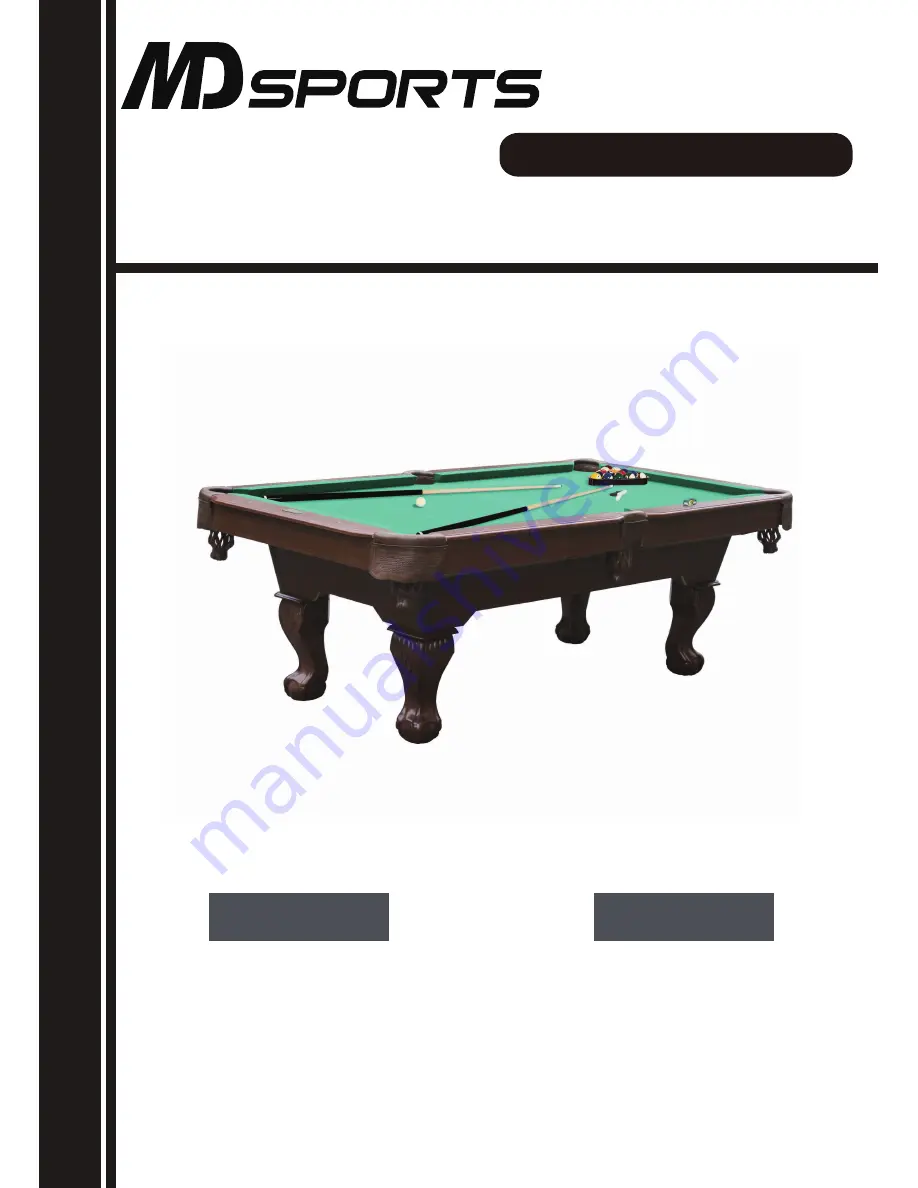
background image

MODEL/MODELO: BLL090_066B

INSTRUCCIONES DE ENSAMBLAJE

ASSEMBLY INSTRUCTIONS

TM

ATTENTION


Contact

MD Sports 

Customer Service

DO NOT RETURN

TO THE STORE

Toll Free: 877-885-1635

* For additional resources and Frequently 

Ask Questions, please visit us at

themdsports.com

ATENCIÓN


Contacto

MD Sports 

Servicio al Cliente

Llamados gratuitos: 877-885-1635

* Por mayor información y Preguntas 

Frecuentes, favor visitarnos en 

themdsports.com

NO DEVOLVERLO 

A LA TIENDA

Summary of Contents for BLL090 066B

Page 1: ...O NOT RETURN TO THE STORE Toll Free 877 885 1635 For additional resources and Frequently Ask Questions please visit us at themdsports com ATENCI N Contacto MD Sports Servicio al Cliente Llamados gratu...

Page 2: ...WARRANTY Give Us Your Opinion and Receive A Write a review for a recently purchased item on TheMDSports com and receive an extended full year limited warranty valued at 150 00 See TheMDSports com for...

Page 3: ...direcci n n mero telef nico n mero de modelo partes necesarios a la m quina contestadora si no fuera atendido El fracaso de hacer as le causar un retraso del env o de partes 2 Por favor consultar la...

Page 4: ...or ajuste el par de giro bajo y sea extremadamente precavido PELIGRO DE ASFIXIA Este art culo contiene piezas peque as y o pelotas peque as No apto para menores de 3 a os ADVERTENCIA El ensamblaje deb...

Page 5: ...28 M6x50mm Bolt Cerrojo M6x50mm M6 Spring Lock Washer Arandela de Cerradura de Resorte M6 x32 x28 x28 x9 x8 M6 Washer Arandela M6 Contin a en la siguiente p gina www themdsports com BLL090_066B 3 Cont...

Page 6: ...dults 2 Remove all the parts from the box and verify that you have all of the listed parts as shown on the parts list pages Carefully cut or tear the four corners of the box so that the bottom of the...

Page 7: ...cas de Fondo de la Pata 5 y los Panel Superior de Pierna 6 Vea la FIG 1 4 Insertar las piezas armadas 4 5 6 en las Patas Pl sticas A 7 Vea la FIG 1 y 1A FIG 2A FIG 2B 5 Attach the Plastic Legs C 9 to...

Page 8: ...ds A 10 to the Legs using four Bolts 21 four Spring Lock Washers 22 and four Washers 23 per Leg See FIG 4B 11 Tear off the backside papers of the EVA pad 30 and stick them onto the bottom of the Leg S...

Page 9: ...l inferior 2 Fald n del extremo 3 usando 2 Tornillos 24 por Delantales de Rinc n Vea la FIG 5 2 3 12 X 2 X 2 X 4 24 X 8 FIG 5 24 12 3 2 TOP VIEW Part 12 VISTA SUPERIOR Parte 12 SIDE VIEW Part 12 VISTA...

Page 10: ...elve Bolts 21 twelve Spring Lock Washers 22 and twelve Washers 23 See FIG 6A and 6B FIG 6 FIG 6 FIG 5 Assembly Montaje FIG 5 13 Adjunte el Montaje FIG 5 al Unidad Principal 1 usando 12 Cerrojos 21 12...

Page 11: ...to the Aprons using four Bolts 26 four Spring Lock Washers 27 and four Washers 28 per Leg See FIG 7A FIG 7 FIG 7 26 X 16 27 X 16 28 X 16 P4 X 16 FIG 4 Assembly Montaje FIG 4 14 Adjunte el Pata Montaje...

Page 12: ...ee la mesa 3 Coloque las cuatro patas de la mesa sobre el piso al mismo tiempo FIG 8 www themdsports com BLL090_066B 10 Contin e en la siguiente p gina Continued on the next page Espa ol English FIG 8...

Page 13: ...E NOW READY TO PLAY USTED ESTA AHORA LISTO PARA JUGAR 25 P2 P1 16 Utilize shims 25 as shown to level the table if required 16 Usar shims 25 como indicado para nivelar la mesa en caso requerido Note Ut...

Reviews: