NIPE Monitor V1 - Continuous monitoring system of comfort
.
/
.
discomfort for newborn infants
MD/PRD/IN16.NIPEV1 v.10 - 12 MAR 2020
22
•
EDIN > 5
•
EDIN < 5
•
Slaap
•
Waak
By selecting one of these buttons, the chosen event will be inserted on the NIPE Monitoring
display, and also on the
NIPE browsing
display and on the
instantaneous NIPE
display.
The insertion of one of these events will be automatically saved in the “Index” type file,
which can be retrieved with a USB key (see chapter 8.3). You have also the possibility to edit
your own desired events list (see in that case the chapter 8.4).
If you wish to delete an event inserted on the curve, select this event in the white square and
select the button [
Wissen]
. Then click on the button
[X]
to get back to the monitoring display.
7.3
Screenshot
When the user selects the button [
Screen shot]
, all the information displayed is saved in the
monitor’s memory as picture format. Each time the user decides to get a screenshot, one
picture will be saved in the monitor’s memory.
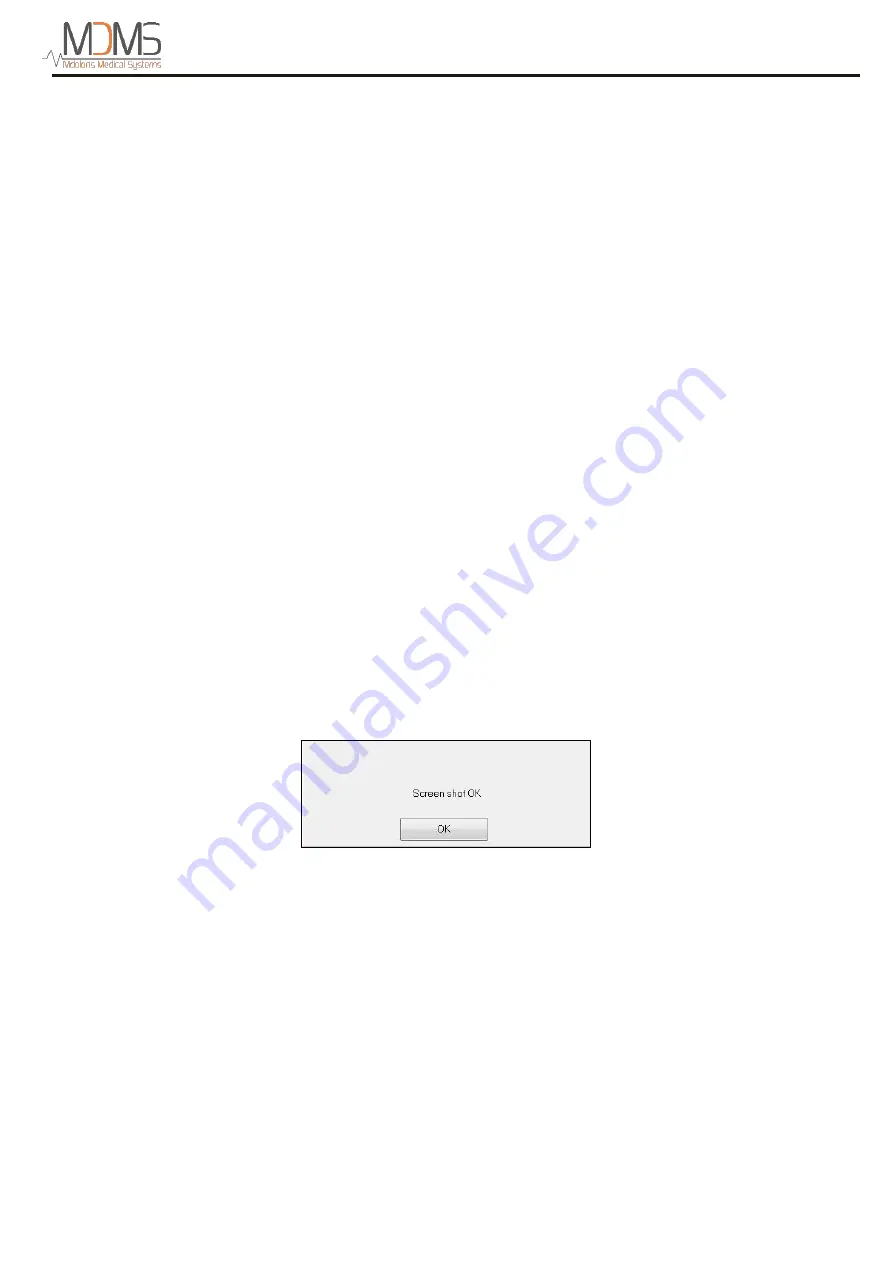
A message will appear to confirm the success of the screenshot (figure 19). Select the button
[
OK]
to remove this confirmation from the display.
To get these pictures, you have to stop the monitoring. To do this, select
[stop monitoring]
in
the bottom right hand corner of the display. Then plug a USB key in the USB port called
“Data Export” on one of side of the monitor.
In the new display (the main menu), choose [
Opname management
] then [
Export naar
USB sleutel].
The pictures will be saved in a folder created automatically on the USB key.
The name of the folder follows this rule: Hour-Minute-Month-Day-Year.
Figure 19


