38
Chapter 5, Connecting Your External Devices
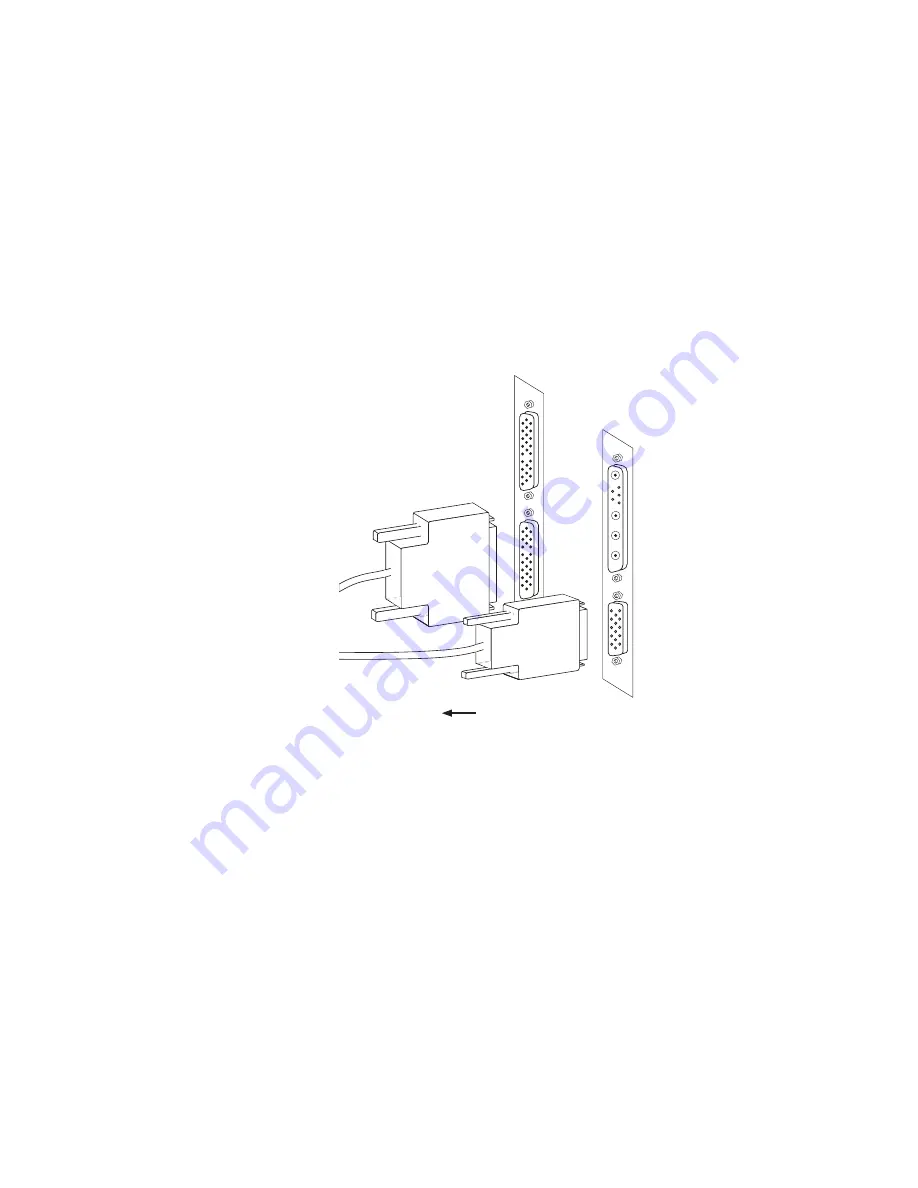
Connect DigiConnect/Audio to your computer
Attach the two connectors on your breakout box cable to the correct jacks
on the backplate of your installed DigiSuite LX and digital module (if
applicable). Tighten the thumb screws until snug to ensure a stable
connection.
°Important
Do not bend the attached cable too sharply. Excessive
bending or flexing can damage the internal shielded wires.
Choosing your connection signal options
As you can see by reading the front panel labels, DigiConnect/Audio offers
several signal options.
¯Note
The front switches on DigiConnect/Audio are all recessed to
prevent unwanted changes. Use a small screwdriver or other appropriate
object to change the settings as required.
Analog audio input
You can choose between the XLR and RCA input connections by simply
sliding the appropriate BAL/UNBAL switch towards the jack you wish to
DigiSuite LX
Digital module
Video
connector
Video
connector
Audio
connector
Audio
connector
DigiConnect/Audio
Summary of Contents for DigiSuite LX MAX
Page 1: ...10767 101 0700 Installation Manual November 5 2001 DigiSuite LX MAX...
Page 4: ......
Page 12: ...x Contents Your notes...
Page 24: ...12 Chapter 2 Preparing Your DigiSuite System for Upgrading to DigiSuite LX MAX Your notes...
Page 30: ...18 Chapter 3 Preparing Your System for a New Installation Your notes...
Page 70: ...58 Chapter 5 Connecting Your External Devices Your notes...
Page 80: ...68 Chapter 6 Installing the DigiSuite LX MAX Software Your notes...
Page 116: ...104 Chapter 7 Configuring Your DigiSuite LX MAX Your notes...
Page 158: ...146 Index Your notes...
Page 160: ...www matrox com video...


