


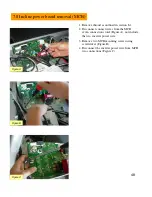


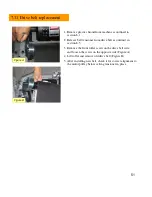
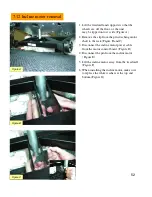
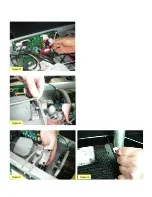

46
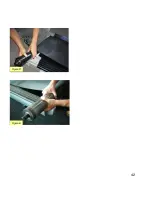
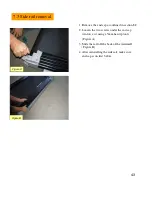
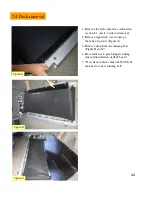
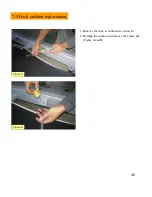
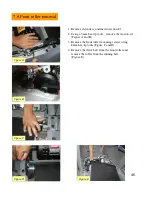
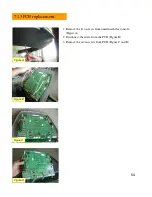
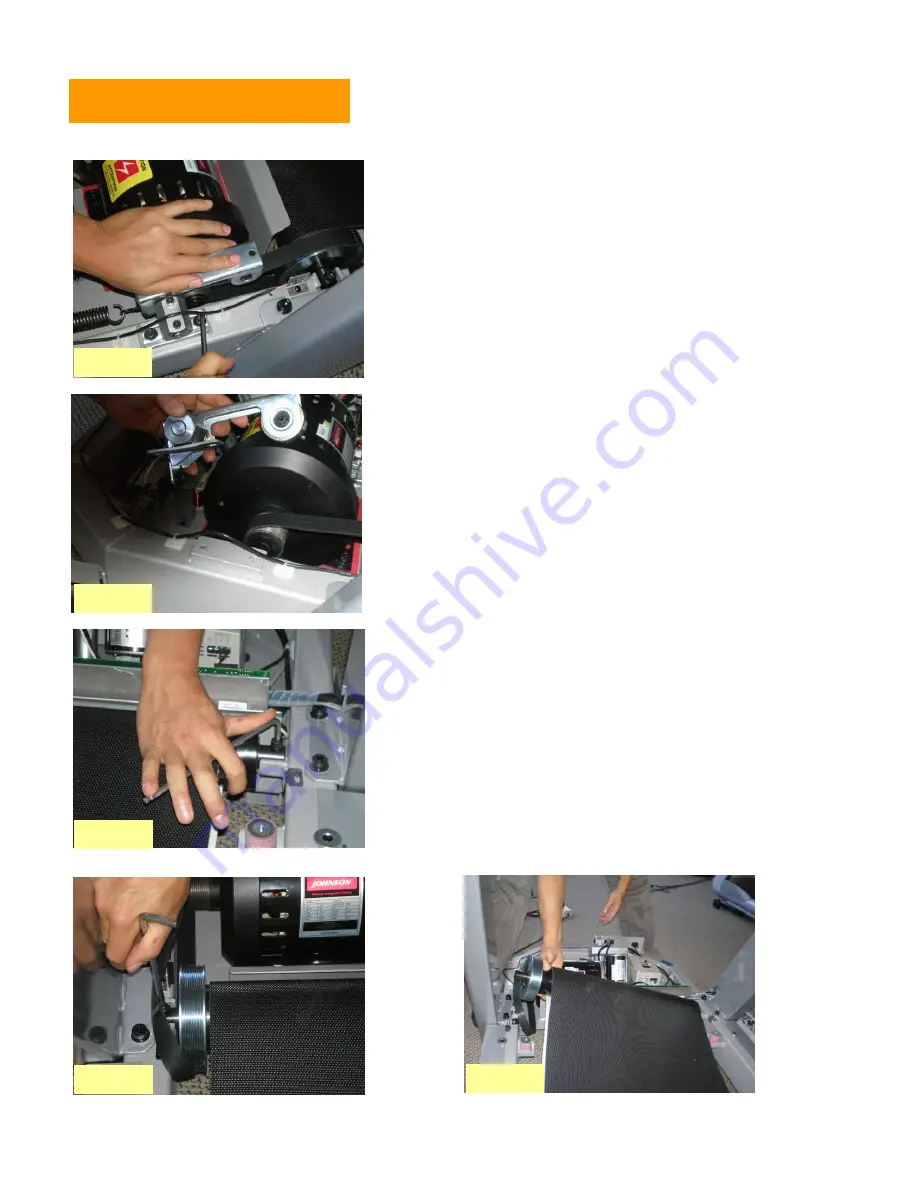
7.6 Front roller removal
1. Remove shrouds as outlined in section 8.1
2. Using a 5mm hex-tip tools , remove the tension set.
(Figure A and B)
3. Remove the front roller mounting screws using
8mm hex-tip tools (Figure C and D)
4. Remove the drive belt from the front roller and
remove the roller from the running belt
(Figure E)
Figure A
Figure B
Figure C
Figure D
Figure E
Summary of Contents for MX-T3x
Page 1: ...1 MX T3x TM94E AC SYSTEM SERVICE MANUAL...
Page 4: ...4 SERIAL NUMBER LOCATION SECTION 1...
Page 5: ...5 Matrix T3x TM94E Serial Number Location...
Page 6: ...6 MOVING THE UNIT SECTION 2...
Page 8: ...8 IMPORTANT SAFETY I N S T R U C T I O N S SECTION 3...
Page 12: ...12 PREVENTATIVE MAINTENANCE SECTION 4...
Page 19: ...19 SECTION 5 MANAGER MODE...
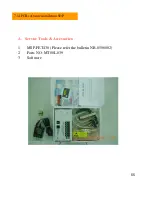
Page 23: ...23 SECTION 6 TROUBLE SHOOTINGS...
Page 24: ...24 6 1 Electrical block diagram...
Page 25: ...25 6 2 Wire pin definition P01 Console Wire...
Page 26: ...26 P04 Inverter Wire N24 Pulse Board Wire...
Page 27: ...27 P11 CTRL Overlay Wire Left P12 CTRL Overlay Wire Right...
Page 35: ...35...
Page 39: ...39 SECTION 7 PARTS REPLACEMENT...
Page 42: ...42 Figure D Figure E...
Page 53: ...53 Figure D Figure E Figure F Figure G...
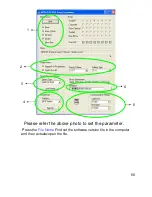
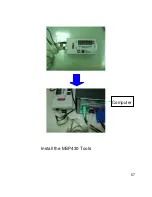
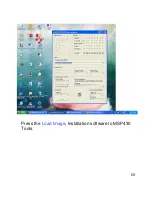
Page 57: ...57 Install the MSP430 Tools Computer...
Page 58: ...58 Press the Load Image Installation software to MSP430 Tools...
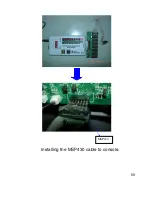
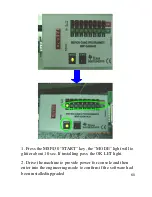
Page 59: ...59 Installing the MSP430 cable to console MSP430...
Page 61: ...61 SECTION 8 UPGRADES...