background image

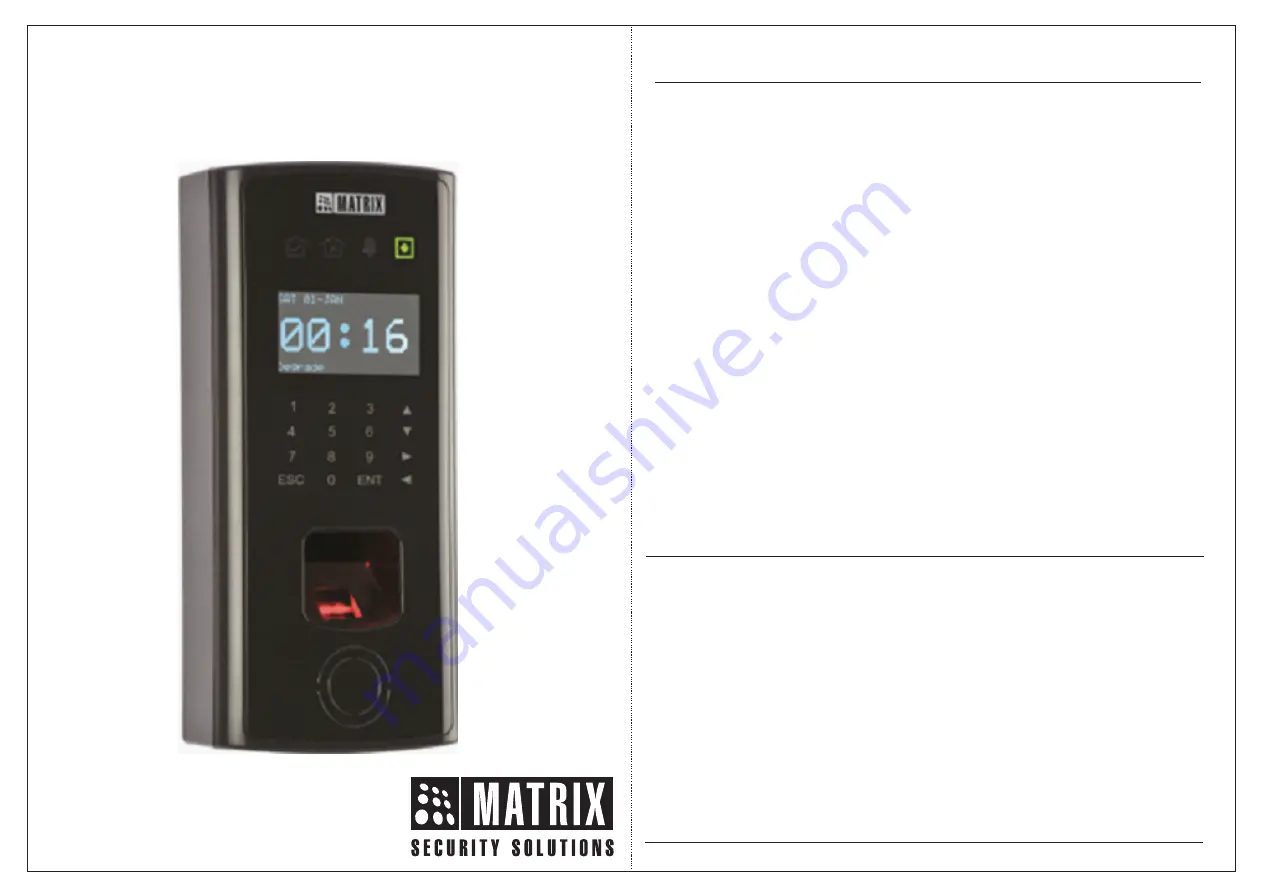
COSEC DOOR V4

Quick Start


What Your Package Contains

Things You Will Need

Prepare For Installation

Know Your COSEC DOOR

Rear View
Bottom View

Front View

Mounting the Door Controller

Powering On the Device

LED Status Indicators

Connecting the Door to COSEC Server

Connecting as Direct Door

Connecting as Panel Door

Technical Specifications

5

5

3

6

3

4

5

12

14

14

15

15

16

17

Please read this guide first for correct installation and retain it for future reference. The 
information in this guide may change from time to time. However, Matrix Comsec 
reserves the right to make changes in product design and specifications without prior 
notice.

Copyright

All rights reserved. No part of this document may be copied or reproduced in any 
form or by any means without the prior written consent of Matrix Comsec.

Warranty

Limited Warranty. Valid only if primary protection is provided, mains supply is within 
limit and protected, and environment conditions maintained within product
 specifications. Complete warranty statement is available on our website:

www.matrixaccesscontrol.com

CONTENTS

11.19"

Summary of Contents for COSEC Door V4

Page 1: ...n it for future reference The information in this guide may change from time to time However Matrix Comsec reserves the right to make changes in product design and specifications without prior notice...

Page 2: ...on Keys COSEC DOOR Front View Card Personality Module must be ordered seperately Card Personality Module CPM CPM Slot COSEC DOOR Rear View 1 2 3 4 5 6 1 2 3 4 5 6 7 8 9 10 1 2 3 4 5 6 1 2 1 2 3 4 5 6...

Page 3: ...ettings of the Door Controller Preparing for Installation Step 1 Unpacking the DOOR Unpack COSEC DOOR and check your package contents Select a Location It must be a flat surface such as a wall close t...

Page 4: ...rew holes along the markings you traced on the wall Cut out the rectangular hole on the wall Insert the screw grips into the holes you drilled Fix the Mounting Plate on the installation surface with t...

Page 5: ...r supply cable 2 pin connector with a DC jack on one end into the power terminal PWR In C6 Care must be taken to maintain the correct polarity Connect the power adapter to the DC jack Plug the adaptor...

Page 6: ...xiliaryinputport AUX C4 AuxiliaryOutput The Auxiliary output por t can be used for activating alarm devices like hooter energizesomedevices controlannunciation devices If you are connecting an alarm d...

Page 7: ...d off at the end of booting cycle LED Status Indicators Powering On the Device TheCOSECDOORcanbeconnectedtothenetworkoverEthernet Wi Fi andMobileBroadband TheCOSECDOORispre configuredwithadefaultIPadd...

Page 8: ...gh Ethernet cables Figure 9 Connecting as a Direct Door 1 1 2 2 3 3 4 4 5 5 6 6 7 7 8 8 9 9 0 0 ESC ESC ENT ENT 1 1 2 2 3 3 4 4 5 5 6 6 7 7 8 8 9 9 0 0 ESC ESC ENT ENT Connecting as a Panel Door To us...

Page 9: ...Weight FOTW FOPW Built in PoE Built in Wi Fi Built in Bluetooth No No Yes IEEE 802 11 b g n Yes IEEE 802 11 b g n No No Yes IEEE 802 11 b g n No Yes Yes No No Yes RS 232 and Wiegand No No Internal 12...

Page 10: ...20 19 www matrixaccesscontrol com Head Office 394 GIDC Makarpura Vadodara 390010 India Ph 91 1800 258 7747 Email Support MatrixComSec com MATRIX COMSEC V 1 July 19...

Reviews: