


Page 34
mPower 300 Series (Rev G)
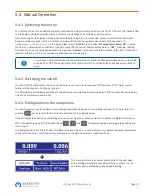
5.4.6 Manual adjustment of set values
Adjusting set values of voltage, current and power is a key feature of a power supply and hence the two rotary knobs on
the front of the unit are usually assigned to two of the three values, in manual operation. Default assignment is voltage
and current.
During manual operation, these set values can only be adjusted with the
rotary knobs
.
Adjusting a value is immediately submitted, no matter if the output is switched on or off.
When adjusting the set values, upper or lower limits may come into effect. See section
. Once a limit is reached, the display will show a note like “Limit: U-max” etc. for ≈2
seconds.
►
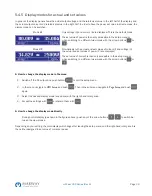
How to adjust values U, I or P with the rotary knobs
1. First check whether the value to be changed is assigned to one of the rotary knobs already. The assignment can be
changed by selecting a different view mode. See
5.4.5. Display modes for actual and set values
2. With mode UI selected and as long as the main display is active, turn the left-hand knob to adjust output voltage
and the right-hand knob to adjust the output current. In mode UP, turn the right-hand knob to adjust the output
power, as long as the power set value with unit W (Watts) is displayed. The arrow buttons
can be used
to toggle between current and power set value.
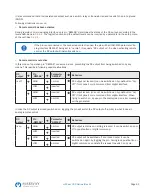
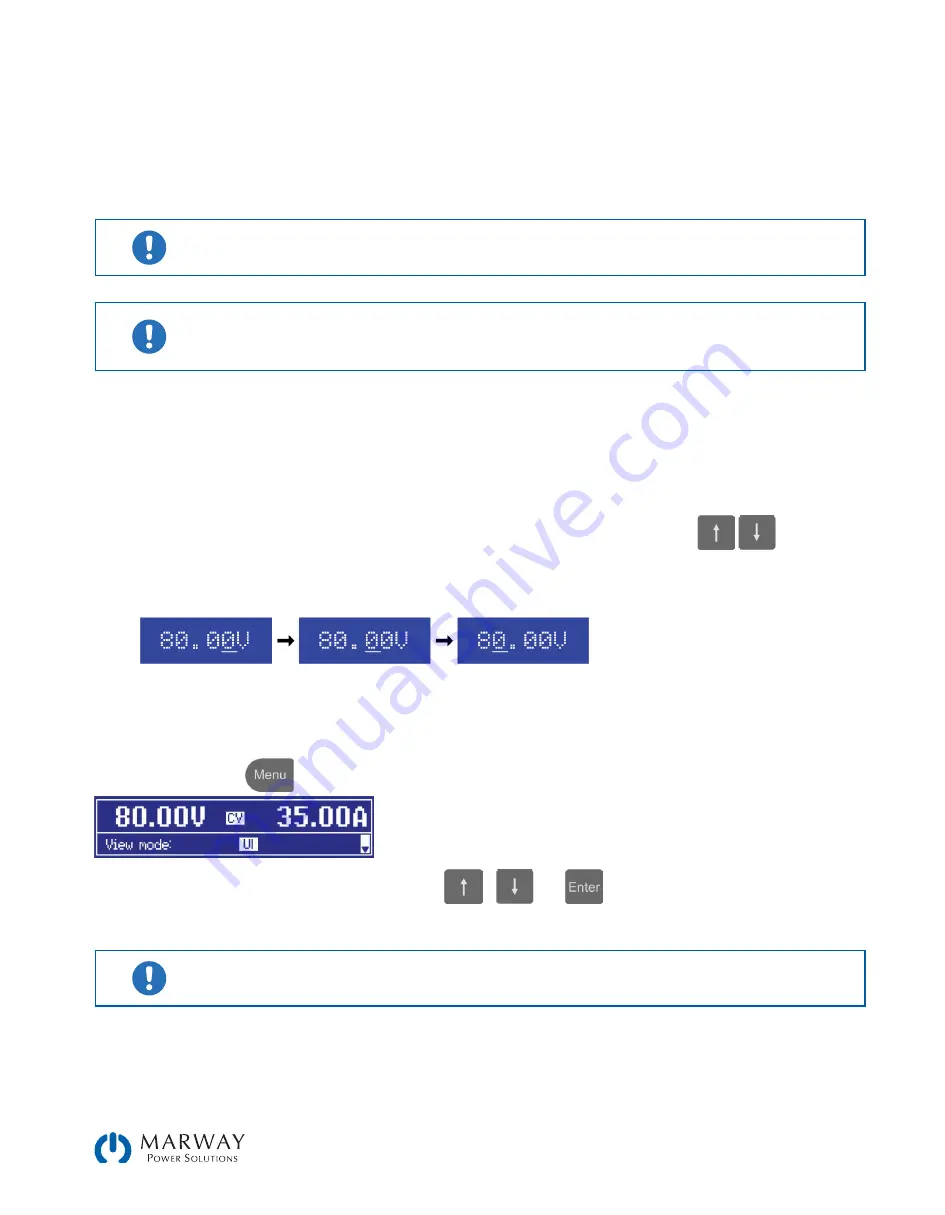
3. Any set values can be adjusted with the adjustment limits. For switching the digit to adjust, push the rotary knob
that you are currently using to adjust the value. Every push moves the cursor under the digit in clockwise order:
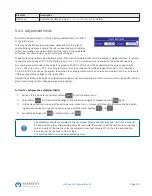
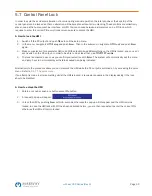
5.4.7 The quick menu
The quick menu is an alternative menu for quick access to offline features while the DC output is online.
It is accessible with the
button and looks like this:
Navigation in the menu is also done with arrow buttons
/
and
.
You can select the between view mode and the HMI lock, each with three button pushes.
Attention! If you activate the HMI from within the quick menu, the additional PIN lock might become
active, depending on your settings in the MENU. There is no extra indication here!


