The 2D Stage Layout
137
W
ORKING
WITH
O
THER
E
LEMENTS
While similar in many ways, modification to other elements are somewhat different that
modifications to fixtures.
T
R U S S
T
O
A
DD
T
RUSS
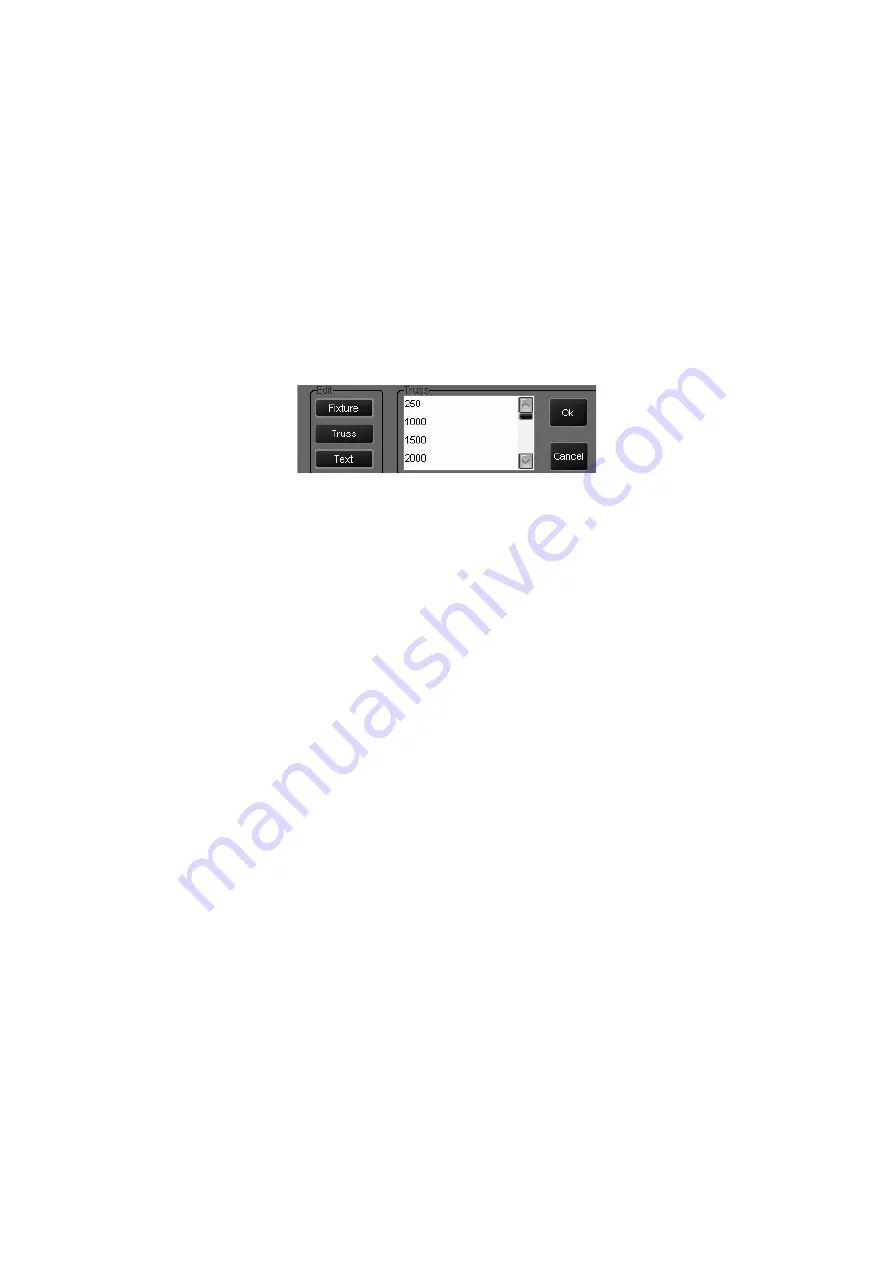
1 Select “Truss” from the “Edit” box.
2 Select “Add.”
A pop-up menu will appear:
Scroll down the list to find the length or type of truss desired. Note that truss is generic and
lengths are given in centimeters.
3 Click on the desired truss and click on “Ok.”
4 Move the cursor to the layout area and click to insert the truss.
5 To add additional pieces of the same truss, click again.
6 When finished placing truss, select “Add.”
7 Click “Cancel” in the pop-up menu.
T
O
D
ELETE
T
RUSS
1 Select truss piece to be deleted.
2 Click on “Delete.”
Note: If truss does not immediately disappear from screen, you may need to refresh the display.
To do this, press “Set Up” to close the editing window and then press “Set Up” again to re-open it.
T
E X T
T
O
A
DD
T
EXT
1 Select “Text” from the “Edit” box.
2 Click on “Add.”
A pop-up window will appear with a list of font sizes.
3 Select the desired font size and press “Ok.”
A pop-up window will appear in the playback touch screen.
4 Enter your text using the keyboard and press “Ok” on the pop-up window.
5 Move the cursor to the layout area and click to insert the truss.
Summary of Contents for Maxxyz
Page 1: ...Maxxyz user manual For Use with Software Version 1 3 78 ...
Page 8: ...8 Maxxyz ...
Page 154: ...154 Maxxyz ...
Page 155: ...Appendix 3 Wiring Charts 155 ...
Page 156: ...Appendix 3 Wiring Charts 156 ...
Page 160: ......


