MARTIN AUDIO DX0.5
USER GUIDE
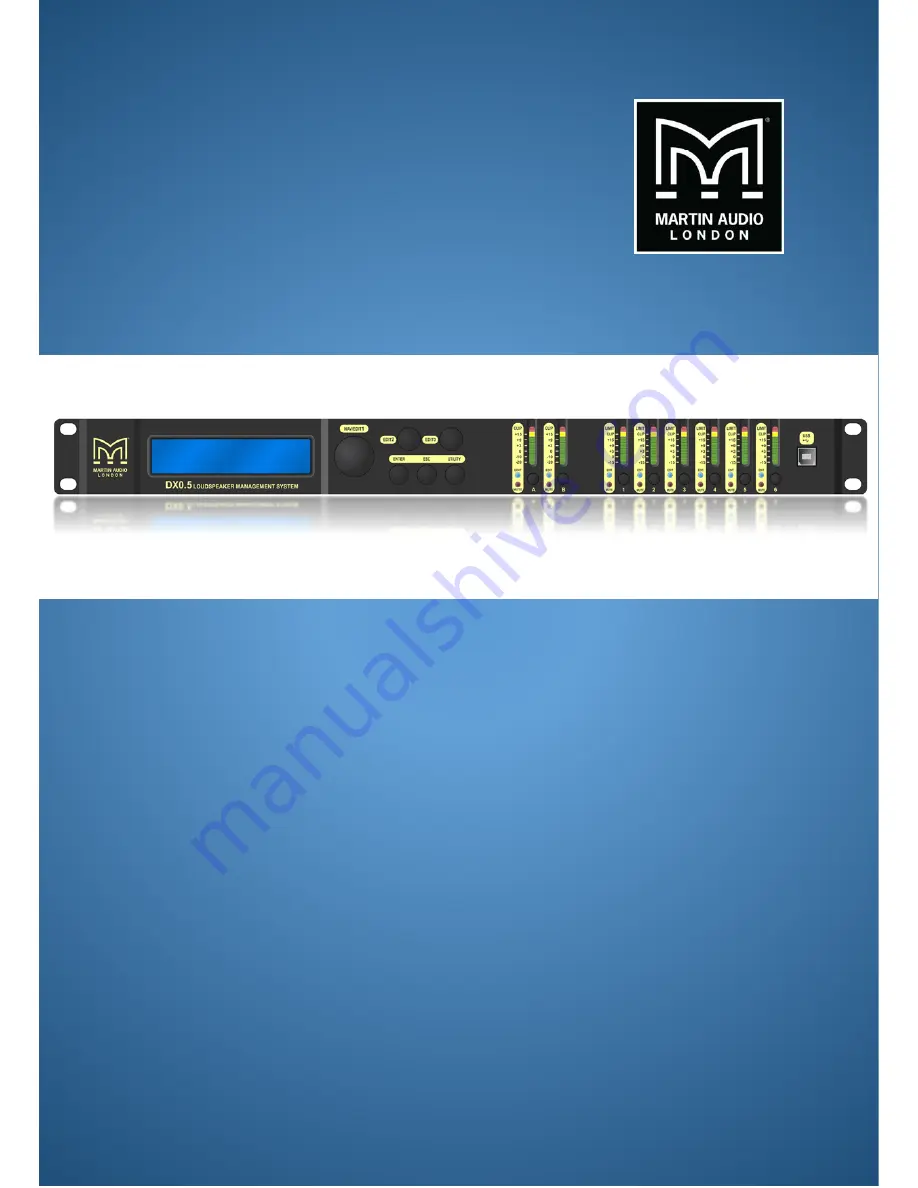
DX0.5
LOUDSPEAKER MANAGEMENT SYSTEM
Page 1: ...MARTIN AUDIO DX0 5 USER GUIDE DX0 5 LOUDSPEAKER MANAGEMENT SYSTEM...
Page 2: ...Separate Stereo Full Range Loudspeakers 12 Powered Arrayable Loudspeakers and Subwoofers 13 DX0 5 2x6 Loudspeaker Management system Features Rear Panel 14 1 Power 14 2 Power Lead Socket and Fuse 14 3...
Page 3: ...d 19 Enable Password 20 Editing 21 Inputs A B 21 Gain 21 Delay 21 EQ Bypass 22 5 Band EQ 22 Outputs 1 6 22 Name 23 Source 23 Polarity 23 Gain 23 EQ Bypass 23 7 Band EQ 24 Delay 24 High Pass Filter 25...
Page 4: ...lity 37 System Setup 37 Ramp Audio on changes 38 Version info 38 Security Utility 39 Show parameters when locked 39 Change Password 39 Lock Unit 40 Lock Unit Password 40 Options Utility 41 Copy Input...
Page 5: ...DX0 5 USER GUIDE HAM09224 User Guide V1 0 4 Fader Adjustment 56 Direct value 56 Delay 57 Delay Adjustment 58 Inverse Polarity 58 Technical Specifications 59 Warranty 60 Technical Drawing 61...
Page 6: ...cart is used use caution when moving the cart apparatus combination to avoid injury from tip over 13 Unplug this apparatus during lightning storms or when unused for long periods of time 14 Refer all...
Page 7: ...This apparatus does not exceed the Class A Class B whichever is applicable limits for radio noise emissions from digital apparatus as set out in the radio interference regulations of the Canadian Depa...
Page 8: ...6 output system processor for passive and powered Loudspeaker systems Sophisticated intuitive EQ crossover delay and dynamics processing optimizes and protects your system High end 24 bit AKM AD DA wi...
Page 9: ...plifier gain matches the level at which limiter thresholds in the DX0 5 have been set 10 Start the signal source and raise the mixer s main L R fader s up until audio is heard through the loudspeakers...
Page 10: ...e of the venue stage XLR outputs 3 and 4 of the DX0 5 feed the 1 and 2 XLR inputs of a Martin Audio MA2 0 Power Amplifier The CH 1 and CH 2 NL4 speaker outputs of this power amplifier feed the Phoenix...
Page 11: ...XLR outputs 3 and 4 of the DX0 5 feed the 1 and 2 XLR inputs of a Martin Audio MA12K Power Amplifier The CH 1 and CH 2 NL4 speaker outputs of this power amplifier feed the Phoenix inputs of two Martin...
Page 12: ...wer amplifier feed the low frequency inputs of the H3 This requires a four core speaker cable to go to the H3 at the amplifiers this needs to be split so the low frequency feed on pins 1 is fed from t...
Page 13: ...ositioned halfway toward the rear of the venue with delay added so they are time aligned with the main pair Finally XLR outputs 5 and 6 of the DX0 5 feed the XLR inputs of two Martin Audio PSX powered...
Page 14: ...is connected to the A B XLR main inputs of a Martin Audio MA5 2K it is only necessary to connect a cable to input A as the amplifier has a link switch to parallel both inputs The CH 1 and CH 2 NL4 sp...
Page 15: ...The outlet should match the power cable WARNING Bypassing the plug s safety ground pin can be dangerous Don t do it The fuse is located behind the fuse cover at the bottom of the IEC socket See the Tr...
Page 16: ...There are three main utilities menus System Utilities Preset Utilities Security Utilities Within each an array of sub menus are available 13 Mute Edit Buttons These eight buttons serve a dual purpose...
Page 17: ...DX0 5 to the PC in order to control all parameters of the processor via the DX0 5 Application Factory Reset It is possible to reset the DX0 5 Loudspeaker Management System to its factory settings Plea...
Page 18: ...points for crossover setups The five options are listed below Here turn the Edit2 8 or Edit3 9 Control to scroll between the different System Setup choices 2xStereo Sub default Two full range loudspe...
Page 19: ...enu scroll the Nav Edit1 Control 7 clockwise to Preset Utilities Now press the Enter Button 10 again to reach the sub menus as listed below Recall a Preset Save a Preset Delete a Preset Looking at eac...
Page 20: ...urn the Edit2 8 or Edit3 9 Control to scroll between Parameter will be shown default and Parameter will not be shown If changing press the Enter Button 10 only once here The processor will return to t...
Page 21: ...urn the Edit2 8 or Edit3 9 Control to scroll between Password Disable default and Password Enable If changing press the Enter Button 10 only once here When enabling a symbol resembling a padlock will...
Page 22: ...ited Gain Delay EQ Bypass or EQ Bands 1 5 Gain The input gain allows you to adjust the entire system levels up and down This is where to compensate for variations in the signal level of the program ma...
Page 23: ...r Press the Enter button 10 to enter and edit the EQ bands An arrow will appear next to EQ indicating that it is ready to be edited Use the Nav Edit1 7 Control to change the frequency by 1 24 octave p...
Page 24: ...n InA Input A InB Input B InA InB A mono sum of Input A Input B If you are running a stereo system choose either Input A or Input B If the system is mono or has a mono component such as a subwoofer or...
Page 25: ...ise These are the EQ choices from the furthest anticlockwise option to the furthest clockwise option 12 High Shelving 6 High Shelving 12 Low Shelving 6 Low Shelving 0 05 3 00 Parametric To change the...
Page 26: ...f frequencies it will reproduce Combined with high and low pass filters on the outputs to the low and high frequency transducers you may divide the frequency spectrum so each transducer is reproducing...
Page 27: ...on for each output These will be displayed on the 7 segment LED meters 16 Turn the Edit2 8 or Edit3 9 Control to scroll between VU Meter Level default and VU Meter Limiter Act If the latter is selecte...
Page 28: ...y changing the position of the main ground lift switch 3 on the rear panel of the DX0 5 Check the signal cables between the mixer and the processor and the processor amps and loudspeakers Disconnect t...
Page 29: ...ectors plugged completely into the sockets Make sure they are plugged all the way in Is it loud and distorted Reduce the signal level at the mixer amplifier and or processor If possible listen to the...
Page 30: ...r Dealer visit www Martin Audio com click Contact and select Worldwide Distributors If you do not have access to our website you can call our Product Support Team on 44 0 1494 535312 Monday Friday dur...
Page 31: ...ity shielded cable to connect the signal source to the input sockets on the DX0 5 High quality microphone cables work well Foil shielded cables are commonly used for audio wiring in installed systems...
Page 32: ...in real time Or if you prefer to work offline you can configure a system via the software save your work as a preset and later connect to the DX0 5 and load your settings into it When the DX0 5 is con...
Page 33: ...onnect Device giving you the option to work off line without closing the application Linking The top right section shows the linking option for input and output channels Clicking on the input A B opti...
Page 34: ...or you to confirm the configuration change Click Yes if you wish to proceed and the preset will be loaded into the application and directly into the DX0 5 if you are working on line DX0 5 Presets for...
Page 35: ...ice of presets can be stored As supplied the first 13 locations will have CDD presets and you can chose to store new configurations to any of the eleven empty locations or over write the CDD presets N...
Page 36: ...e click on it in the preset list and the name will be transferred to the Edit preset name section Once you are happy with the preset location and name click Store and a window will appear asking you t...
Page 37: ...s to proceed the selected preset will be loaded If off line this will be almost instantaneous if connected to a DX0 5 you will see a progress bar at the top of the window which will take a few seconds...
Page 38: ...h are few from a mono sub of the stereo input 2x2Way Sub is a stereo system using bi amp cabinets for mid top also with mono sub outputs 2x3Way is a stereo system with either tri amped speakers each s...
Page 39: ...passed through the processor Regardless of how big a change is made to a parameter such as gain the level will ramp slowly from the previous setting to the new so there is no sudden jump in volume Thi...
Page 40: ...a user to navigate through all settings when a DX0 5 is locked to see the values et cetera but without allowing any changes to be made For complete lock out leave this un checked which will prevent ev...
Page 41: ...click on the Lock Unit button Lock Unit Password This function operates in the same way as Lock unit only requiring your security password to be entered to lock and unlock the DX0 5 for additional sec...
Page 42: ...you wish to copy the parameters then select the destination input whichever is not the same as the source Click Confirm and all parameters will be copied across match both inputs Note that you can us...
Page 43: ...copy the parameters to Click Confirm and all parameters are copied across Note that as with inputs any outputs can be linked together to keep all parameters matched Edit Channel names This option allo...
Page 44: ...is adjustable for both inputs and all six outputs using either the gain fader which can be dragged and dropped to any value required or alternatively specific values can be typed into the Gain value...
Page 45: ...read from 30 to 2 dB Here are input and output VU meters plus and output meter configured to show limiter activity Limiters Limiters are available to protect the speaker system connected to each outpu...
Page 46: ...from 100 to 200 Release is the time in seconds that it takes the gain to return to normal after levels drop back below the limiter threshold A slower release helps to make the limiter less audible red...
Page 47: ...olarity or Delay box will take you to the Delay Tab Clicking on PEQ or X over will open the input or output channel tab depending on which box is clicked The routing from inputs A and B will be pre de...
Page 48: ...DX0 5 USER GUIDE HAM09224 User Guide V1 0 47 Finally the mute commands for all inputs and output are repeated on this page to mute or unmute channels are required when configuring a controller...
Page 49: ...e one highlighted in green being the currently selected filter The response for the selected filter is shown with a dashed yellow trace The section at the top of the page is where the filters to be ad...
Page 50: ...1 0 49 To the right side of the window are the dedicated Property controls for the selected filter The channel that you have selected is shown at the top of this section The specific filter selected f...
Page 51: ...s are lost Note that previous values cannot be restored unless you have stored your settings as a Preset they will have to be manually re entered The next features is the EQ type which offers a drop d...
Page 52: ...ction on the right Keyboard Shortcuts There are a number of keyboard shortcuts to make adjusting filters extremely easy once selected The up and down buttons will control gain the left and right will...
Page 53: ...ur coded so you can easily identify which output you are viewing Colours are as follows Out 1 Purple Out 2 Pink Out 3 Blue Out 4 Green Out 5 Brown Out 6 Orange All output channels have seven bands of...
Page 54: ...ou are controlling As with inputs all outputs can be configured completely independently unless you have used the link function to link two or more channels together The final button is the Show All w...
Page 55: ...lters to 0dB Frequency and Q factor values are retained but any gain settings are lost Note that previous values cannot be restored unless you have stored your settings as a Preset they will have to b...
Page 56: ...heir equalisation using bandwidth Adjusting filters Filters can be adjusted in no less than four ways either from the graph screen or using the dedicated filter control Gain is adjustable between 15dB...
Page 57: ...adjusted by clicking and dragging the faders for either gain frequency or Q The value box at the top of each fader will update to show the exact value and the graph will update to show the frequently...
Page 58: ...how the delay is specified either by time in milliseconds distance in meters or distance in feet for counties using imperial measurements The diagram then shows inputs A and B with delay adjustment a...
Page 59: ...aximum of 600ms 204 metres 669 feet There are course and fine adjustment buttons available The course adjustment increases or decreases in increments of 1ms 0 34 metres 1 114 feet Fine adjustments inc...
Page 60: ...to 0 05 in 0 05 steps HIGH AND LOWPASS FILTERS FREQUENCY RANGE 20Hz 20kHz RESPONSES BUTTERWORTH 6dB 12dB 18dB 24dB Octave LINKWITZ RILEY 12dB 24dB Octave BESSEL 12dB 24dB Octave LIMITERS THRESHOLD 20...
Page 61: ...product is returned in its original packaging shipping prepaid to an authorised Martin Audio service agent or distributor Martin Audio Ltd cannot be held responsible for defects caused by unauthorised...
Page 62: ...DX0 5 USER GUIDE HAM09224 User Guide V1 0 61 Technical Drawing...