11
•
For incoming formats smaller than the native resolution of the screen (or selected aspect ratio), the image will be displayed in the center of the screen using only
the necessary LCD pixels. For example, 720p images will occupy exactly 1280x720 pixels in the center of the screen. The surrounding screen area will be black.
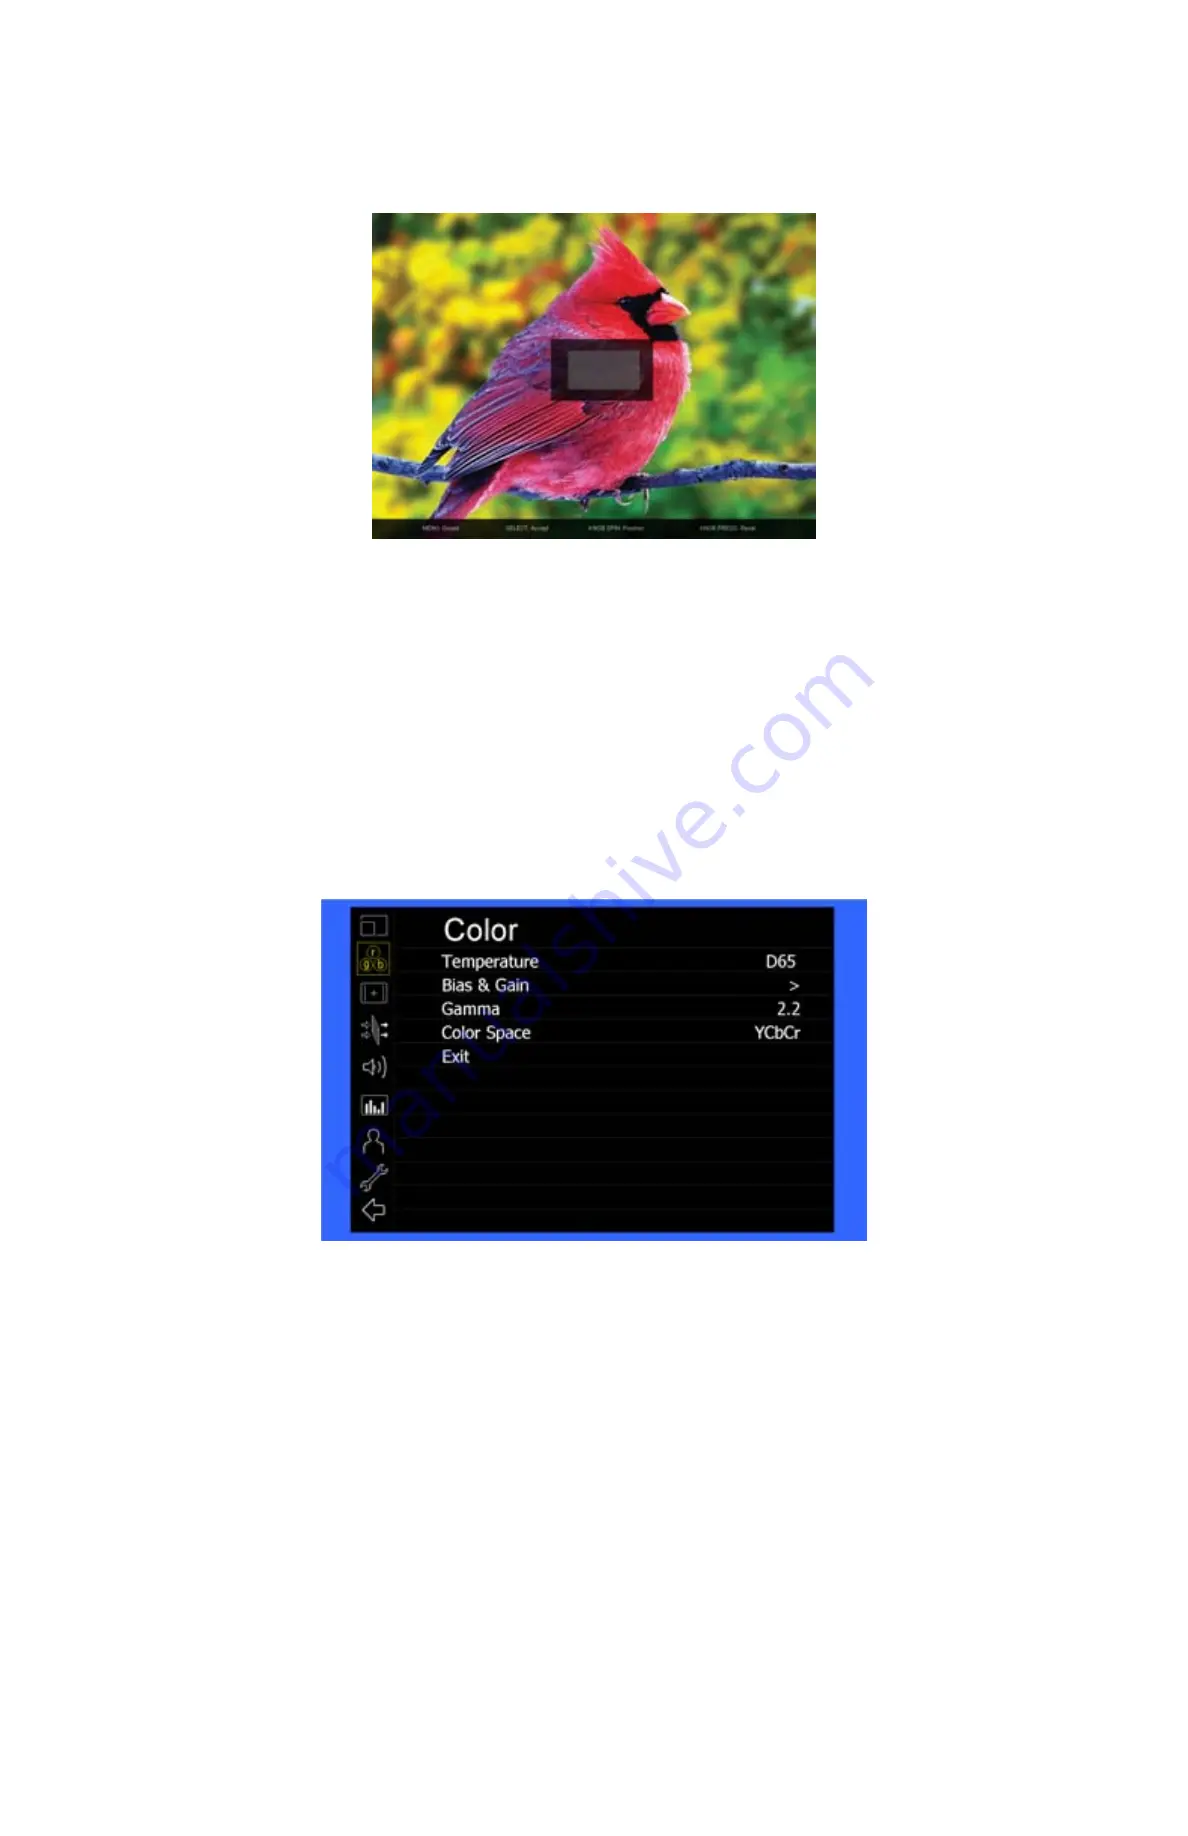
To select a Custom Pixel to Pixel zone, enter the Adjust function:
Adjust
The outer square represents the entire image and the inner grey box represents your current Pixel to Pixel selection. Use the COLOR knob to move your selection
LEFT and RIGHT. Use the CONTRAST knob to move your selection UP or DOWN. Press the SELECT button or the ROTOMENU knob to lock in your selection.
■
DSLR Preset
Use the DSLR Preset option to reduce the visibility of on screen indicators shown with popular DSLR cameras. The available options are :
•
NK 16:9
•
NK 3:2
•
CN 16:9
•
CN 3:2
Color Submenu
■
Temperature
Use this setting to choose one of three color temperature presets:
•
D55 (5500K)
•
D65 (6500K)
•
D93 (9300K)
•
Custom (Adjustable Color Bias and Gain)
•
Linear (No processing is applied to the panel)
■
Bias & Gain
Select this submenu to fine-tune the monitor’s color balance (R, G, B). This should only be done by someone experienced with video engineering, as this will alter the
overall color shading of the screen. The purpose is to allow color matching to other types of monitors and/or displays. Note: The Color Temperature preset will
automatically switch to Custom when Color Bias settings are adjusted. It is normal for color bias adjustments to be very subtle.
When selecting the RGB Bias and Gain submenu, bias adjustment indicators will appear at the top of the screen, and gain adjustment indicators will appear at the bottom
of the screen:
IMD Configuration Submenu
Summary of Contents for V-LCD90MD
Page 2: ...2 This page intentionally left blank ...
Page 4: ...4 This page intentionally left blank ...
Page 22: ...22 Dimensions ...


