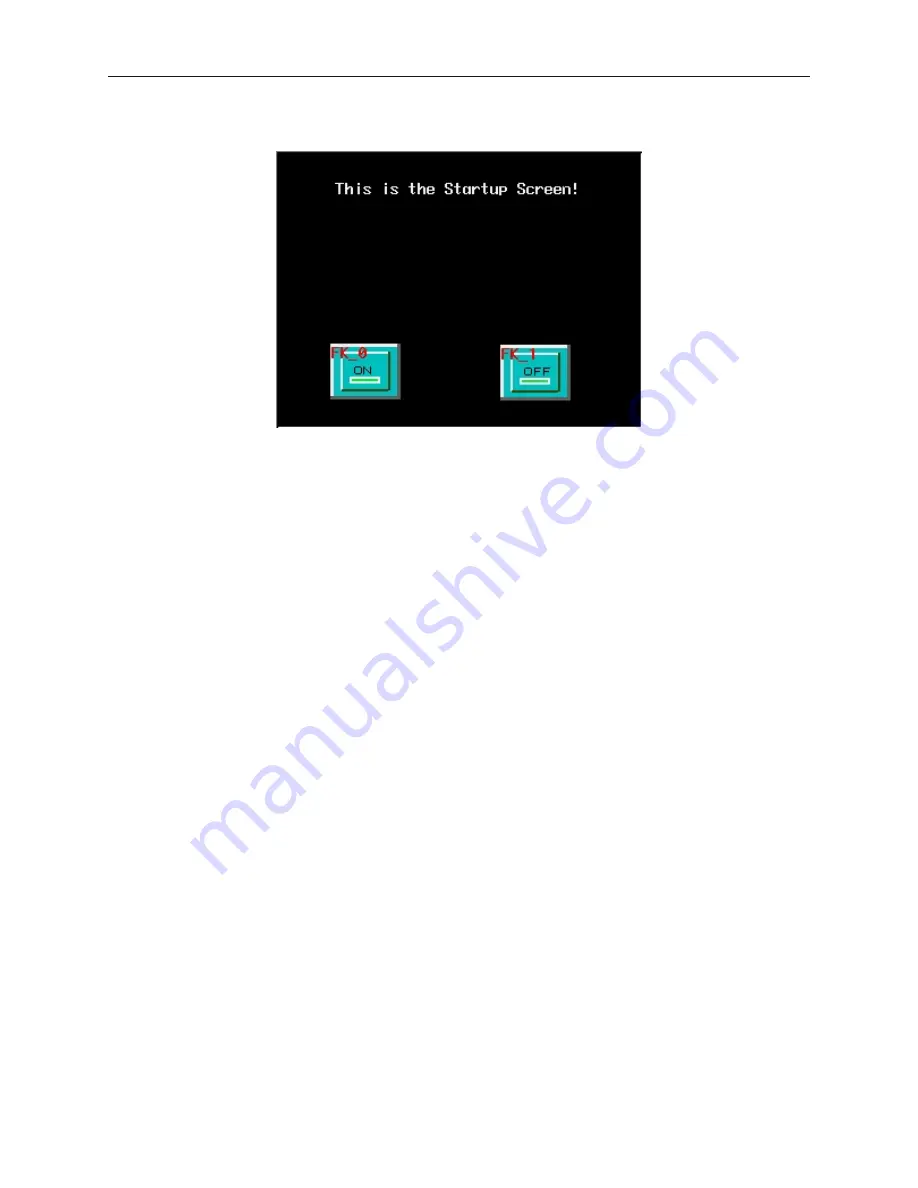
You have finished configuring your first window. It should look something like the picture below:
Cre ating a Popup Win dow
We will configure Window #11 as a popup window. Up to six popup windows can be displayed on a full screen
window. The windows may overlap each other or may be minimized to an icon. This section will show how to
create a scale and a numeric register that displays the current value of the scale. You will also create an increment
and decrement key to change the value in the scale meter.
4
To create Window#11
1.
From the Window menu, click
Open Window
. The Open Window dialog box appears.
2.
Click
New Window
. The Select Window Style dialog box appears.
3.
Click
Base Window
. The Window Setting dialog box appears.
4.
Enter
79
for the X position. Enter
58
for the Y position.
5.
Enter
160
for the Width. Enter
120
for the Height.
6.
Click the pull down box from the Background Color box. The Color dialog box appears.
7.
Click on the white color box, then click
OK
. The color box should reflect the color that you
have chosen.
8.
Click
OK
.
9.
Select
Window_11
in the Open Window dialog box.
10. Click
Open.
The main screen of EasyBuilder should reappear with Window #11 displayed in
the work area.
4
To create a rectangle on Window#11
1.
From the Draw menu, click
Rectangle
. The Attributes dialog box appears.
2.
Click on Interior Filled.
3.
Click the pull down box from the Interior box. The Color dialog box appears.
4.
Click on the white color box, then click
OK
. The color in the Interior box should reflect the
color that you have chosen.
5.
Click on an area somewhere inside Window #11. Create a rectangular shape by moving the
mouse cursor. Click again to permanently create the rectangle.
6.
From the Edit menu, click
Select
.
7.
Double-click somewhere on the rectangle. The Rectangle Object’s Attribute dialog box
appears.
8.
Click the
Profile
tab.
9.
Enter
48
for the X position. Enter
13
for the Y position.
10. Enter
61
for the Width. Enter
36
for the Height.
11. Click
OK
.
1010-1001a, Rev 02
22
Sil ver Se ries In stal la tion & Op er a tion Man ual
Summary of Contents for Silver HMI504T
Page 1: ...1010 1001A Rev 02...
Page 32: ...1010 1001a Rev 02 28 Silver Series Installation Operation Manual...
Page 128: ...1010 1001a Rev 01 124 Silver Series Installation Operation Manual...
Page 156: ...1010 1001a Rev 02 152 Silver Series Installation Operation Manual...
Page 166: ...1010 1001a Rev 02 162 Silver Series Installation Operation Manual...
Page 216: ...1010 1001a Rev 01 212 Silver Series Installation Operation Manual...
Page 251: ...1010 1001a Rev 02 Macros 247 Set Bit Objects Attributes Dialog Project Example of Add 2...
Page 264: ...End Macro_Command 1010 1001a Rev 02 260 Silver Series Installation Operation Manual...
Page 268: ...1010 1001a Rev 01 264 Silver Series Installation Operation Manual...


