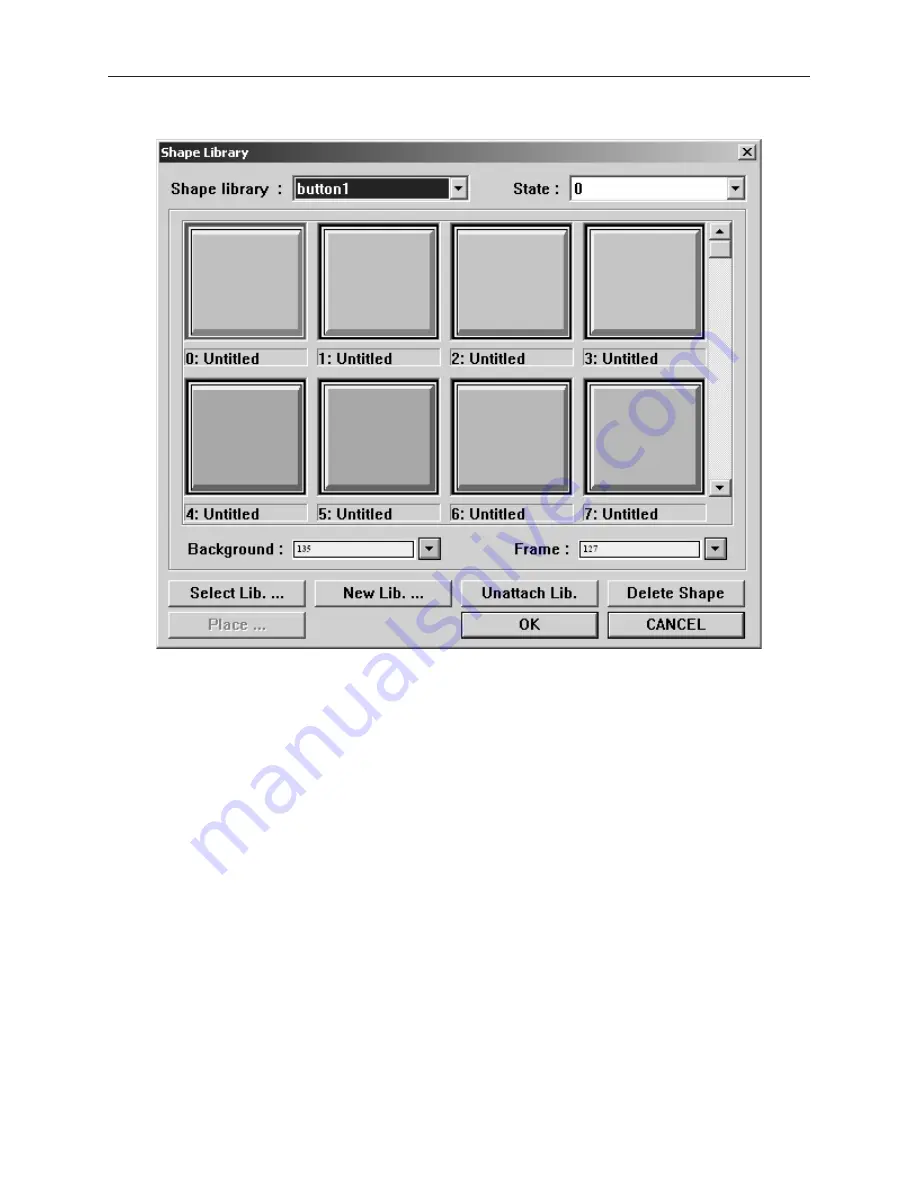
2.
Click the
Shape library…
button. The Shape Library dialog box appears.
3.
Click the pull-down box of
Shape library:
and choose from one of the open libraries of
shapes.
4.
Use the scroll bar to view available shapes. Click on the shape that you want.
5.
Click
OK
The Create Shape Object dialog box reappears. The shape that you selected
should be displayed in this dialog box.
6.
Click
OK
. The main screen of EasyBuilder reappears with an outline of the shape object in
the upper left corner of the work area.
7.
Move the shape to the location desired and click. The shape appears with small square boxes
around the perimeter of the shape.
8.
The shape can be resized or you can edit the shape’s parameters by double-clicking to enter
the
Shape Object’s Attribute
dialog box.
Using a Pre de fined Bitmap
You can select from many bitmaps that are included in the EasyBuilder configuration software. Bitmaps can be
used for active or passive objects. The following procedure describes using a passive bitmap object.
1010-1001a, Rev 02
Cre ating Graphic Ob jects
131
Summary of Contents for Silver HMI504T
Page 1: ...1010 1001A Rev 02...
Page 32: ...1010 1001a Rev 02 28 Silver Series Installation Operation Manual...
Page 128: ...1010 1001a Rev 01 124 Silver Series Installation Operation Manual...
Page 156: ...1010 1001a Rev 02 152 Silver Series Installation Operation Manual...
Page 166: ...1010 1001a Rev 02 162 Silver Series Installation Operation Manual...
Page 216: ...1010 1001a Rev 01 212 Silver Series Installation Operation Manual...
Page 251: ...1010 1001a Rev 02 Macros 247 Set Bit Objects Attributes Dialog Project Example of Add 2...
Page 264: ...End Macro_Command 1010 1001a Rev 02 260 Silver Series Installation Operation Manual...
Page 268: ...1010 1001a Rev 01 264 Silver Series Installation Operation Manual...


