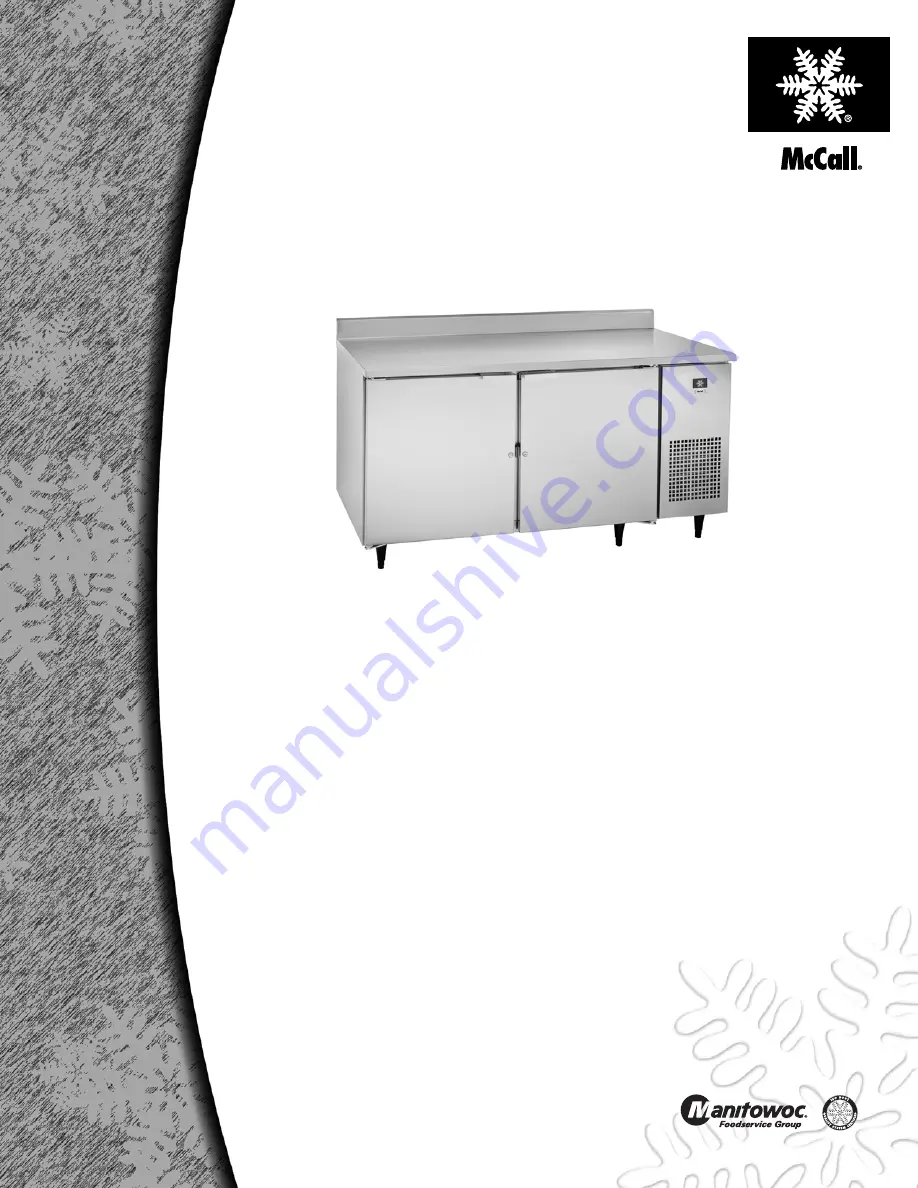
Manitowoc 14514 2/08 Installation & Use Manual Download Page 1

Installation, Use & Care Manual

This manual is updated as new information and models are released.

Visit our website for the latest manual. www.manitowocfsg.com

America’s Quality Choice in Refrigeration

Undercounter, Prep Table 

and Low Boy Refrigerators 

and Freezers

Part Number 14514 2/08

Summary of Contents for 14514 2/08

Page 1: ...is updated as new information and models are released Visit our website for the latest manual www manitowocfsg com America s Quality Choice in Refrigeration Undercounter Prep Table and Low Boy Refrigerators and Freezers Part Number 14514 2 08 ...

Page 2: ...e sure to read the Warning statement before proceeding and work carefully Caution Text in a Caution box alerts you to a situation in which you could damage the equipment Be sure to read the Caution statement before proceeding and work carefully Important Text in an Important box provides you with information that may help you perform a procedure more efficiently Disregarding this information will ...

Page 3: ...erage 1 4 Parts Coverage 1 4 Labor Coverage 1 4 Exclusions from Warranty 1 4 Warranty Service 1 4 Section 2 Installation Instructions Locating the Cabinet 2 1 Pre installation Checklist 2 1 Uncrating 2 2 Leveling the Cabinet 2 2 Shelf Tray Slide Installation 2 3 Shelves Undercounter Units Sandwich Salad Units 2 3 Shelves Pizza Prep Units Refrigerated Work Tables 2 3 Tray Slides Optional 2 3 Electr...

Page 4: ...ustments 3 2 Door Hinge Adjustment 3 2 Removing Doors 3 2 Rehinging Doors Single Door Models 3 2 Section 4 Maintenance Cleaning 4 1 Exterior 4 1 Interior 4 1 Cleaning the Condenser Coil 4 1 Condenser Cleaning Procedures 4 1 Cleaning the Fan Blades and Motor 4 2 Cleaning the Evaporator Drain Pan 4 2 Section 5 Before Calling for Service Troubleshooting Guide 5 1 ...

Page 5: ...S 10 RSE Refrigerated Work Tables 2 Door STA 20 RSE STSA 20 RSE LTA 20 RSE STS 10 RSE STSS 20 RSE LTS 20 RSE Refrigerated Work Tables 3 Door STA 30 RSE STSA 30 RSE LTA 30 RSE STS 30 RSE STSS 30 RSE LTS 30 RSE Refrigerated Work Tables Remote STSA 20 RRE STSA 30 RRE STA 20 RRE STA 30 RRE LTA 20 RRE LTA 30 RRE STSS 20 RRE STSS 30 RRE STS 20 RRE STS 30 RRE LTS 20 RRE LTS 30 RRE Freezer Work Tables 1 D...

Page 6: ...ies 6 6 Pans 8 8 Pans 12 12 Pans 16 16 Pans ST Series 2 2 Cutouts 6 Pans each 3 3 Cutouts 6 Pans each 4 4 Cutouts 6 Pans each Superprep 12 12 Pans 16 6 Pans Work Tables ST Stainless steel flat top LT Sub top STS Stainless steel top with backsplash Chef Stands LBS Low boy chef stand self contained LBR Low boy chef stand remote Work Tables R Refrigerator S Self contained E Series Chef Stands LT Galv...

Page 7: ...ection 1 General Information Part Number 14514 2 08 1 3 PIZZA PREP TABLE EXAMPLE PT Pizza Top Table A Aluminum Interior A Stainless Steel Interior Model Prefix Body Type PT A 2 1 1 Door 2 2 Door 3 3 Door ...

Page 8: ...rs are covered for five 5 years from the date of original installation LABOR COVERAGE Labor is covered for 1 year from the date of original installation EXCLUSIONS FROM WARRANTY 1 Normal start up maintenance adjustments and cleaning 2 Damage caused by improper installation of the McCall cabinet as outlined in this manual 3 Labor charges resulting from the inaccessibility of the McCall cabinet 4 Da...

Page 9: ...e and or void your warranty Install the cabinet in an indoor environment only The air temperature entering the refrigerator or freezer condenser should be between 55 F 13 C and 100 F 38 C Allow space for air circulation in the refrigeration condensing unit compartment on refrigerators and freezers The minimum space requirements are shown below The floor must be strong enough to support the weight ...

Page 10: ...e the cabinet to its permanent location 2 Place a level on top of the cabinet 3 Turn the leveling foot of the lowest corner leg to center the bubble in the level 4 Adjust each of the other corners until the bubble is centered and the cabinet is stable 5 Re check the cabinet from side to side and from front to rear with the level Warning Never attempt to tilt the cabinet alone Always use two or mor...

Page 11: ...elf Make sure that the clips are level side to side and front to rear Place one shelf on each set of clips Shelf Installation TRAY SLIDES OPTIONAL Refrigerated pizza tables include a chrome plated steel pan or tray rack Model RA 11 T behind one door opening on 2 and 3 door models All other tray slides for pizza tables and refrigerated work tables are optional accessories and are included only when...

Page 12: ...ine to the pigtail from the cabinet junction box Connect the other end to a properly sized electrical source As a rule the power lines must be enclosed inside a conduit secured to the power junction boxes on both ends NOTE Power installation must be in compliance with the National Electrical Code and all applicable local and state codes After the power source has been connected turn on the main po...

Page 13: ...9 3EN RST 59 4EN RST 59 16EN 115 60 1 10 0 15 amp NEMA 5 15 LTA 10 RSE LTS 10 RSE STA 10 RSE STS 10 RSE STSA 10 RSE STSS 10 RSE 115 60 1 7 0 15 amp NEMA 5 15 LTA 20 RSE LTS 20 RSE STA 20 RSE STS 20 RSE STSA 20 RSE STSS 20 RSE 115 60 1 10 0 15 amp NEMA 5 15 Refrigerated Work Tables LTA 30 RSE LTS 30 RSE STA 30 RSE STS 30 RSE STSA 30 RSE STSS 30 RSE 115 60 1 12 0 15 amp NEMA 5 15 LTA 10 FSE LTS 10 F...

Page 14: ...ches a cold temperature This prevents the fans from blowing heated air on the stored products DEFROST TIMERS Undercounter freezer models F 10E FS 10E and FSC 10E use an adjustable defrost timer which may be custom set to initiate defrost periods All other models use non adjustable freezer defrost timers which automatically initiate at pre set intervals and for a pre determined duration DEFROST SET...

Page 15: ...cabinet temperature setting turn the temperature control knob or screw located on the evaporator coil blower housing Important The coil defrosts only until the temperature sensing switch terminates the cycle regardless of the defrost duration that is set Important Setting the temperature control to the coldest setting may cause the coil and or air ducts to freeze and ice up This will eventually re...

Page 16: ...Installation Instructions Section 2 2 8 Part Number 14514 2 08 THIS PAGE INTENTIONALLY LEFT BLANK ...

Page 17: ... non use or slow use periods close the lid cover Loading the Shelves Caution Store products with high acid content such as lettuce other fresh vegetables or fruits salad dressings etc in closed containers This will prevent corrosion on the evaporator coil and other metal parts in the air distribution system Important Uncovered food will dehydrate much more rapidly than covered food For best food q...

Page 18: ...ed hinged on the right side facing the unit front If it becomes necessary to change the hinging on a door 1 Remove 2 Phillips head screws from the top and bottom door hinges 2 Carefully lift the door off of the cabinet 3 Remove the 3 screws securing the door handle and remove the handle 4 Turn the door 180 degrees 5 Attach handle at the position indicated by the pre punched mounting holes 6 Remove...

Page 19: ...ser coil where it forms a blanket on the coil surface This is normal and should be periodically removed CONDENSER CLEANING PROCEDURES One or more of the following methods may be used to clean the condenser coil surface depending upon the extent of the build up on the fins Method 1 Remove light build up with a soft brush or a vacuum with a brush attachment Brush the condenser fins from top to botto...

Page 20: ...er the fan motor to prevent moisture damage CLEANING THE EVAPORATOR DRAIN PAN The evaporator drain pan located at the bottom of the evaporator blower panel should be cleaned periodically to remove any food debris etc that may have fallen or been drawn into the pan To clean the pan drain outlet gently insert a pliable wire such as a pipe cleaner 3 4 7 10 cm into the mouth of the outlet Remove any o...

Page 21: ...Clean the condenser coil Evaporator coil iced over Turn unit off and allow coil to defrost Make sure thermostat is not set too cold Also check gasket condition Cabinet temperature is too high Thermostat set too high Set thermostat to lower temperature Poor air circulation in cabinet Re arrange product to allow proper air circulation Exterior thermometer is out of calibration Re calibrate thermomet...

Page 22: ...Before Calling for Service Section 5 5 2 Part Number 14514 2 08 THIS PAGE INTENTIONALLY LEFT BLANK ...

Page 23: ......

Page 24: ... Holly Street Parsons TN 38363 USA Ph 731 847 5365 Fax 731 847 9012 Visit us online at www manitowocfsg com 2008 Manitowoc Continuing product improvements may necessitate change of specifications without notice Part Number 14514 2 08 ...

Reviews: