Installation Overview
11
Installation and Configuration
Installation
2
Installation Overview
After choosing installation locations, you re ready for
physical and electrical installation (explained in this
chapter). Later in Chapter 3 we explain how to
configure the system via web browser. To help give you
an overiew, let s summarize the complete installation
procedure to install an AirMAX system:
1.
First, install the physical BTS system hardware,
including ODU, Power Injector, antenna, and
cabling.
2.
Connect a PC to the Power Injector with a
crossover cable or LAN connection, set the IP of
the PC to a value compatible with the BTS, and
then configure BTS software from a web browser
by entering the IP address of the BTS.
3.
From the same PC connected to the BTS, add
the CPEs you wish to communicate with the BTS.
4.
With the BTS now installed and configured, you ll
next install the physical CPE system hardware,
including ODU, Power Injector, antenna and
cabling.
5.
Now, just as the BTS was configured, you ll then
connect a PC to the CPE s Power Injector, set the
IP of the PC to a value compatible with the CPE,
and then configure the CPE s radio modem. As
on the BTS, you ll enter the default factory IP
address of the CPE into the PC browser to
connect to it. .
6.
Finally, you ll test the wireless communication
between BTS and CPE using a PC attached to
one system (BTS or CPE).
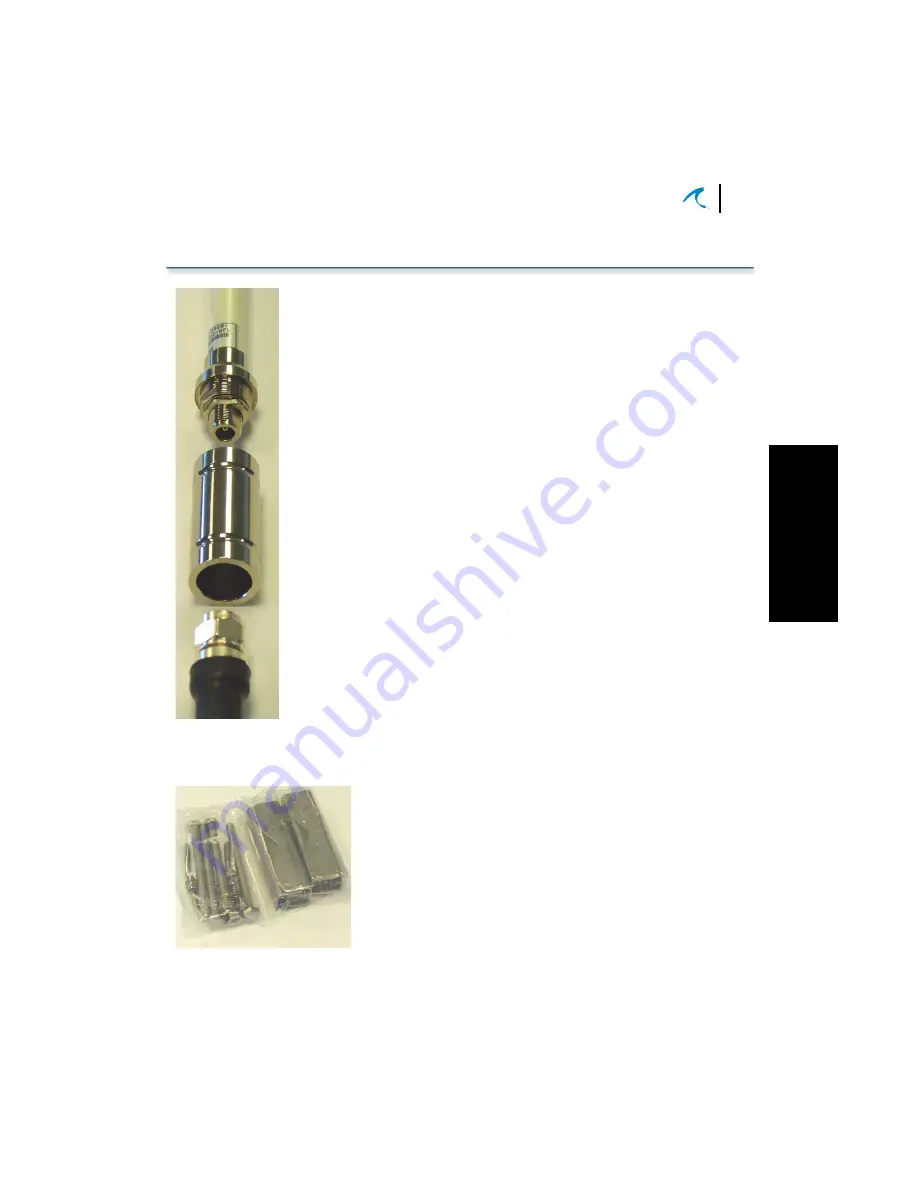
Figure 2-1. Base Assembly and Parts Kit
Antenna
Antenna
Base
Antenna
Cable
Base Assembly
Parts Kit
Summary of Contents for AirMAX 240
Page 1: ...AirMAXTM 240 2400 Installation Configuration Guide July 18 2002 P N 8000504 000 I...
Page 28: ...Chapter 2 Installation 22 Malibu Networks AirMAX CPE BTS...
Page 62: ...Chapter 3 Configuration 56 Malibu Networks AirMAX CPE BTS...
Page 66: ...Appendix A Specifications A 4 Malibu Networks AirMAX 240 2400 CPE BTS...
Page 67: ...Appendix B Drawings...
Page 78: ...Appendix C Glossary C 10 Malibu Networks AirMAX CPE BTS...


