INSTRUCTION MANUAL
MANUAL DE INSTRUCCIONES
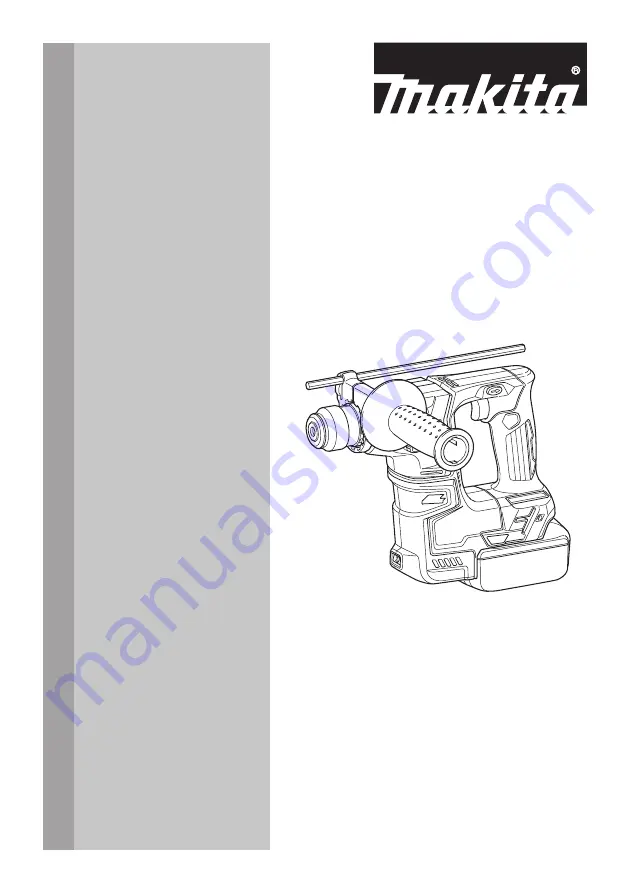
Cordless Rotary Hammer
Martillo Rotativo Inalámbrico
XRH06
IMPORTANT:
Read Before Using.
IMPORTANTE:
Lea antes de usar.
Page 1: ...INSTRUCTION MANUAL MANUAL DE INSTRUCCIONES Cordless Rotary Hammer Martillo Rotativo Inalámbrico XRH06 IMPORTANT Read Before Using IMPORTANTE Lea antes de usar ...
Page 2: ...ust match the outlet Never modify the plug in any way Do not use any adapter plugs with earthed grounded power tools Unmodified plugs and matching outlets will reduce risk of electric shock 2 Avoid body contact with earthed or grounded surfaces such as pipes radiators ranges and refrigerators There is an increased risk of elec tric shock if your body is earthed or grounded 3 Do not expose power to...
Page 3: ...peration If dam aged have the power tool repaired before use Many accidents are caused by poorly maintained power tools 6 Keep cutting tools sharp and clean Properly maintained cutting tools with sharp cutting edges are less likely to bind and are easier to control 7 Use the power tool accessories and tool bits etc in accordance with these instructions tak ing into account the working conditions a...
Page 4: ... product gained from repeated use replace strict adherence to safety rules for the subject product MISUSE or failure to follow the safety rules stated in this instruction manual may cause serious personal injury Symbols The followings show the symbols used for tool volts direct current no load speed revolutions or reciprocation per minute number of blow Important safety instructions for battery ca...
Page 5: ...ting or checking function on the tool Installing or removing battery cartridge CAUTION Always switch off the tool before installing or removing of the battery cartridge CAUTION Hold the tool and the battery car tridge firmly when installing or removing battery cartridge Failure to hold the tool and the battery cartridge firmly may cause them to slip off your hands and result in damage to the tool ...
Page 6: ... stops without any indication In this situation turn the tool off and stop the application that caused the tool to become overloaded Then turn the tool on to restart Overheat protection When the tool or battery is overheated the tool stops automatically and the lamp blinks In this case let the tool and battery cool before turning the tool on again Overdischarge protection When the battery capacity...
Page 7: ...ode change mechanism be sure that the action mode changing knob is always positively located in one of the action mode positions Rotation with hammering For drilling in concrete masonry etc rotate the action mode changing knob to the symbol Use a car bide tipped drill bit 1 1 Action mode changing knob Rotation only For drilling in wood metal or plastic materials rotate the action mode changing kno...
Page 8: ...k cover down all the way and pull the drill bit out 1 2 1 Drill bit 2 Chuck cover Depth gauge The depth gauge is convenient for drilling holes of uniform depth Loosen the side grip and insert the depth gauge into the hole on the side grip Adjust the depth gauge to the desired depth and tighten the side grip firmly 1 2 1 Hole 2 Depth gauge NOTE Make sure that the depth gauge does not touch the main...
Page 9: ...grip and then attach it to the optional grip base set Before installing the dust cup set remove the bit from the tool if installed Install the spacer so that the grooves on the spacer fit in the protrusions on the tool barrel while widening it Be careful for the spring not to come off from the slit of spacer 1 2 1 Spacer 2 Spring Install the side grip optional grip base set and standard grip so th...
Page 10: ...tery when hanging the tool with the hook CAUTION Never hook the tool at high location or on potentially unstable surface 1 2 3 1 2 3 1 Groove 2 Hook 3 Screw The hook is convenient for temporarily hanging the tool This can be installed on either side of the tool To install the hook insert it into a groove in the tool housing on either side and then secure it with a screw To remove loosen the screw ...
Page 11: ...the drill bit rotation may occur while operating the tool with no load The tool auto matically centers itself during operation This does not affect the drilling precision Drilling in wood or metal CAUTION Hold the tool firmly and exert care when the drill bit begins to break through the workpiece There is a tremendous force exerted on the tool drill bit at the time of hole break through CAUTION A ...
Page 12: ...Makita tool is thoroughly inspected and tested before leaving the factory It is warranted to be free of defects from workmanship and materials for the period of ONE YEAR from the date of original purchase Should any trouble develop during this one year period return the COMPLETE tool freight prepaid to one of Makita s Factory or Authorized Service Centers If inspection shows the trouble is caused ...
Page 13: ...das son propensas a accidentes 2 No utilice las herramientas eléctricas en atmósferas explosivas tal como en la presen cia de líquidos gases o polvo inflamables Las herramientas eléctricas crean chispas que pueden prender fuego al polvo o los humos 3 Mantenga a los niños y curiosos alejados mientras utiliza una herramienta eléctrica Las distracciones le pueden hacer perder el control Seguridad elé...
Page 14: ...cuido podría ocasionar una lesión grave en una fracción de segundo 9 Utilice siempre gafas protectoras para prote ger sus ojos de lesiones al usar herramientas eléctricas Las gafas deben cumplir con la Norma ANSI Z87 1 en EUA Es responsabilidad del empleador imponer el uso de equipos protectores de seguridad apropiados a los operadores de la herramienta y demás personas cerca del área de trabajo M...
Page 15: ...la herramienta La pérdida de con trol puede ocasionar lesiones 3 Sujete la herramienta eléctrica por las superficies de asimiento aisladas al realizar una operación en la que el accesorio de corte pueda entrar en contacto con cableado oculto Si el accesorio de corte entra en contacto con un cable con corriente las piezas metálicas expuestas de la herramienta eléctrica se cargarán también de corrie...
Page 16: ... explotar si se tira al fuego 8 Tenga cuidado de no dejar caer ni golpear la batería 9 No use una batería dañada 10 Las baterías de ión de litio están sujetas a los requisitos reglamentarios en materia de bie nes peligrosos Para el trasporte comercial por ej mediante terceros o agentes de transporte se deben tomar en cuenta los requisitos especiales relativos al empaque y el etiquetado Para efectu...
Page 17: ... siempre com pletamente el cartucho de batería hasta que el indicador rojo no pueda verse Si no podría accidentalmente salirse de la herramienta y caer al suelo causando una lesión a usted o alguien a su alrededor PRECAUCIÓN No instale el cartucho de batería a la fuerza Si el cartucho no se desliza al interior fácilmente se debe a que no está siendo insertado correctamente Indicación de la capacid...
Page 18: ...cuando lo suelta 1 1 Gatillo interruptor Para arrancar la herramienta simplemente jale el gatillo interruptor La velocidad de la herramienta aumenta al incrementar la presión en el gatillo interruptor Para detenerla suelte el gatillo interruptor Iluminación de la luz delantera 1 2 1 Gatillo interruptor 2 Luz PRECAUCIÓN No mire a la luz ni vea a la fuente de luz directamente Jale el gatillo interru...
Page 19: ...o namiento al símbolo Utilice una broca helicoidal o broca para madera 1 1 Perilla de cambio de modo de accionamiento Freno eléctrico La herramienta está equipada con un freno eléctrico Si la herramienta falla constantemente en detenerse tras soltar el gatillo interruptor lleve la herramienta a mante nimiento a un centro de servicio Makita MONTAJE PRECAUCIÓN Asegúrese siempre de que la herramienta...
Page 20: ... no toque el cuerpo principal de la herramienta al momento de fijarlo Contenedor de polvo Accesorio opcional Utilice el contenedor de polvo para evitar que el polvo caiga sobre la herramienta y sobre usted al realizar operaciones de perforación por encima de su cabeza Fije el contenedor de polvo en la punta tal como se muestra en la ilustración El tamaño de las puntas en las que el contenedor de p...
Page 21: ...uidado de que el resorte no se salga de la hendidura del espaciador 1 2 1 Espaciador 2 Resorte Instale la empuñadura lateral juego de la base de la empuñadura opcional y empuñadura estándar de manera que la ranura en la empuñadura encaje en la protuberancia del espaciador Gire la empuñadura en el sentido de las manecillas del reloj para asegurarla 1 1 Empuñadura lateral Instale el juego contenedor...
Page 22: ...ar temporal mente la herramienta Éste se puede instalar en cual quiera de los lados de la herramienta Para instalar el gancho insértelo en una ranura de la carcasa de la herramienta de cualquiera de los lados y luego asegúrelo con un tornillo Para quitarlo afloje el tornillo y después retírelo OPERACIÓN PRECAUCIÓN Utilice siempre la empuña dura lateral mango auxiliar y sujete firmemente la herrami...
Page 23: ...mente durante la operación Esto no afectará la precisión en el taladrado Taladrado en madera o metal PRECAUCIÓN Sujete firmemente la herra mienta y tenga cuidado cuando la broca de tala dro comience a penetrar en la pieza de trabajo La fuerza ejercida en la herramienta broca de taladro al momento de la penetración es enorme PRECAUCIÓN Para extraer una broca de taladro atorada basta simplemente con...
Page 24: ...TADA DE UN AÑO DE MAKITA Ésta Garantía no aplica para México Política de garantía Cada herramienta Makita es inspeccionada y probada exhaustivamente antes de salir de la fábrica Se garan tiza que está libre de defectos de mano de obra y mate riales por el período de UN AÑO a partir de la fecha ori ginal de compra Si durante este período de un año se desarrollara algún problema devuelva la herramie...
Page 25: ...25 ...
Page 26: ...26 ...
Page 27: ...27 ...
Page 28: ...ados por el lijado aserrado esmerilado taladrado y otras actividades de la construcción contienen sustancias químicas reconocidas por el Estado de California como causantes de cáncer defectos de nacimiento y otros peligros de reproducción Algunos ejemplos de estos productos químicos son plomo de pinturas a base de plomo sílice cristalino de ladrillos y cemento y otros productos de albañilería y ar...