

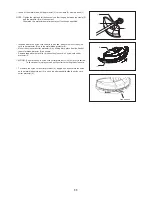

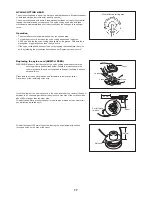


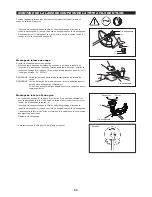
4. Wind the lines up firmly to the direction slown by left-hand (LH) arrow on the
flange. Do not cross the lines.
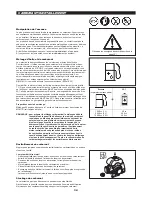
5. Wind all but about 100 mm (3-15/16”) of the cords, leaving the end temporarily
hooked through a notch on the side of the spool.
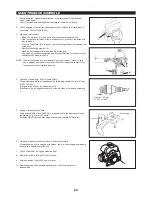
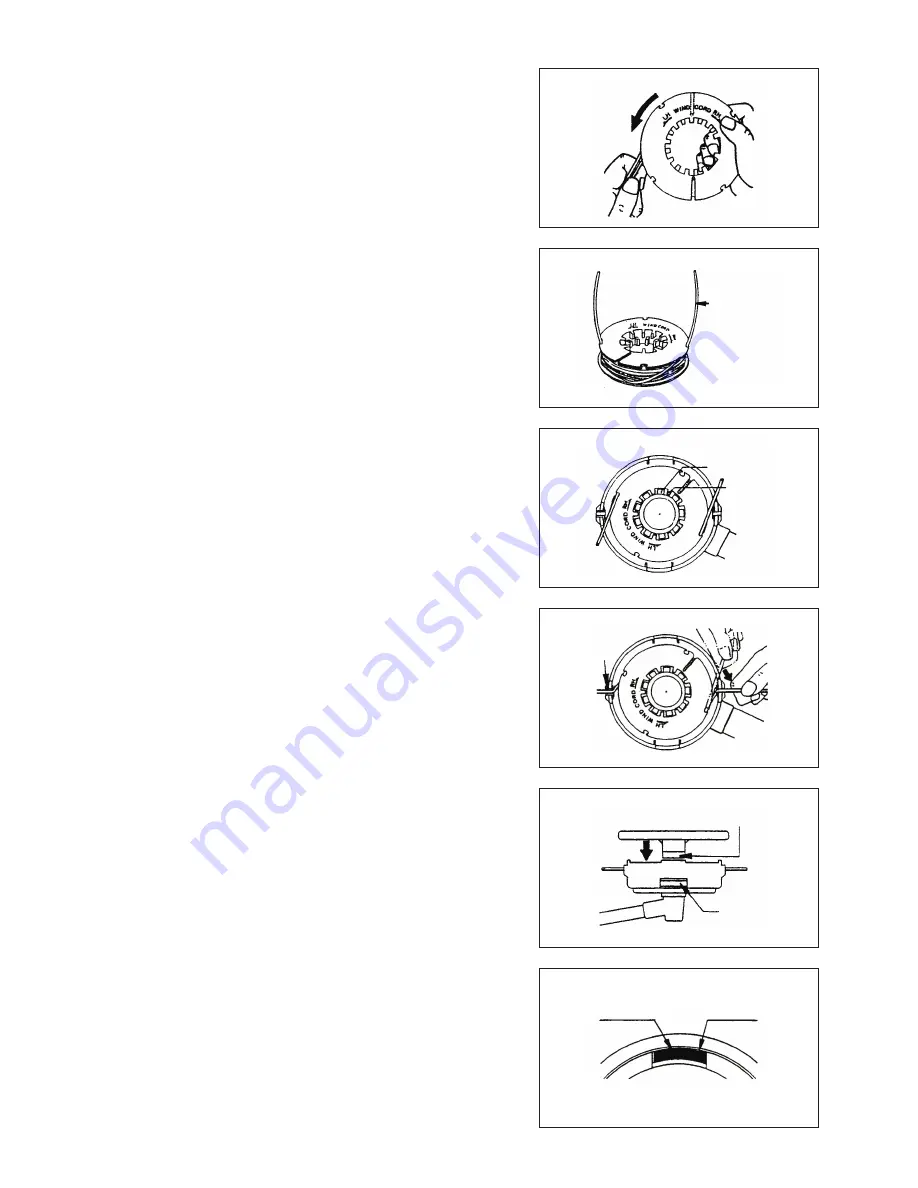
6. Put tab knob onto the housing hub, positioning it can freely move up and down
against spring tension. Put the spool into the housing, aligning the teeth on
spool and tap knob alternately like gears.
7. Put in the cutting lines through the slot of eyelets.
8. Put the cover onto the housing, aligning the tabs on cover and the windows
on housing. Make sure the cover is secured exactly to the housing. Outer
edge of cover locking tab and outer surface of the housing should be on same
circumference.
To “LH” direction
100 mm from
notches
Tab knob’s teeth
Spool’s teeth
Cover locking tab
Housing window
Outer edge
of cover
locking tab
Outer
surface of
housing
19
Wind tightly
Summary of Contents for RBC413U
Page 86: ...86 ...
Page 87: ...87 ...
Page 88: ...Makita Corporation Anjo Aichi Japan 885333 367 www makita com ALA ...