INSTRUCTION MANUAL
MANUAL DE INSTRUCCIONES
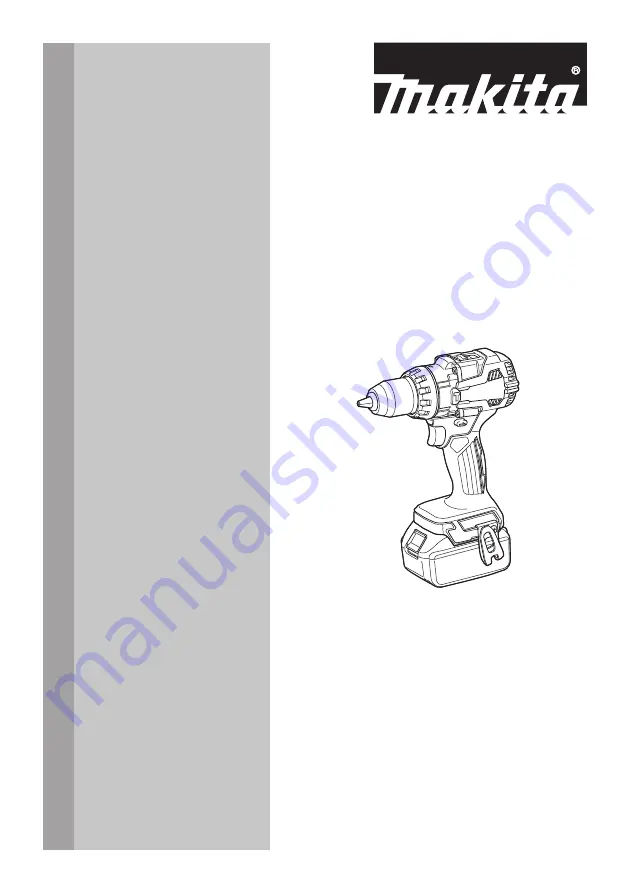
Cordless Hammer Driver Drill
Rotomartillo Atornillador Inalámbrico
XPH16
IMPORTANT:
Read Before Using.
IMPORTANTE:
Lea antes de usar.
Page 1: ...INSTRUCTION MANUAL MANUAL DE INSTRUCCIONES Cordless Hammer Driver Drill Rotomartillo Atornillador Inal mbrico XPH16 IMPORTANT Read Before Using IMPORTANTE Lea antes de usar...
Page 2: ...and chargers may cause injury and or fire SAFETY WARNINGS General power tool safety warnings WARNING Read all safety warnings instruc tions illustrations and specifications provided with this power to...
Page 3: ...riate safety protective equipment by the tool operators and by other persons in the immediate working area Power tool use and care 1 Do not force the power tool Use the correct power tool for your app...
Page 4: ...y be toxic Take caution to prevent dust inhala tion and skin contact Follow material supplier safety data 9 If the drill bit cannot be loosened even you open the jaws use pliers to pull it out In such...
Page 5: ...me diately after use as it may get hot enough to cause burns 16 Do not allow chips dust or soil stuck into the terminals holes and grooves of the battery cartridge It may cause heating catching fire b...
Page 6: ...r battery is placed under one of the following conditions Overload protection This protection works when the tool battery is operated in a manner that causes it to draw an abnormally high current In t...
Page 7: ...s may damage the tool CAUTION When not operating the tool always set the reversing switch lever to the neu tral position 1 A B Fig 5 1 Reversing switch lever This tool has a reversing switch lever to...
Page 8: ...t is difficult to slide the adjusting ring switch on and run the tool for a second then stop the tool and slide the adjusting ring to your desired position again Adjusting the fastening torque 1 2 3 F...
Page 9: ...depth rod Optional accessory 1 2 Fig 11 1 Depth rod 2 Clamp screw The adjustable depth rod is used to drill holes of uniform depth Loosen the clamp screw set the depth rod to desired position then tig...
Page 10: ...reduce the load or stop the tool to avoid the tool damage Hold the tool firmly with one hand on the grip and the other hand on the bottom of the battery cartridge to control the twisting action Fig 1...
Page 11: ...ION If the tool is operated continuously until the battery cartridge has discharged allow the tool to rest for 15 minutes before proceeding with a fresh battery First turn the adjusting ring so that t...
Page 12: ...he most current warranty terms applicable to this product If annexed warranty sheet is not available refer to the warranty details set forth at below website for your respective country United States...
Page 13: ...es depen diendo de su rea de residencia ADVERTENCIA Use nicamente los cartuchos de bater a y los cargadores indicados arriba El uso de cualquier otro cartucho de bater a y cargador podr a ocasionar un...
Page 14: ...a posici n de apagado antes de conectar a la alimentaci n el ctrica y o de colocar el cartucho de bater a as como al levantar o cargar la herramienta Cargar las herramientas el ctricas con su dedo en...
Page 15: ...das Las bater as da adas o modificadas podr an oca sionar una situaci n inesperada provocando un incendio explosi n o riesgo de lesiones 6 No exponga la herramienta ni la bater a al fuego ni a una tem...
Page 16: ...Podr a ocurrir un incendio calor excesivo o una explosi n 3 Si el tiempo de operaci n se ha acortado en exceso deje de operar de inmediato Podr a correrse el riesgo de sobrecalentamiento posibles que...
Page 17: ...cuando note menos potencia en la herramienta 2 No cargue nunca un cartucho de bater a que est completamente cargado La sobrecarga acortar la vida de servicio de la bater a 3 Cargue el cartucho de bat...
Page 18: ...tecci n funciona cuando la herramienta bate r a se est n utilizando de una manera que causa que consuma una cantidad de corriente inusualmente alta En esta situaci n apague la herramienta y detenga la...
Page 19: ...NOTA Cuando la herramienta se sobrecaliente sta se detendr autom ticamente y la l mpara comen zar a destellar En este caso suelte el gatillo inte rruptor La l mpara se apagar en un minuto NOTA Utilice...
Page 20: ...la operaci n con el 2 desplegado presione la palanca para desplegar 1 y reinicie la operaci n Anillo de ajuste Usted puede seleccionar el modo de accionamiento y ajustar la torsi n de apriete mediante...
Page 21: ...4 1 mmx 38 mm Madera dura Ej lauan 3 5 mm x 22 mm 4 1 mmx 38 mm NOTA El anillo de ajuste no se bloquea cuando la flecha est posicionada solo a medio camino entre las graduaciones MONTAJE PRECAUCI N As...
Page 22: ...seada luego apriete el tornillo de fijaci n Instalaci n del gancho ADVERTENCIA Utilice las piezas para col gado montado solo para los fines previstos por ejemplo colgar la herramienta en un cintur n d...
Page 23: ...e pueden guardar ah OPERACI N PRECAUCI N Cuando la velocidad baje demasiado reduzca la carga o detenga la herra mienta para evitar da os en sta Sujete firmemente la herramienta con una mano en la agar...
Page 24: ...o La fuerza ejercida en la herramienta broca de taladro al momento de la penetraci n es enorme PRECAUCI N Para extraer una broca de taladro atorada basta simplemente con ajustar el interruptor de inve...
Page 25: ...de mango Varilla de profundidad Montaje del plato de goma Capucha de lana Almohadilla de pulido de espuma Bater a y cargador originales de Makita NOTA Algunos de los art culos en la lista pueden incl...
Page 26: ...26...
Page 27: ...27...
Page 28: ...ados por el lijado aserrado esmerilado taladrado y otras actividades de la construcci n contienen sustancias qu micas reconocidas por el Estado de California como causantes de c ncer defectos de nacim...