background image

I N S T R U C T I O N   M A N U A L

WARNING:

For your personal safety, READ and UNDERSTAND before using.
SAVE THESE INSTRUCTIONS FOR FUTURE REFERENCE.

w w w . m a k i t a t o o l s . c o m

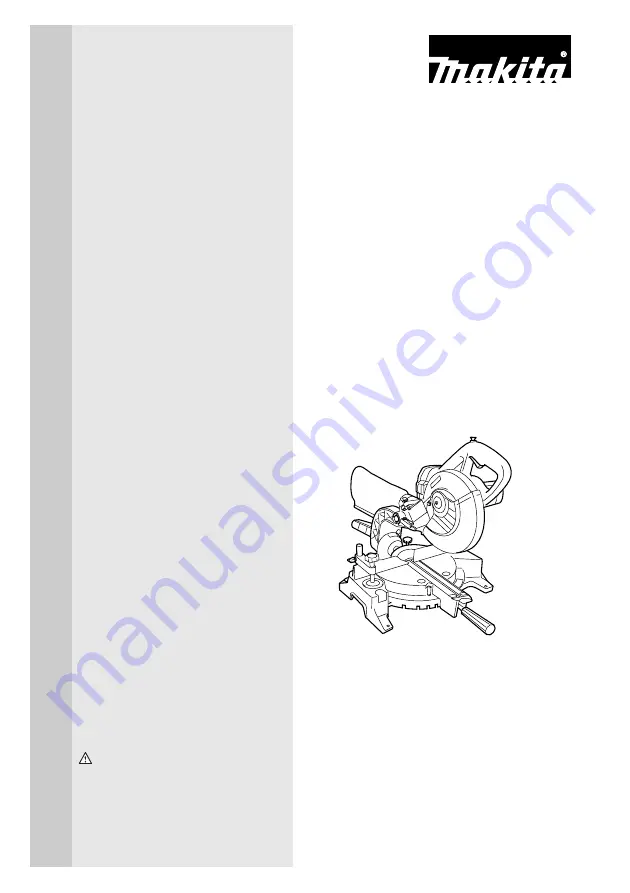
Cordless Slide 
Compound Saw

Equipped with Electric Blade Brake
190 mm (7-1/2”)
MODEL LS711D

Summary of Contents for LS711D

Page 1: ... WARNING For your personal safety READ and UNDERSTAND before using SAVE THESE INSTRUCTIONS FOR FUTURE REFERENCE w w w m a k i t a t o o l s c o m Cordless Slide Compound Saw Equipped with Electric Blade Brake 190 mm 7 1 2 MODEL LS711D ...

Page 2: ... weight 10 5 kg 23 1 lbs Manufacturer reserves the right to change specifications without notice Specifications may differ from country to country For Your Own Safety Read Instruction Manual Before Operating Tool Save it for future reference GENERAL SAFETY PRECAUTIONS USA005 1 Miter angle Bevel angle 0 45 left 0 50 mm x 182 mm 2 x 7 1 8 35 mm x 182 mm 1 3 8 x 7 1 8 45 left and right 50 mm x 127 mm...

Page 3: ...lenses they are NOT safety glasses 12 SECURE WORK Use clamps or a vise to hold work when practical It s safer than using your hand and it frees both hands to operate tool 13 DON T OVERREACH Keep proper footing and balance at all times 14 MAINTAIN TOOLS WITH CARE Keep tools sharp and clean for best and safest perfor mance Follow instructions for lubricating and changing accessories 15 DISCONNECT BA...

Page 4: ...ses only and not for any cutting opera tions 11 Be aware that this tool is always in an operating condition because it does not have to be plugged into an electrical out let 12 Do not use the tool in the presence of flammable liquids or gases 13 Check the blade carefully for cracks or damage before operation Replace cracked or damaged blade immediately Gum and wood pitch hardened on blades slows s...

Page 5: ...pt to lock the trigger in the on position 28 Be alert at all times especially during repetitive monotonous operations Do not be lulled into a false sense of security Blades are extremely unforgiving 29 Always use accessories recommended in this manual Use of improper accessories such as abrasive wheels may cause an injury 30 NEVER hold workpiece on right side of blade with left hand or vice versa ...

Page 6: ...those of plug on charger b That extension cord is properly wired and in good electrical condition c That wire size is at least as large as the one specified in the table below 9 Do not operate charger with damaged cord or plug replace them immediately 10 Do not operate charger if it has received a sharp blow been dropped or otherwise damaged in any way take it to a qualified serviceman 11 Do not d...

Page 7: ...void storing battery cartridge in a container with other metal objects such as nails coins etc 3 Do not expose battery cartridge to water or rain A battery short can cause a large current flow overheating possible burns and even a breakdown 6 Do not store the tool and Battery Car tridge in locations where the temperature may reach or exceed 50 C 122 F 7 Do not incinerate the Battery Cartridge even...

Page 8: ... Installing or removing battery cartridge Always switch off the tool before insertion or removal of the battery cartridge To remove the battery cartridge withdraw it from the tool while pressing the buttons on both sides of the cartridge To insert the battery cartridge align the tongue on the battery cartridge with the groove in the housing and slip it into place Always insert it all the way until...

Page 9: ...y cartridge Never use it for other purposes or for other manufacturer s batteries When you charge a new battery cartridge or a battery cartridge which has not been used for a long period of time it may not accept a full charge This is a normal condition and does not indicate a problem You can recharge the battery cartridge fully after discharging it completely and recharging a couple of times If y...

Page 10: ...n six months Blade guard When lowering the handle the blade guard rises automati cally The guard is spring loaded so it returns to its original position when the cut is completed and the handle is raised NEVER DEFEAT OR REMOVE THE BLADE GUARD OR THE SPRING WHICH ATTACHES TO THE GUARD In the interest of your personal safety always maintain the blade guard in good condition Any irregular operation o...

Page 11: ...ows First remove the battery cartridge Loosen all the screws 2 each on left and right securing the kerf boards Re tighten them only to the extent that the kerf boards can still be easily moved by hand Lower the handle fully and push in the stop per pin to lock the handle in the lowered position Loosen the clamp screw which secures the slide poles Pull the carriage toward you fully Adjust the kerf ...

Page 12: ...ved rotate the blade by hand while holding the handle all the way down to be sure that the blade does not contact any part of the lower base Re adjust slightly if necessary CAUTION After installing a new blade always be sure that the blade does not contact any part of the lower base when the handle is lowered completely Always do this with the battery cartridge removed Stopper arm The lower limit ...

Page 13: ... the bevel scale Then tighten the lever clockwise firmly to secure the arm CAUTION When tilting the saw blade be sure to raise the handle fully After changing the bevel angle always secure the arm by tightening the lever clockwise When changing bevel angles be sure to position the kerf boards appropriately as explained in the Positioning kerf boards section Switch action CAUTION Before inserting t...

Page 14: ... off button Return tool to a Makita service center for proper repairs BEFORE further usage NEVER tape down or defeat purpose and function of lock off button Electric brake This tool is equipped with an electric blade brake If the tool consistently fails to quickly stop blade after switch trigger release have tool serviced at a Makita service center The blade brake system is not a substitute for bl...

Page 15: ...jury Lock the handle in the raised position by pushing in the stop per pin To remove the blade use the socket wrench to loosen the hex bolt holding the center cover by turning it counterclock wise Raise the blade guard and center cover Press the shaft lock to lock the spindle and use the socket wrench to loosen the hex bolt clockwise Then remove the hex bolt outer flange and blade 1 Stopper Pin 1 ...

Page 16: ...cut Dust bag The use of the dust bag makes cutting operations clean and dust collection easy To attach the dust bag fit it onto the dust nozzle When the dust bag is about half full remove the dust bag from the tool and pull the fastener out Empty the dust bag of its contents tapping it lightly so as to remove particles adher ing to the insides which might hamper further collection NOTE If you conn...

Page 17: ...and tighten the screw to secure the vise rod Position the vise arm according to the thickness and shape of the workpiece and secure the vise arm by tightening the screw If the screw to secure the vise arm contacts the guide fence install the screw on the opposite side of vise arm Make sure that no part of the tool contacts the vise when lowering the handle fully and pulling or pushing the carriage...

Page 18: ...nly when the projection is at the topmost position Failure to do so may result in insufficient securing of the workpiece This could cause the workpiece to be thrown cause damage to the blade or cause the loss of control which can result in PERSONAL INJURY Holders and holder assembly optional accessories The holders and the holder assembly can be installed on either side as a convenient means of su...

Page 19: ...riage movement is stopped during the cut a mark will be left in the workpiece and the precision of the cut will be impaired 1 Press cutting cutting small workpieces Workpieces up to 50 mm 2 high and 97 mm 3 13 16 wide can be cut in the following way Push the carriage toward the guide fence fully and tighten the clamp screw on the turn base clockwise to secure the carriage Secure the workpiece with...

Page 20: ... the carriage fully or if you perform the slide cut toward your direction the blade may kickback unexpectedly with the potential to cause serious PERSONAL INJURY Never perform the slide cut with the handle locked in the lowered position by pressing the stopper pin Never loosen the clamp screw which secures the carriage while the blade is rotating This may cause serious injury 3 Miter cutting Refer...

Page 21: ...ome to a complete stop When pressing the handle down apply pressure parallel to the blade If the pressure is not parallel to the blade during a cut the angle of the blade might be shifted and the precision of the cut will be impaired 5 Compound cutting Compound cutting is the process in which a bevel angle is made at the same time in which a miter angle is being cut on a workpiece Compound cutting...

Page 22: ...able A and position the moldings on the top surface of the saw base as indicated in the table B 1 52 38 type crown molding 2 45 type crown molding 3 45 type cove molding 52 38 45 45 45 45 1 2 3 001555 1 Inside corner 2 Outside corner 1 Inside corner 2 Outside corner 1 2 3 4 1 2 Fig A 001556 2 1 2 1 2 2 1 2 1 1 2 3 4 1 001557 For inside corner For outside corner Molding position in Fig A 1 2 3 4 52...

Page 23: ...etting to 33 9 LEFT Adjust and secure miter angle setting to 31 6 RIGHT Lay crown molding with its broad back hidden surface down on the turn base with its CEILING CONTACT EDGE against the guide fence on the saw The finished piece to be used will always be on the LEFT side of the blade after the cut has been made ...

Page 24: ... 8 1 74 39 0 39 2 115 25 0 21 4 155 9 8 7 8 75 38 7 38 7 116 24 7 21 0 156 9 4 7 5 76 38 4 38 2 117 24 3 20 7 157 9 0 7 1 77 38 1 37 7 118 23 9 20 3 158 8 6 6 8 78 37 8 37 2 119 23 6 19 9 159 8 3 6 5 79 37 4 36 8 120 23 2 19 6 160 7 9 6 2 80 37 1 36 3 121 22 8 19 2 161 7 5 5 9 81 36 8 35 8 122 22 5 18 8 162 7 1 5 6 82 36 5 35 3 123 22 1 18 5 163 6 7 5 3 83 36 2 34 8 124 21 7 18 1 164 6 3 4 9 84 35...

Page 25: ...9 3 74 34 4 43 2 115 22 3 24 3 155 8 8 8 9 75 34 1 42 7 116 22 0 23 8 156 8 5 8 5 76 33 9 42 1 117 21 7 23 4 157 8 1 8 2 77 33 6 41 6 118 21 4 23 0 158 7 8 7 8 78 33 3 41 1 119 21 0 22 6 159 7 4 7 5 79 33 1 40 6 120 20 7 22 2 160 7 1 7 1 80 32 8 40 1 121 20 4 21 8 161 6 7 6 7 81 32 5 39 6 122 20 0 21 4 162 6 4 6 4 82 32 3 39 1 123 19 7 21 0 163 6 0 6 0 83 32 0 38 6 124 19 4 20 6 164 5 6 5 7 84 31 ...

Page 26: ...ower limit position of the blade using the adjusting screw and the stopper arm to limit the cutting depth of the blade Refer to Stopper arm section described on previously After adjusting the lower limit position of the blade cut parallel grooves across the width of the workpiece using a slide push cut as shown in the figure Then remove the workpiece material between the grooves with a chisel Do n...

Page 27: ...ent If your tool is not aligned properly perform the following 1 Miter angle Push the carriage toward the guide fence and tighten the clamp screw on the turn base to secure the carriage Loosen the grip which secures the turn base Turn the turn base so that the pointer points to 0 on the miter scale Then turn the turn base slightly clockwise and counterclockwise to seat the turn base in the 0 miter...

Page 28: ...of the arm two or three revolutions counterclockwise to tilt the blade to the right Carefully square the side of the blade with the top surface of the turn base using the triangular rule try square etc by turning the 0 bevel angle adjust ing bolt clockwise Then tighten the lever securely Make sure that the pointer on the arm point to 0 on the bevel scale on the arm holder If it does not point to 0...

Page 29: ...brush holder caps Take out the worn carbon brushes insert the new ones and secure the brush holder caps After replacing brushes insert the battery cartridge into the tool and break in brushes by running tool with no load for about 1 minute Then check the tool while running and elec tric brake operation when releasing the switch trigger If elec tric brake is not working well ask your local Makita s...

Page 30: ... your nearest Makita Authorized Service Center or Distributor that has been desig nated as a Makita battery recycling location Call your nearest Makita Service Center or Distributor to determine the location that provides Makita battery recycling See your local Yellow Pages under Tools Electric To maintain product SAFETY and RELIABILITY repairs any other maintenance or adjustment should be perform...

Page 31: ...nt for its stated purpose If you need any assistance for more details regarding these accessories ask your local Makita service center Carbide tipped saw blades Vise assembly Horizontal vise Vertical vise Socket wrench 10 Holder set Holder assembly Holder rod assembly Set plate Dust bag Triangular rule Lock off button 2 pcs Various type of Makita genuine batteries and chargers Miter saw blades For...

Page 32: ...Memo 32 ...

Page 33: ...33 First Class Postage Required Post Office will not deliver without proper postage Makita U S A Inc 14930 Northam Street La Mirada CA 90638 5753 Fold Cut ...

Page 34: ...ability Power Other Design Features Size Price Makita Brand 5 Any comments MAIL THIS PORTION Your answers to the following questions are appreciated BE SURE TO COMPLETE THE CUSTOMER S PORTION OF THIS FORM AND RETAIN FOR YOUR RECORDS DATE PURCHASED MODEL NO SERIAL NO INTL LAST NAME COMPANY NAME STREET ADRESS CITY STATE AGE ZIP CODE PHONE AREA CODE STATUS Married SEX M F Single MONTH DAY YEAR Under ...

Page 35: ... St Louis MO 63126 2221 314 909 9889 NEBRASKA 4129 S 84th St Omaha NE 68127 402 597 2925 NEVADA 3375 S Decatur Blvd Suites 22 24 Las Vegas NV 89102 702 368 4277 NEW JERSEY 251 Herrod Blvd Dayton NJ 08810 1539 609 655 1212 NEW YORK 4917 Genessee Street Cheektowaga NY 14225 716 685 9503 OREGON 828 19th Avenue N W Portland OR 97209 503 222 1823 PENNSYLVANIA 1704 Babcock Blvd Pittsburgh PA 15209 412 8...

Page 36: ...one of Makita s Factory or Authorized Service Centers If inspection shows the trouble is caused by defective workmanship or material Makita will repair or at our option replace without charge This Warranty does not apply where repairs have been made or attempted by others repairs are required because of normal wear and tear the tool has been abused misused or improperly maintained alterations have...

Reviews: