


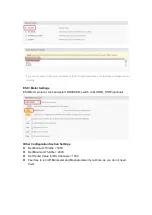
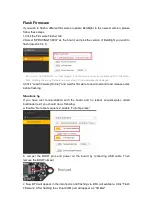


Open BetaFlight and hit “Connect”
Put a spirit level on a surface and make it level, place the Micro FPV drone on the
level surface
In the first tab, click “Calibrate Accelerometer”
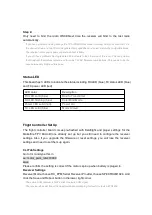
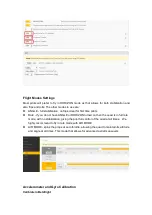
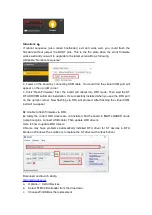
Using radio sticks
Power up the radio and Micro FPV drone, remaining disarmed for the duration of this
process
Put a spirit level on a surface and make it level, place the Micro FPV drone on the
level surface
For the accelerometer, move the throttle stick up-left and pitch down-center
,
you will
see the blue LED blink for confirmation
Now for the gyro, move the throttle stick down-left and the pick down-center
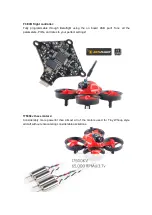
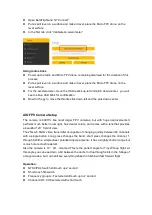
AIO FPV Camera Setup
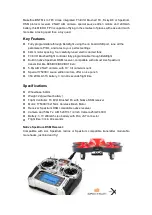
The camera is 600TVL like most larger FPV cameras, but with huge improvements.It
performs much better in low light, has clearer colors, and comes with a lens that provides
a beautiful 120
°
field of view.
The 25mw 5.8GHz video transmitter is capable of changing quickly between 40 channels
with a single button. Long press changes the band, short press changes the channel, 1
through 8.With a simple linear polarized dipole antenna, it has a slightly shorter range but
is much more crash resistant.
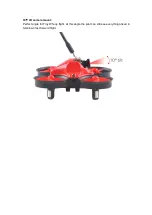
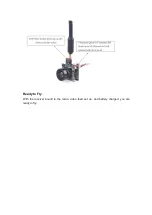
Also the camera is 10
°
tilt mounted.This is the perfect angle for Tiny Whoop flight. At
this angle you can see down a bit between the ducts to drop through slots in the foliage of
a magnolia tree, but I can still see everything ahead in full-blown fast forward flight.
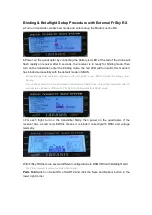
Operation:
NTSC/PAL Switch still touch up 2 second
Short touch flip switch
Frequency group A~F selected still touch up to 2 second
Channel CH1~CH8 selected with short touch


