36
Navigation Screens
MobileMapper
Pro offers 7 dif-
ferent naviga-
tion screens to
help you locate
yourself or navi-
gate to way-
points or GIS
features in an
existing job.
From any dis-
played screen,
simply press the NAV button to access the last-used naviga-
tion screen. To display the next navigation screen, press NAV
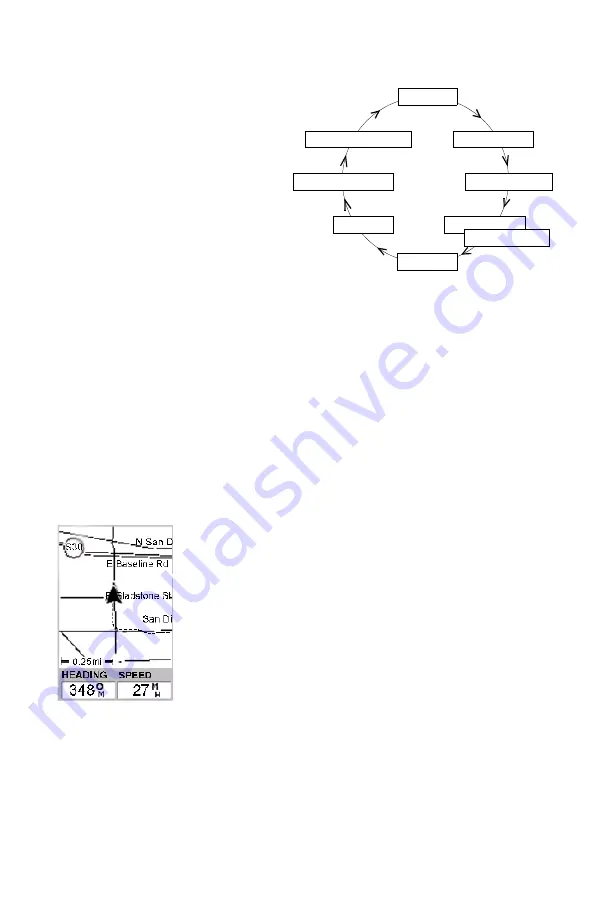
again. The sequence of navigation screens is as shown above.
It can be scrolled in the reverse direction by pressing ESC
once any of these navigation screens is displayed.
You may find that you do not regularly use all of these screens.
To make it faster to move among those screens that you do
use, you may turn off individual navigation screens (except
the Map and Satellite Status screens) by pressing the MENU
button, selecting the
Setup
option and then the
Nav Screens
option. Select either
On
or
Off
for each screen until you see the
Setup menu once more. Note that you must cycle through all
the screens in order to put your selections into effect.
The following is a description of each of the navigation
screens.
Map Screen
The Map screen shows a map of the area surrounding your cur-
rent location. Use the IN and OUT buttons to adjust the scale.
Press NAV
Position Screen 2
Large Data Screen
Compass Screen
Map Screen
Satellite Status Screen
Speedometer Screen
Data Screen
Road Screen
Position Screen 1
Press NAV
etc.
The Map screen has
two modes: Position
and Cursor. Use any
arrow key to select Cur-
sor mode, ESC to
return to Position
mode.
When a Position screen
is displayed, press the
Left or Right arrow key
to display the other.
Press this key again to
return to the previous
screen.
Except for the Satellite
Status screen, all navi-
gation screens can be
customized.
Map screen
in Position mode


