


LeadCare Ultra
®
Blood Lead Testing System User’s Guide
4-4
3. Remove the calibration button from the test kit you are going to use.
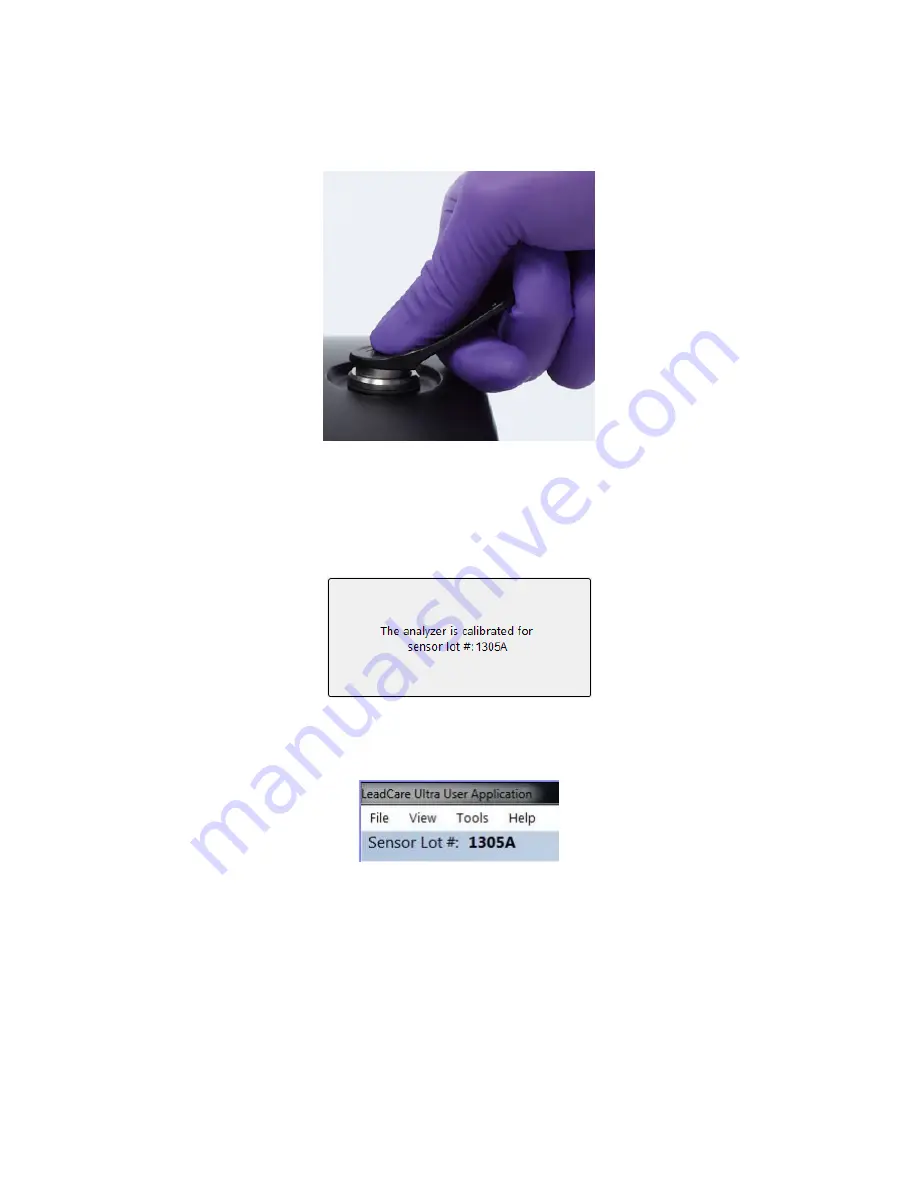
4. Hold the calibration button to the button reader until you hear the beep (see Figure 4-4). The
button must touch both the center contact and metal side of the button reader.
Figure 4-4: Holding Calibration Button to Button Reader
5. Calibration can take up to 5 seconds. When calibration is complete, the analyzer beeps and the
screen briefly displays a message stating that the analyzer was calibrated successfully
(see Figure 4-5).
Figure 4-5: Successful Calibration Message
The Sensor Lot #: appears in the upper left corner of the main screen (see Figure 4-6).
Figure 4-6: Sensor Lot #
6. Once the calibration is successful, the “Quality Control Settings” dialog box displays.
See Section 4.4, Entering Quality Control Settings, to proceed.
Summary of Contents for LeadCare Ultra
Page 16: ...LeadCare Ultra Blood Lead Testing System User s Guide 2 6 This page intentionally left blank ...
Page 62: ...LeadCare Ultra Blood Lead Testing System User s Guide 6 20 This page intentionally left blank ...
Page 92: ...LeadCare Ultra Blood Lead Testing System User s Guide 11 2 This page intentionally left blank ...
Page 96: ...LeadCare Ultra Blood Lead Testing System User s Guide 13 2 This page intentionally left blank ...
Page 102: ...LeadCare Ultra Blood Lead Testing System User s Guide A 4 This page intentionally left blank ...
Page 103: ...LeadCare Ultra Blood Lead Testing System User s Guide B 1 ...
Page 104: ...LeadCare Ultra Blood Lead Testing System User s Guide B 2 ...
Page 116: ...LeadCare Ultra Blood Lead Testing System User s Guide B 12 This page intentionally left blank ...
Page 118: ...LeadCare Ultra Blood Lead Testing System User s Guide C 2 This page intentionally left blank ...


