Ver. 2.1
DESIGNED BY
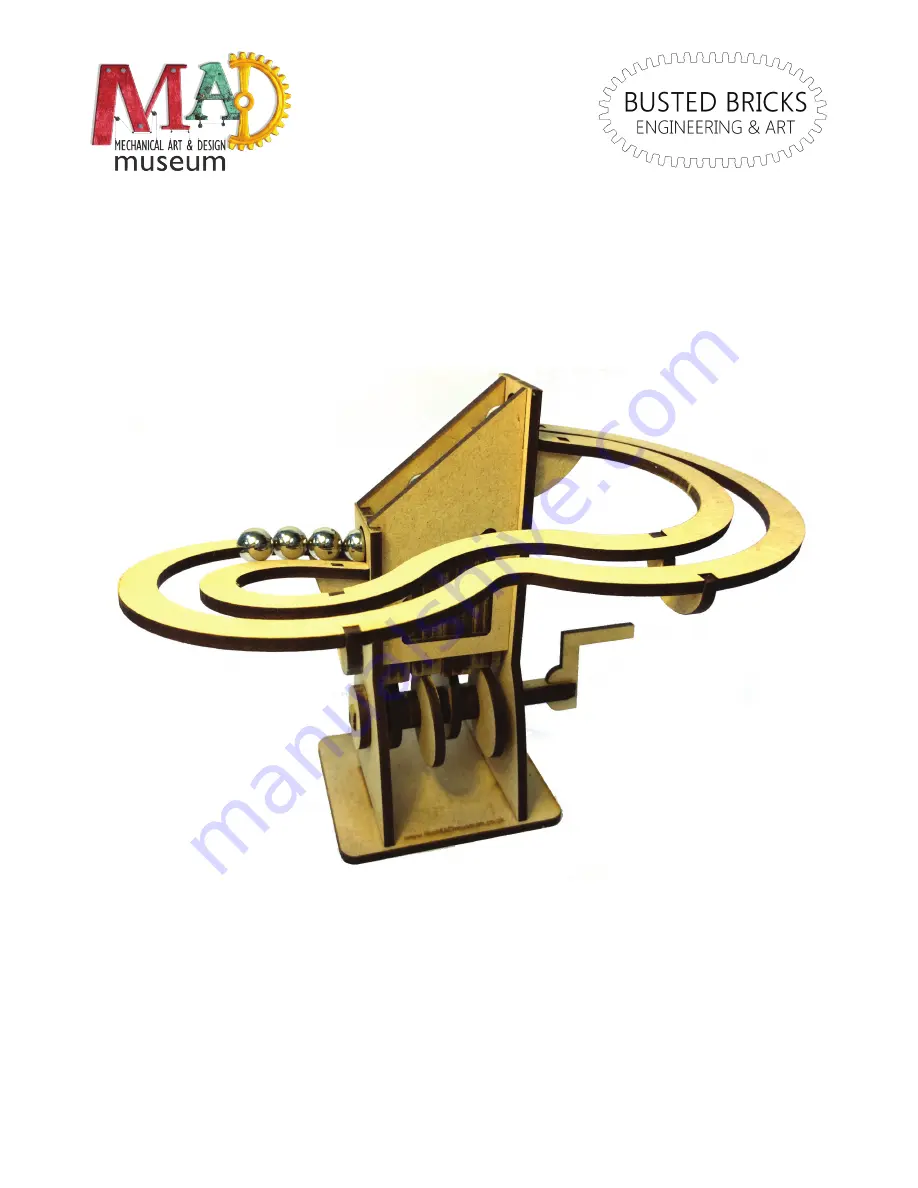
Assembly instructions for the Simple Marble
Machine
Page 1: ...Ver 2 1 DESIGNED BY Assembly instructions for the Simple Marble Machine ...
Page 2: ...ctions for MAD Simple Marble Machine Ver 2 1 Kit Contents 1 Uprights 2 Base 3 Cams 4 Cam Spacers 5 Sides 6 Camshaft 7 Crank Handle 8 Steps 9 Step Aligners 10 Track 11 track Joiner 1 1 3 4 4 4 4 4 5 5 2 6 7 8 9 11 3 3 3 ...
Page 3: ...ck This should be left in until the joiners have been glued in place Use a sharp modelling knife or scalpel to cut the small retaining tabs that hold the parts in the sheets Camshaft assembly Glue the two shaft halves together Only use a small amount of glue If any glue seeps out from the joint then it should be wiped off with a damp rag You can use the crank handle and one of the spacers to hold ...
Page 4: ...he pips so the cams are smooth Slide two spacers on the shaft and sand them smooth These will be at each end of the camshaft and will be turning in the bearing holes in the lifter frame Check they are a loose fit in the holes Now onto the camshaft assembly Slide two spacers onto the shaft so the align with the pip mark towards the end of the shaft that has the cut our for the crank handle ...
Page 5: ...0 degrees rotated in relation to the first cam Repeat until all cams and spacers have been used Slide the spacers at each end out apply a small drop of glue onto the shaft between the spacers and slide them back in place again Push firmly on the ends of the spacers so the cams are not wriggling around on the shaft Leave to dry ...
Page 6: ...tions for MAD Simple Marble Machine Ver 2 1 Frame assembly Glue the frame sides into the short upright You can use the tall upright and base to keep the parts aligned but do not glue these parts together yet Leave to dry ...
Page 7: ...the tall upright to the side frames and glue the upright to the base Leave to dry Centre the camshaft between the uprights Add a small amount of glue onto the shafts near to where they exit from the uprights Slide the retaining disc in place Ensure that a bit of sideways movement of the camshaft is still possible About 1mm is right Glue the crank handle in place ...
Page 8: ...8 Assembly Instructions for MAD Simple Marble Machine Ver 2 1 ...
Page 9: ...e the track onto the tall side of the frame Hold it in place with strong rubber bands while the glue dries PVA glue can be used but it must be allowed to dry thoroughly before proceeding Alternatively you can use 5min setting epoxy glue or medium thick CA glue A tip CA glue cures quicker in the presence of moisture Lick a finger and wipe it on the back of the track where it is to be adhered to the...
Page 10: ... sets Use a scrap of MDF and strong rubber bands Take care not to glue the scrap piece onto the track Steps assembly Each of the four steps consist of 4 parts 3 step parts and an alignment part Glue the step parts together and insert the alignment part making sure it does not protrude from either side of the assemble step Take care to assemble the steps in the right order so each step looks like a...
Page 11: ... Ver 2 1 Once the glue is dry the top of the steps should be chamfered Only a little bit of the edges needs to be taken off Hold at an angle against a piece of sandpaper and drag the step backwards 3 4 times so it ends up looking like in the picture below ...
Page 12: ... track and crank away to your hearts content It is easiest to crank if the crank handle protrudes over the edge of the table Crank at a slow steady pace If you crank very fast the balls may bounce on the steps and not travel up the steps as intended If you have any suggestions or comments regarding these instruction please email info themadmuseum co uk ...