


9
User’s Guide
Us
er’
s
Guide
Navigation Section
This section gives you quick access to
navigational shortcuts designed to help you “get
around” your DAW, which sometimes can be the
most time-consuming aspect of using a computer for
audio production. This section has four buttons and
a small two-character display.
RTZ
RTZ stands for Return to Zero and returns the
playback head (in software) “to the top” of your
session (as they say in musician-land) or to
00:00:00:00.
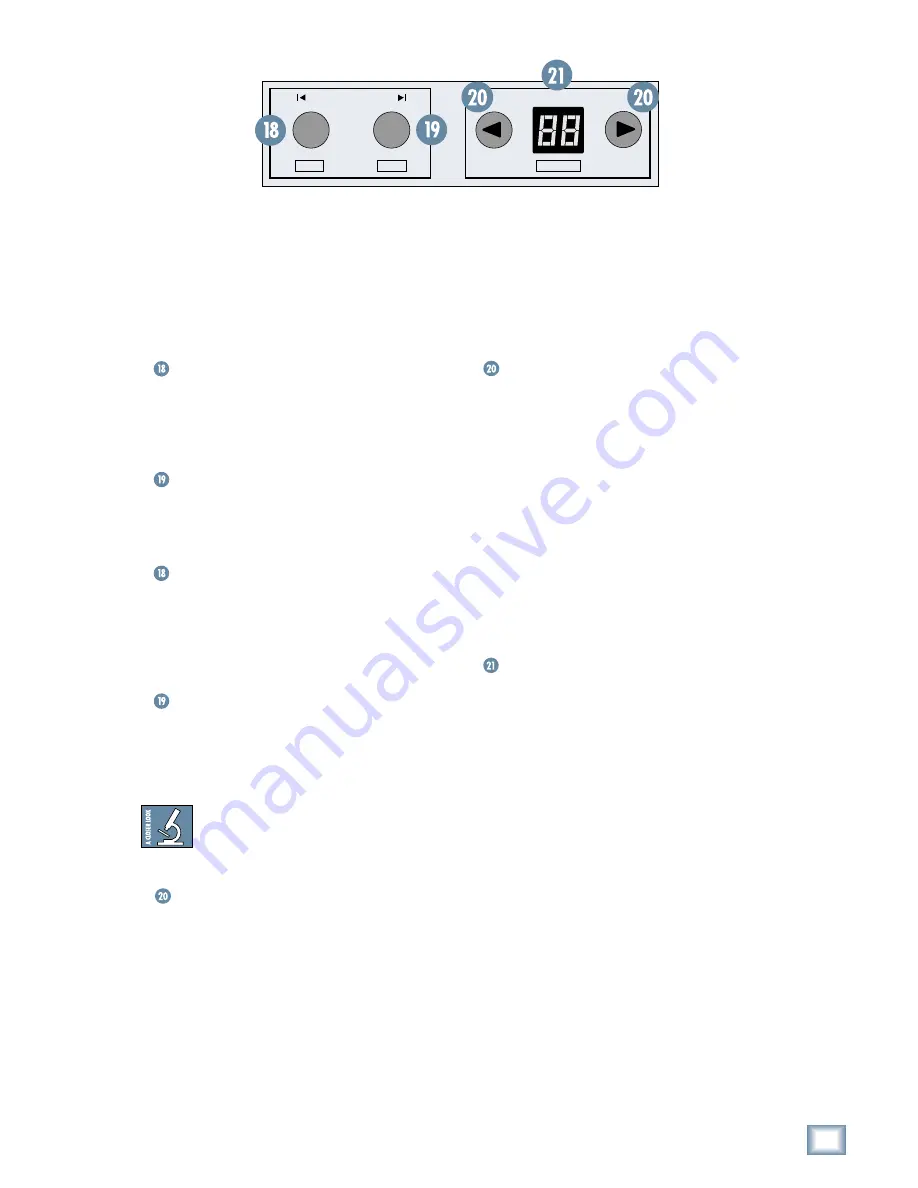
END
This button jumps the playback head to the last
point in the session where audio or MIDI data was
recorded. Think of it as the opposite of the RTZ button.
◊
IN
The IN Button is used during playback only.
Holding SHIFT and pressing this button during
playback drops a new selection point indicator along
the timeline of the Edit Display. Playback continues
even though the selection point has been set.
◊
OUT
This button is also used during playback. The
OUT button drops in the ending point of the
selection established by the IN button (see previous)
and is indicated on the timeline.
TIP:
Use IN and OUT (not the awesome
burger place) to mark sections of a song
for setting up loops, punching in
automation, or making specific edits.
Bank Select (Left and Right)
Even though Baby HUI only has eight faders, it
can control as many channels as the software can
support, even though it only provides access to eight
channels at any one time. Each group of eight
channels is commonly referred to as a “bank,” and
Baby HUI provides access to your software mixing
console one bank at a time.
Pressing the left or right Bank Select button
“jumps” Baby HUI over to the next adjacent eight
channels on either the left or right side of its current
location. For example, if Baby HUI is currently
controlling channels 1-8 and you push the right
Bank Select button, Baby HUI will now control
channels 9-16. When considering the extensive
numbers of channels supported by many of today’s
DAWs, bank selecting is a key navigational tool on
Baby HUI.
◊
Channel Select (Left and Right)
Holding down the SHIFT button and pressing the
left or right Channel Select button “jumps” Baby HUI
over to the next adjacent channel on either the left
or right side of its current location. For example, if
Baby HUI is currently controlling channels 1-8 and
you hold SHIFT and push the right Channel Select
button, Baby HUI will now control channels 2-9.
Another push will jump Baby HUI to control
channels 3-10, and so on.
Note:
When changing banks or channels, the
channel strips “remember” their settings even if they
are not currently active channels. So, when you see
the faders jump as you change banks/channels, you
are just seeing the controller react to the new
channel settings.
Bank/Channel Display
This two-digit display indicates the currently
selected bank of channels on Baby HUI. Upon
powering up Baby HUI, this display shows the
currently installed firmware build for a period of five
seconds, then reads “1” to indicate you are currently
on Bank 1. A single push of the right bank button
increases the display to “2” for Bank 2, and so on.
Bank 1 represents channels 1-8, Bank 2 channels
9-16, etc.
When navigating channel by channel (by holding
down the SHIFT button), the display shows you the
channel number associated with the first channel
strip on Baby HUI (the one farthest to the left).
Transport Section
Baby HUI has a tape-style transport in the lower
right corner of the control surface that provides
control for the position of the playback head for a
given song or session. In short, it controls the
software application like a tape machine. Included in
the Transport Section are five main buttons:
END
BANK SELECT
CHANNEL
IN
OUT
RTZ


