User Manual
MachineryGuide
GPS Guidance System
Read the whole manual before using the product and keep it for later reference
UK ENG
Page 1: ...User Manual MachineryGuide GPS Guidance System Read the whole manual before using the product and keep it for later reference UK ENG...
Page 2: ...1...
Page 3: ...dates 10 First Steps 11 Options menu 12 Units Gauges to display and Overlap option menu 12 Session handling Localization source and Display menu 13 Size and alignment menu 15 Guidance mode menu 16 Lan...
Page 4: ...rmer job 24 Managing former paths 26 Layout of the Navigation screen 27 Function buttons 28 Starting navigation with A B straight guidance mode 30 Starting navigation AB with surrounding guidance mode...
Page 5: ...GPS GLONASS antenna SM1 or DM1 antenna 2 Bluetooth GNSS receiver SM1 or DM1 receiver 3 Antenna cable Only for DM1 4 DC USB cable Car charger 3 points charger and 2 wire charger 5 Tablet mount 6 Andro...
Page 6: ...enna Specifications Frequency 1575MHz 1615MHz VSWR 1 3 1580MHz Bandwidth 43MHz Polarization RHCP Antenna gain 27dB Size 37 5mm x 34 5mm x 12 5mm Connection SMA RF cable RG174 2 5m Magnetic bottom DM1...
Page 7: ...antenna The DM1 antenna has high gain 40 dB and multipath error rejection Specifications Frequency 1574 MHz 1606 MHz Bandwidth 31 MHz 1dB Polarization RHCP Antenna gain 40 dB Size 152 mm x 152 mm x 94...
Page 8: ...itialization time depends on the satellite coverage the Receiver starts to provide submeter level pass to pass accurate position data DM1 Bluetooth GNSS Receiver Specifications Uses GPS GLONASS SBAS Q...
Page 9: ...Cold start TTFF under open sky 30 sec average Tracking sensitivity 165 dBm Bluetooth version 2 0 Bluetooth device name MG BT REC V2 3 When the Receiver is turned on after ten minutes of initializatio...
Page 10: ...2 m Plug type 2 1 mm DC plug A DC to USB cable with a DC plug for the Bluetooth GNSS Receiver and a standard car charger plug Specifications Length 2 m Plug type 2 1 mm DC plug A DC to USB cable with...
Page 11: ...ach the website directly from your tablet smartphone since this way the APK file is installed right away when tapping the download link b When the installer file APK file is downloaded to your compute...
Page 12: ...ain window will change to Start button and you will be able to use the software without any restrictions Software Updates Software updates are available on this link machineryguideapp com en releases...
Page 13: ...ted instead of the Start button the Licence button appears you can read above about the activation 2 The software can be configured in the Options menu 3 By tapping the Exit button you can close the a...
Page 14: ...Options menu The application can be customized through several settings Each setting is saved automatically so you do not have to set the desired parameters every time you start the application 13...
Page 15: ...Set Done path gauge to be displayed on the Navigation screen Displays the covered distance since the start of the session 6 Set Cultivated area gauge to be displayed on the Navigation screen Displays...
Page 16: ...f the employee can be set here 2 Previously saved Fields with their parameters can be loaded by tapping here 3 Previously saved Sessions can be loaded by tapping here Tap to Continue former session to...
Page 17: ...yer a harvester and a simple arrow are the available options 7 The color for the cultivated area 8 Two camera modes are available 1 Camera moves along with the tractor follows the moving tractor and 2...
Page 18: ...ted based on this data Negative number cannot be given 2 Setting the center offset The outline of the cultivated area can be moved to the left of the agricultural machine with negative values It can m...
Page 19: ...Guidance mode menu Function 1 A B straight mode 2 A B surrounding mode 3 A B curve mode 4 A B round curve mode 5 Tracking only mode 18...
Page 20: ...anguage will be the language of the program as well Supported languages Chinese English German Hungarian Polish Portuguese Russian Spanish Font size settings You can choose the font size of the operat...
Page 21: ...ct the Bluetooth antenna as GPS source in the Localization source menu 4 Tap Start 5 To start the job session the Bluetooth device needs power supply 6 After tapping Start button the Satellite Informa...
Page 22: ...e accuracy so the User can choose the accuracy they want to work with Accuracy levels Bad Red sign Weak Orange sign Good Yellow sign Excellent Green sign 8 The following window appears after clicking...
Page 23: ...el a notification shows up so the User can stop the job until the signal becomes accurate enough to continue with the desired accuracy The Application also gives notifications if the connection with t...
Page 24: ...he cables of the receiver are properly connected to the Bluetooth receiver then tap Reconnect button to start again the connection between the device and the Application if Bluetooth connection is int...
Page 25: ...S source in the Localization source menu 4 Tap Start 5 To start a job session the Built in GPS module has to be turned on 6 After tapping Start the following window appears Wait until the pop up windo...
Page 26: ...Information about the new job session could be added here It is not necessary to fill any of the fields here but it makes easier to find a session later 8 Press Ok to start the session 25...
Page 27: ...er data had been selected the guidance will be created as an individual job session thus it can be retrieved with its individual date and session name 2 Continue former job User can also load and cont...
Page 28: ...ap Start 3 As soon as the initialization of the GPS s position reception is done the following window disappears 4 Tap Continue former session tab 5 Select the session from the list that you want to c...
Page 29: ...iously done fieldwork also appears here Former sessions screen Function 1 List of former jobs 2 Export selected session to a KML file The exported file can be found in the MachineryGuide folder at the...
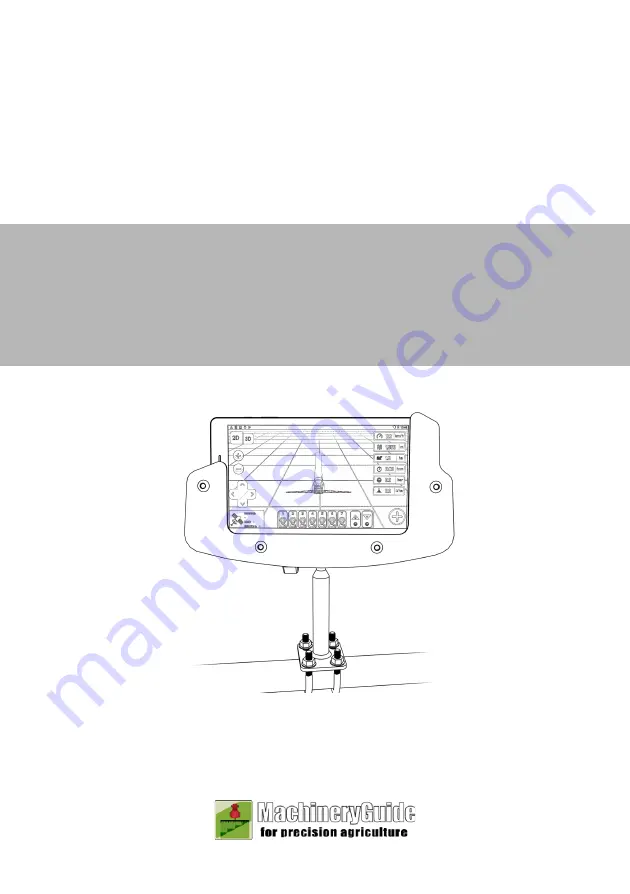
Page 30: ...ow navigation distance and field border notification are the parts of the navigation The navigation arrow turns in proportion to distance visually indicating to the user how to correct the direction o...
Page 31: ...reference point With this button the B reference point can be set placed on the field There must be minimum 50 m distance between A and B points The section between A and B point will be the referenc...
Page 32: ...ion New A B line It is possible to add several A and B points for consecutive guidances Position correction This option helps the User to correct the actual position of the machinery relative to the d...
Page 33: ...navigation path parallel lines will be calculated For setting the reference line A and B points have to be placed 4 Set point A to set the first reference point 5 Drive forward To place B reference po...
Page 34: ...Navigation screen after placing the reference points 33...
Page 35: ...guidancing first drive around the field area and point out the A and B reference points the so called reference section to which the navigation path parallel lines will be calculated You should follo...
Page 36: ...nd opens the window below to save the field 10 Guidancing now has started It can be interrupted any time by tapping the button and be continued by tapping the button 11 Go by the outlined navigation l...
Page 37: ...B curve mode in Settings under Guidance mode sub menu The following steps are the same as described at the chapter AB straight guidance mode 2 After placing the A and B reference points the navigation...
Page 38: ...et at the area to be cultivated 4 Tap Start to start the job 5 Start to go around the field and set point A as the first reference point 6 Drive forward After surrounding the field return to the A ref...
Page 39: ...For further information visit www machineryguideapp com E mail info machineryguideapp com 38...
Page 40: ...39...