


Instruction for use URYXXON
®
500
26
Instruction for use URYXXON
®
500 V 2.1 / 01.23
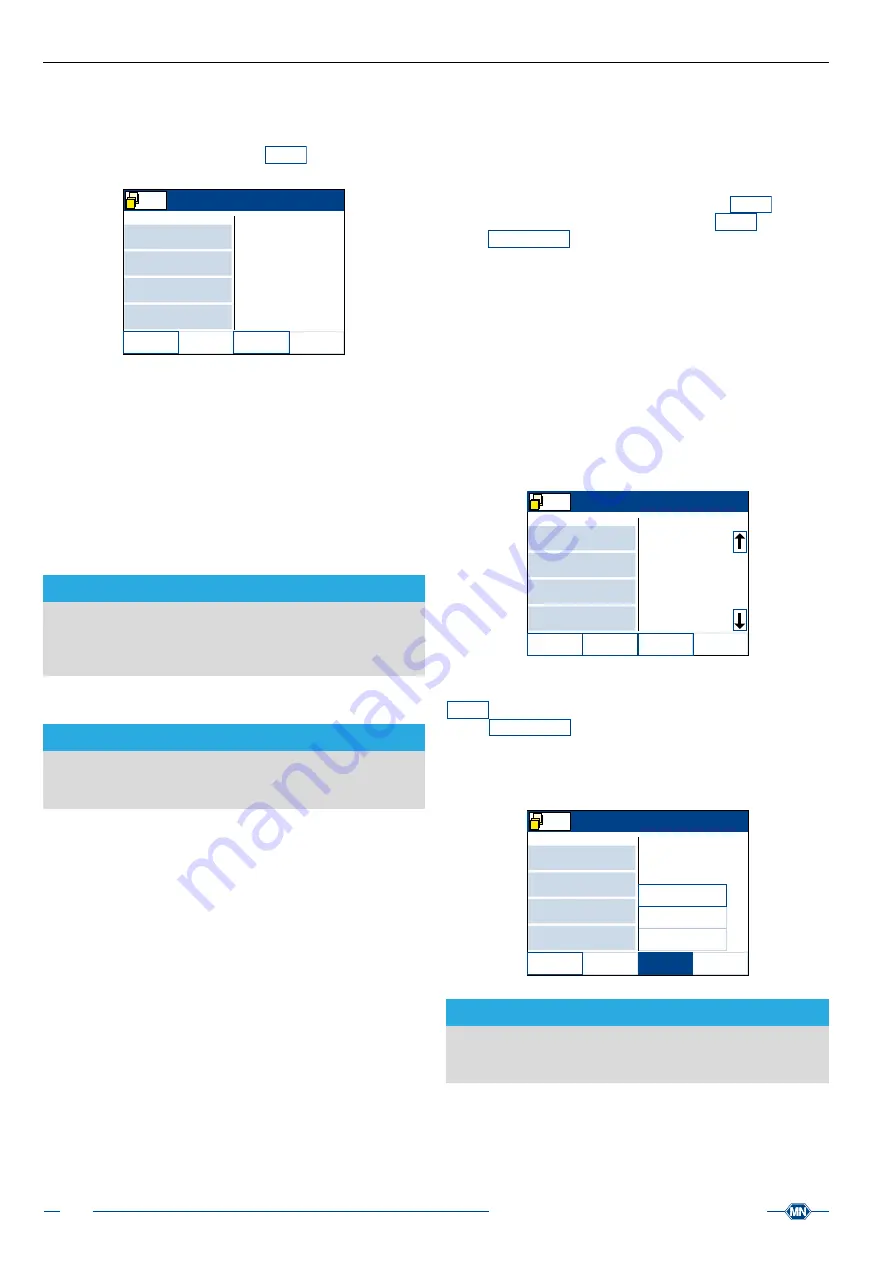
13.2 Single measurement
The green light above the transport tray indicates that the instrument
is ready to measure. If the autostart function is disabled, you have
to initiate a measurement by pressing
Start
in the upper right of
the start screen
(see chapter 8.11 Autostart, page 20)
.
Insert strip
ID
Seq.No.
Clarity
Color
Next sample
Worklist
Edit
Emergency
Option
Edit
selected
Menu
15 10
0001
55974521
Yellow
Clear
BLD
UBG
BIL
PRO
NIT
KET
GLU
pH
Place the test strip on the left side of the instrument onto the
black transport tray. The light briefly flashes green, thus indicating
automatic strip detection. Right after, the transport rack moves to
take the strip into the instrument. During that time, the light is red,
because no other strip should be placed on the tray while a strip is
drawn into the housing.
The measurement of the strip is automatic. The measuring time
for one single strip is about 1 minute. When the measurement is
completed, the results are printed. The result is saved automatically
and can be found in the instrument’s memory. You can also send
the result to a PC
(see chapter 15. Connection of external devices,
.
NOTICE
If you choose “print after Sediment entry” in the sediment
settings, then results that require sediment findings will be
printed after you have entered the sediment findings, not right
after the measurement has been performed.
13.3 Successive measurements
NOTICE
Always enter patient and sample information before you place
the strip on the transport tray. Once the strip is drawn into the
housing, information cannot be edited anymore.
Generally, successive measurements follow the same principles as
single measurements.
Place the test strip on the left side of the instrument onto the
black transport tray. The light briefly flashes green, thus indicating
automatic strip detection. Right after, the transport rack moves to
take the strip into the instrument. During that time, the light is red,
because no other strip should be placed while the strip is drawn
into the housing. The measurement of the strip is automatic.
As soon as the strip has been drawn into the housing, the light is
green again and the display shows a new sequence number. Enter
necessary supplemental information as usual, then place the next
strip onto the transport tray. The light flashes briefly and the next
strip is drawn in.
Thus, you can measure any number of strips successively.
13.4 Measurements with worklist
With the instrument, you can create a list of samples and their
corresponding patient IDs and then measure those consecutively.
The worklist is displayed in the right half of the start screen. As soon
as you have imported a patient ID with a barcode scanner, keyboard
or your LIS, the IDs are added to the worklist automatically.
In the lower part of the screen, the activity‑button
Options
is always
activated. Once you press the activity‑button
Options
the activity‑
button
Load worklist
appears, which allows you to load a worklist
from your LIS at any time.
13.4.1 Create a worklist
In order to manually create a worklist, you have to connect a
barcode scanner or a keyboard first.
Import the samples’ barcoded patient IDs with a barcode scanner
into the worklist, or use a keyboard to enter patient IDs. Make
sure to import the data in the same order as you want to measure
the samples. The first imported ID appears on the left side of the
start screen in the ID field. All other imported IDs are listed in the
worklist area on the right side of the screen. You can always add
new IDs to an existing worklist, even if you already started with your
measurements. Those additional IDs will be added to the end of
the existing worklist.
Insert strip
ID
Seq.No.
Clarity
Color
Next sample
Worklist
Edit
Emergency
Options
Edit
selected
Menu
15 10
0001
55816478
Yellow
Clear
BLD
UBG
BIL
PRO
NIT
KET
GLU
pH
55674276
55156472
55684123
55741836
55412754
55971287
55147528
You have the option to load a worklist from your LIS if it is
connected to the instrument. To do so, press the activity‑button
Options
underneath the worklist field. Then press the activity‑
button
Load worklist
. The instrument can now receive data from
your LIS. The first ID will be placed in the left side of the start screen
as next sample ID. The other IDs will be listed in the worklist. You
can always add additional IDs to the existing list with a barcode
scanner or a keyboard.
Insert strip
ID
Seq.No.
Clarity
Color
Next sample
Worklist
Edit
Emergency
Options
Edit
selected
Menu
15 10
0001
Load worklist
Print worklist
Delete worklist
NOTICE
You can only transfer worklist data from your LIS to an
instrument, if the LIS is programmed and set accordingly. Such
an adjustment cannot be made by the device alone.


