262391
77
Revision A
1001336
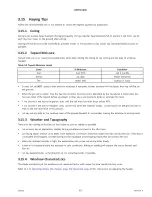
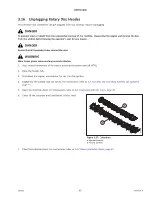
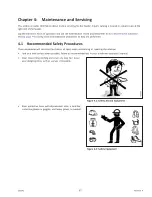
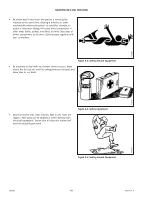
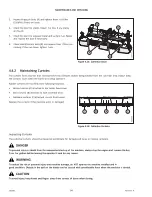
Figure 4.6: Grease Interval Decal
Greasing points are marked on the machine by decals showing a
grease gun and the grease interval, which is specified in hours
of operation.
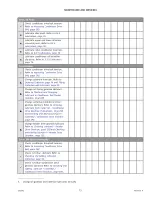
Log the hours of machine operation. Use the maintenance
schedule provided in this manual to keep a record of scheduled
maintenance. For details, refer to
.
Greasing Procedure
This is a general procedure used any time a component requires grease.
DANGER
To prevent bodily injury or death from the unexpected startup of the machine, always stop the engine and remove the
key from the ignition before leaving the operator
’
s seat.
1.
Open driveshields at the ends of the header to access greasing points. For instructions, refer to
2.
Wipe the grease fitting with a clean cloth before greasing it to avoid injecting dirt and grit into the component.
3.
Replace any loose or broken fittings immediately.
4.
Inject grease through the fitting with a grease gun until grease overflows the fitting, unless the instructions specify
otherwise.
5.
Leave excess grease on the fitting to keep out dirt.
6.
Remove and thoroughly clean any fitting that will not take grease and clean the lubricant passageway. Replace the
fitting if necessary.
Service Intervals
Regular maintenance is required to keep your machine operating at peak performance.
NOTE:
Use high temperature, extreme pressure (EP2) performance grease with 1% max. molybdenum disulphide (NLGI Grade 2)
lithium base unless otherwise specified.

