


Page 33 of 44
©2018 Lytx, Inc. - Confidential & Proprietary.
Initiate Diagnostic Mode
1. Press and hold either of the blue buttons on the Window Unit until the 3 center LED
status lights turn blue (hold for about 30 seconds). After they light up, let go of the
button.
2. Immediately press and hold the blue button again for up to 45 more seconds. First, the
device's center LED light turns green. Then all 7 LED lights turn blue. When they turn
blue, let go of the button.
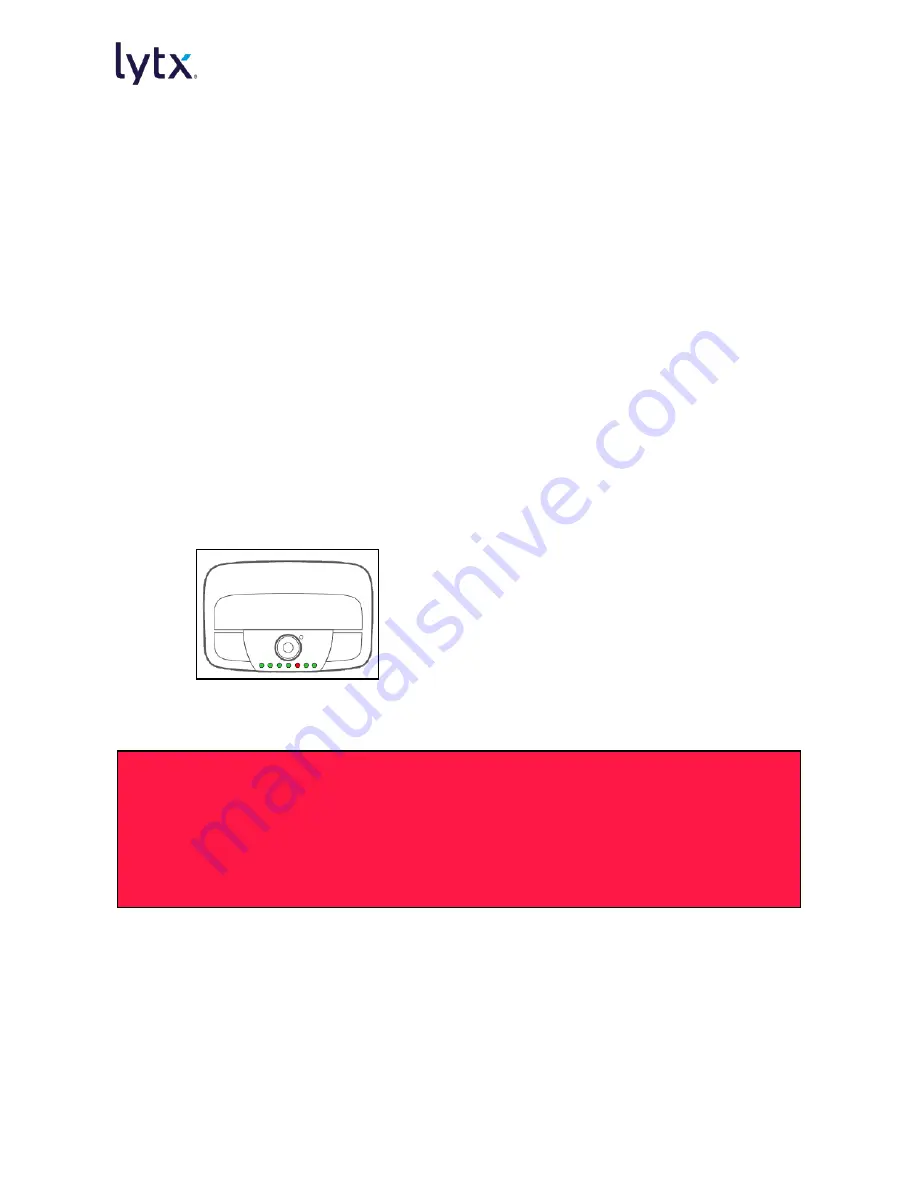
3. Verify the LED status light sequence:
a. First, all lights turn off.
b. The center LED light turns green.
c. All LED lights turn red.
d. The LED lights turn green individually. These lights verify the proper function of
various device components.
For all devices, the first 3 LED lights turn green.
If vehicle network/ECM connections are installed, the 4th (center) LED light turns
green as well. If brakes and/or turn signals are hard-wired, the 5th (brakes), 6th
(left turn), and 7th (right turn) LED lights turn green as well.
4. After 5 minutes, the device exits Diagnostic Mode. Verify the center LED light turns
green.
Troubleshooting in Diagnostic Mode
If you run into any issues in Diagnostic Mode, take the troubleshooting steps in
"Diagnostics and Troubleshooting" on page 42.
If issues persist after troubleshooting, please contact the Lytx Technical Support Center
at 866.910.0403 or email [email protected].
Complete Installation
1. Finalize all electrical connections. Use cable-ties to bundle and secure all wires.
2. Replace any trim pieces on the door pillar and dash that were removed.
3. Make sure the cable is routed safely and cannot get pinched in any moving parts.