MAKE THE MOST OF YOUR
CARE & USE/INSTALLATION
L
N
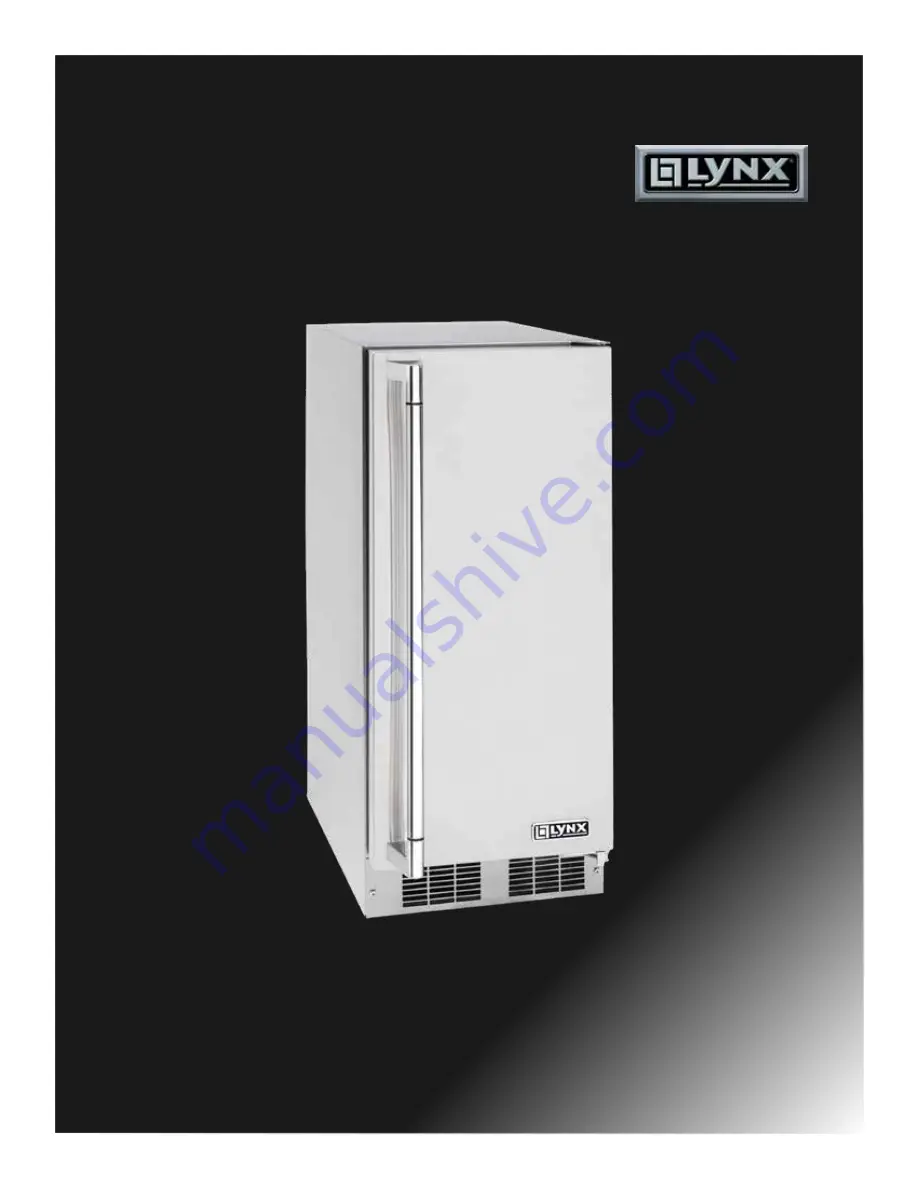
15ICE
OUTDOOR CLEAR ICE MACHINE
Page 1: ...MAKE THE MOST OF YOUR CARE USE INSTALLATION LN15ICE OUTDOOR CLEAR ICE MACHINE...
Page 2: ...ing the ice machine for storage 22 Drain pump removal 25 Warranty 27 Warranty Registration It is important you send in your warranty registration card immediately after taking delivery of your applian...
Page 3: ...he packaging will be needed as proof of damage in transit Afterwards please dispose of all items responsibly Note to Customer This merchandise was carefully packed and thoroughly inspected before leav...
Page 4: ...INSTALLING YOUR APPLIANCE Template For Installing the Name Badge To Install use the template below to locate the name badge on the door Remove the adhesive and apply the name badge to the door 4...
Page 5: ...our old refrigerator or freezer Take off the doors or remove the drawers Leave the shelves in place so children may not easily climb inside Front grille Front grille screw Leveling Legs Adjustable leg...
Page 6: ...This product is factory equipped with a power supply cord that has a three pronged grounded plug It must be plugged into a mating grounding type receptacle in accor dance with the National Electrical...
Page 7: ...d on bottom of door Figure 8 Figure 9 DOOR REVERSAL 4 Remove caps from top of door Using a Philips Screwdriver install magnet actuator on opposite side Install caps into opposite side 5 Remove caps fr...
Page 8: ...Water supply inlet Drain access in bottom of unit 43 32 10 4 cm Sanitary trap 21 4 5 7 cm 51 8 13 cm Drain Plumbing Your ice machine requires drain plumbing If drain is above 6 inches it will require...
Page 9: ...iate drain and cut to length Optional Drain Pump An optional drain pump is available if you have purchased an ice machine without one and do not have access to a gravity drain Installation instruction...
Page 10: ...tubing to the top side of a cold water pipe to prevent the ice maker from plugging with sediment A shutoff valve is recommended on the water supply line to ease servicing the appliance NOTE A SELF PI...
Page 11: ...achine into 115v power supply 2 Place unit in the final installation location 3 Turn the unit off via the user interface display will indicate OFF The drain pump will still be operational during off m...
Page 12: ...CE MACHINE The Ice Making Process Your ice machine is unique in how it forms ice with fraction al freezing to form a slab of ice that is clear and has less dissolved solids than the water it is produc...
Page 13: ...ise from the condenser fan Ice Production In normal mode the ice machine will produce up to 39 pounds 17 7 kg of clear ice in a 24 hour period when installed in a 72 F ambient with a 55 F water supply...
Page 14: ...to gain clearance inside the rough in opening a hole can be cut through the adjacent cabi net and the power cord routed through this hole to a power outlet Another way to increase the available openi...
Page 15: ...h in opening required is to be larger than the adjusted height of the cabinet A grounded 15 amp dedicated circuit is required Follow all local building codes when installing electrical and appliance F...
Page 16: ...and remain so until user resets mode unit continues to operate Disable Sabbath Mode Press and release Display and interior light return to normal operation Silent Mode ice production suspended for 3...
Page 17: ...LEAN reminder will reset and not occur for another 6 months If you choose to clean the appliance at this time see the options menu section below CLEAN NOTE Homes with poor water quality or high clear...
Page 18: ...ne will return to the OFF position After the cleaning cycle is completed verify that all build up has been removed If not repeat the clean cycle procedure ICE CLEAN OFF Refer to your cleaning solution...
Page 19: ...erior of the appliance This component is very reliable but should one fail contact the Lynx Grills Customer Service at 888 289 5969 for replacement of the LED Energy Saving Tips The following suggesti...
Page 20: ...sounds of an ice machine are different than your household refrigerator This subject is discussed on page 11 but check the following Do you hear water being circulated in the ice ma chine This is a no...
Page 21: ...Machine Is the distributor tube restricted Check the water line to the ice machine to make sure there are no restrictions or kinks in the line Check all filters to make sure they are not restricted C...
Page 22: ...or will be in an area that will be near freezing temperatures it is necessary to remove any remaining water in the ice making system This ice machine must have all water drained and removed to preven...
Page 23: ...valve s outlet water line to the reservoir and drain the remaining water left in the water line trap area See Figure 35 and 35a Figure 35 To disconnect the water outlet line Push up on the white colla...
Page 24: ...Check the water inlet drain lines and fittings for any water leaks 5 Check drain pump if equipped operation by pouring approximately two 2 quarts of water into the ice stor age bin The drain pump shou...
Page 25: ...8 socket then remove the bracket Remove the hex nut on rear drain pump bracket with the 3 8 socket then remove the bracket carriage bolt carriage bolt 10 24 hex nut 10 24 hex nut Rear drain pump brac...
Page 26: ...tions caused by improper installation 11 Insure that there is no interference with back access cover 12 Insure that the hole grommets are in place at each location so that any vent or drain tubes do n...
Page 27: ...ends to the original retail purchaser of the product warranted hereunder and to each transferee owner of the product during the term of the original purchaser s warranty the warranty is transferable b...
Page 28: ...tice Such revisions do not entitle the buyer to corresponding changes improvements additions replacements or compensation for previously purchased products The best outdoor kitchen products come from...