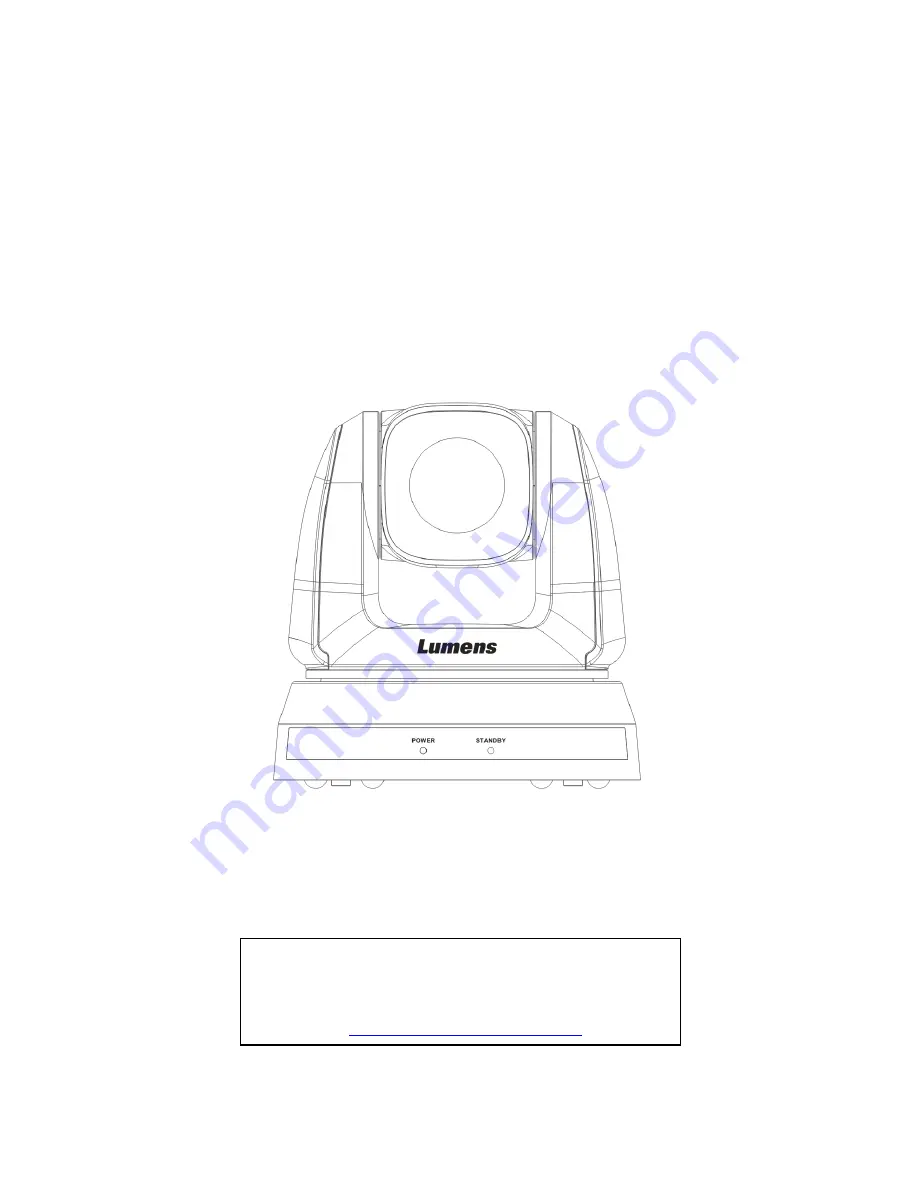
VC-G50
Camera
Installation Guide – English
[Important]
To download the latest version of Quick Start
Guide, multilingual user manual, software, or
driver, etc., please visit Lumens
http://www.Mylumens.com
Page 1: ...VC G50 Camera Installation Guide English Important To download the latest version of Quick Start Guide multilingual user manual software or driver etc please visit Lumens http www Mylumens com...
Page 2: ...ion 8 4 2 Instruction for installation 8 4 3 Connecting the device 16 Chapter 5 Remote Control and Setting Menu 19 5 1 Functions of remote control 19 5 2 Setting menu 20 Chapter 6 Descriptions of Majo...
Page 3: ...like to set the image mode 29 6 10 I would like to freeze images 29 6 11 I would like to rotate the image 29 6 12 I would like to change the camera direction 29 6 13 I would like to display the curren...
Page 4: ...product Lumens Digital Optics Inc hereby reserves the right to make changes to product specifications without prior notice The information in this file is subject to change without prior notice To ful...
Page 5: ...provide ventilation and prevent the Camera from overheating Do not place the Camera on the soft surface of sofas carpets or others 7 Never push objects of any kind through cabinet slots Never allow l...
Page 6: ...instructions in this User Manual with this unit FCC Warning This Camera has been tested and found to comply with the limits for a Class A digital device pursuant to Article 15 J of FCC Rules These lim...
Page 7: ...6 Chapter 2 Package Contents VC G50 Instruction for installation Remote Control Power Cord Power Adapter RS 422 Connector Appearance may vary depending on country region Metal Plate A Metal Plate B M3...
Page 8: ...ess Selectors 10 RS 232 output 11 RS 232 input 12 RS 422 connection 13 VIDEO output 14 3G SDI output 3 2 Description of LED indicator 3 2 1Power 3 2 1 1 No light Power off 3 2 1 2 Green light In use 3...
Page 9: ...he box are complete or not Please contact the supplier for any shortage and make sure to keep the accessories in the box intact 4 1 3 Please choose a proper place for installation of VC G50 in advance...
Page 10: ...ly to ensure the normal vertical and horizontal operation of the machine 4 2 2 I would like to install VC G50 on the ceiling 4 2 2 1 Prepare for the parts and equipment required during the installatio...
Page 11: ...English 10 4 2 2 3 Size Diagram 1 Metal plate B ceiling side Metal plate B locking screw Metal plate B ceiling side M3 threaded hole M3 threaded hole M3 threaded hole Metal plate B locking bolt...
Page 12: ...English 11 2 Metal plate A machine side Metal plate A machine side Metal plate A locking screw...
Page 13: ...English 12 3 Bottom of machine...
Page 14: ...on of the lens 3 The machine including metal plates is weighed at about 2 5 kg If it is to be installed on the ceiling please use the hanger that has obtained UL security approval to prevent the machi...
Page 15: ...e the hanger that has obtained UL security approval 2 Please reserve the hole for the connecting wires of the camera 4 Combine the metal plate A and the metal plate B 1 Push the metal plate A up to th...
Page 16: ...the connecting wires from the camera 2 Uninstall the camera together with the ceiling loosen the three screws that fix the metal plates A and B and push to the left to remove the machine 3 Then remove...
Page 17: ...English 16 4 3 Connecting the device 4 3 1 Image output 4 3 1 1 Connecting to a HDTV computer monitor DVI 4 3 1 2 Connecting to a TV C Video DVI cable Monitor Or HDTV C Video Cable TV...
Page 18: ...English 17 4 3 1 3 Connecting to a HDTV 3G SDI 4 3 1 4 Connection to the device for image output TV Or HDTV Component adaptor HDTV SDI Cable...
Page 19: ...nection between VCs RS 232 in out Remark With RS 232 in out at most 7 VCs can be connected 4 3 2 2 Connecting to one computer for connection between VCs RS 422 Remark Please refer to 7 2 RS 422 connec...
Page 20: ...gth Focus Auto Auto focus Freeze Freeze the screen Home Enter Go back to the main page Execute Info Status information L R Direction Set L R Direction Off Normal Menu Display OSD menu Mirror Rotate th...
Page 21: ...ode setting Exposure_Co mp On Off AE Level Exposure_Co mp Level 6 0 4 The value can be adjusted only after Exposure_ Comp is activated Spot Light On Off The value can be adjusted when the mode is set...
Page 22: ...1 3 1 2 1 2 1 1 1 1 Manual Gain 1 0dB 2 2 dB 3 4 dB 4 6 dB 5 8 dB 6 10 dB 7 12 dB 8 14 dB 9 16 dB 10 18 dB 11 20 dB 12 22dB 13 24dB 14 26 dB 15 28 dB 16 30 dB Manually set the gain Manual Speed 60 30...
Page 23: ...425 1 350 1 300 1 250 1 215 1 180 1 150 1 120 1 120 1 100 1 100 1 90 1 75 1 60 1 50 1 30 1 25 1 15 1 12 1 8 1 6 1 4 1 3 1 2 1 2 1 1 1 1 Gain Limit 1 8 dB 2 10 dB 3 12 dB 4 14 dB 5 16 dB 6 18 dB 7 20 d...
Page 24: ...10 6500K 11 8300K 12 Wide Auto Select the color temperature mode One Push Trigger ENTER One push trigger Picture Picture effect 1 Off 2 Neg 3 B W Set the picture effect Sharpness 1 A 16 Adjust the sh...
Page 25: ...3 Adjustable when Image Mode is set to Custom Skin Tone 1 A 5 Set skin tone Adjustable when Image Mode is set to Custom Brightness 0 A 14 Adjustable when Image Mode is set to Custom Contrast 0 A 14 A...
Page 26: ...the faster AF is triggered AF speed Fast Normal Focus speed upon triggering AF AF Frame Full Frame Center AF frame setting When central area was set as AF frame focusing will be on the center of the...
Page 27: ...English 26 Factory Reset ON Off Reset all configurations to factory default settings Status Display the current setting status...
Page 28: ...ata ID shall be a digit 0 9 Use VISCA Command to clear the position data of 0 127 6 4 I would like to turn on the back light compensation function 1 Press Back Light on the remote control to turn on o...
Page 29: ...e higher the speed is the faster AF is triggered To shoot fast moving objects AF can be set to High or Middle which is applicable to quick focus When the environment is too dark to enable auto focus o...
Page 30: ...witch Off Neg B W 6 10 I would like to freeze images 1 Press Freeze on the remote control to freeze the current image on the display 6 11 I would like to rotate the image 1 Press Mirror on the remote...
Page 31: ...etting 7 1 DIP SWITCH 7 1 1 OUTPUT Switch Output Mode Setting Output Mode Setting 1920x1080 60p 1920x1080 50p 1920x1080 30p 1920x1080 25p 1920x1080 60i 1920x1080 50i 1280x720 60p 1280x720 50p 1280x720...
Page 32: ...tting Function Descriptions 0 7 ID 0 7 8 9 Reserved 7 1 4 System Switch Setting Function Descriptions DIP 1 RS 232C RS 422 selector OFF RS 232C ON RS 422 DIP 2 Infrared signal output switch OFF Off ON...
Page 33: ...D OUT 5 GND 6 RXD IN 7 RXD IN 8 TXD IN 9 TXD IN 7 2 2 Use RS 422 Connection 1 Hold the two sides of RS 422 connector and pull out in the direction shown by the arrow in the figure below 2 Peel off a s...
Page 34: ...English 33 3 Insert the wired RS 422 connector back to the camera Now the connection is completed Note When RS 422 connection is being used do not use RS 232C connection...
Page 35: ...nals rather than 25 30 Hz signals 4 Not working after changes to DIP Switch setting After completing DIP Switch setting unplug and reconnect the power cord and turn on the machine to change the settin...
Page 36: ...is correct RS 232 422 Input 3 Make sure System Switch DIP1 and DIP3 are correct 7 The device cannot be controlled with RS 232 RS422 1 Make sure the connection is correct RS 232 422 Input 2 Make sure S...