Luma Recorders
|
Network Setup
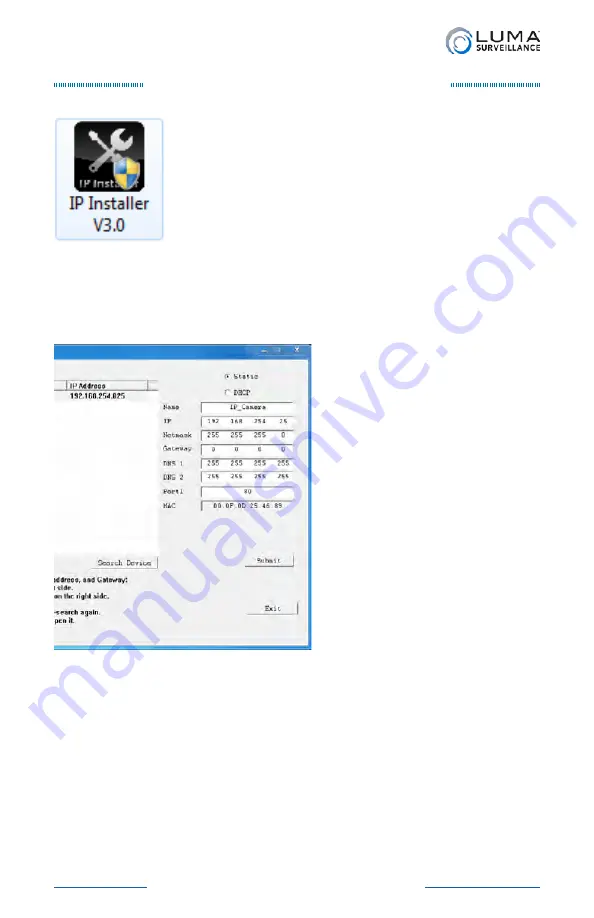
Run the IP Installer Utility
Double-click the icon for IP Installer to run the
program. It discovers Wirepath brand IP-enabled
hardware attached to your network: cameras, NVRs,
and encoders.
Note: IP Installer only detects devices on one
network adapter. If it does not find Wirepath devices
on a computer that has multiple active adapters
(e.g., a wired and a wireless connection to different subnets), ensure
that only the connection to the network with Wirepath devices is
enabled.
Locate the desired camera’s entry in the list of IP devices.
Check the camera data at the
top of the right column. It
may be that the camera is set
to a static IP, and this static IP
address is incompatible with
your system’s subnet address
(see the example at left).
Click the DHCP button to set
the camera to DHCP, then make
a mental note of the camera’s
current IP with address. Click
Submit
at the bottom of the
column.
The camera immediately gets
assigned a new and available
subnet address. If it doesn’t
change, the communication
between the camera and NVR failed; wait a few seconds and click
Submit
again.
Once the camera’s new address is assigned, switch that camera back
to a static address.
If your camera is now visible, skip the next section.
Summary of Contents for LUM-500-DVR-16CH
Page 3: ...LUM 500 501 Series Surveillance Recorders Additional Installation...
Page 23: ...LUM 500 501 Series Surveillance Recorders FAQ...
Page 59: ...LUM 500 501 Series Surveillance Recorders Live View Screen...
Page 76: ...LUM 500 501 Series Surveillance Recorders Remote Control...
Page 88: ...LUM 500 501 Series Surveillance Recorders Web Interface...
Page 149: ...LUM 500 501 Series Surveillance Recorders Local Interface...
Page 204: ...LUM 500 501 Series Surveillance Recorders Installing Network Cameras on an NVR...
Page 210: ...LUM 500 501 Series Surveillance Recorders Installing with the Local UI Wizard...


