V 1 . 1 - L E D ( 1 0 / 2 0 1 8
)
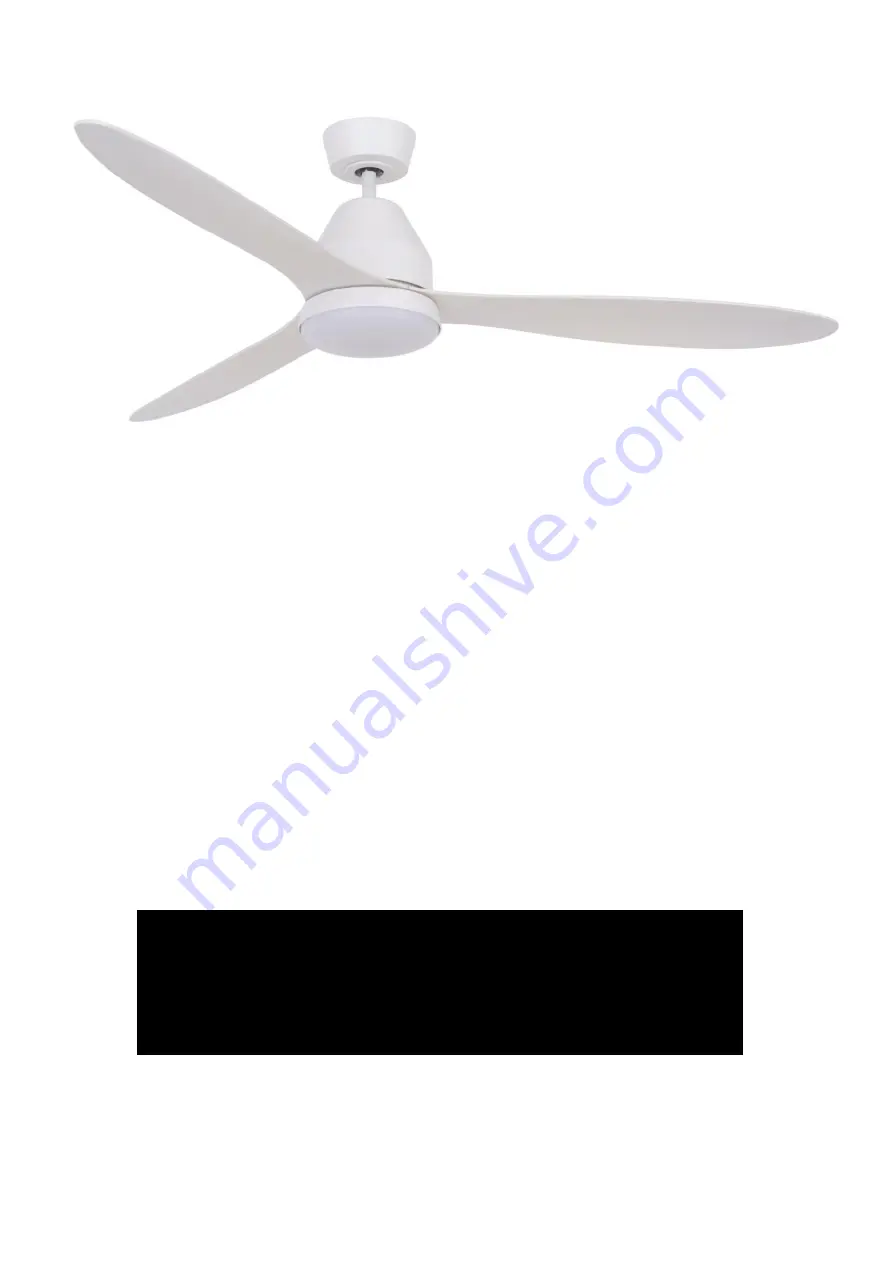
LUCCI
WHITEHAVEN
DC CEILING FAN
⚫
INSTALLATION
OPERATION
MAINTENANCE
WARRANTY INFORMATION
CAUTION
READ INSTRUCTIONS CAREFULLY FOR SAFE
INSTALLATION AND FAN OPERATION.
Page 1: ...V 1 1 L E D 1 0 2 0 1 8 LUCCI WHITEHAVEN DC CEILING FAN INSTALLATION OPERATION MAINTENANCE WARRANTY INFORMATION CAUTION READ INSTRUCTIONS CAREFULLY FOR SAFE INSTALLATION AND FAN OPERATION ...
Page 2: ...ons with reduced physical sensory or mental capabilities or lack of experience and knowledge if they have been given supervision or instruction concerning the use of the appliance in a safe way and understand the hazards involved Cleaning and maintenance shall not be undertaken by children without supervision 2 In Australia The appliance is not intended for use by persons including children with r...
Page 3: ...n landfills or dumps hazardous substances can leak into the groundwater and get into the food chain damaging your health and well being 6 The structure to which the fan is to be mounted must be capable of supporting a weight of 30kg 7 The fan should be mounted so that the blades are at least 2 3m above the floor in Europe or 2 1m above the floor in Australia 8 This fan is suitable for indoor alfre...
Page 4: ...od canopy cover light kit and canopy x 1 2 Fan assembly with motor housing down rod canopy cover and canopy x 1 3 Globe x 1 3 Blade x 3 4 Blade x 3 4 DC motor driver x 1 5 Light extension wire for long down rod x 1 5 Remote transmitter with holder x 1 set 6 DC motor driver x 1 6 Balancing kits x 1 set 7 Remote transmitter with holder x 1 set 7 Wooden screw x 2 8 Balancing kits x 1 set 8 Blade scre...
Page 5: ...acket to the ceiling joist or structure that is capable of carrying a load of at least 30kg with two long screws provided Ensure at least 30mm of the screw is threaded into the support NOTE The bracket screws provided are for use with wooden structures only For structures other than wood the appropriate screw type MUST be used ANGLED CEILING INSTALLATION This fan hanging system supports a maximum ...
Page 6: ...peat to install the other blades to the blade holders Reinstall the motor housing and the canopy to the down rod Fig 5 Secure back the pin and the ball joint to the down rod Fig 5 Install the globe to the lamp holder For fan with light only Fig 6 HANGING THE FAN Lift the fan assembly onto the mounting bracket Ensure the registration slot A of the hanger ball is positioned on the stopper B of the m...
Page 7: ...l block Connect the household live supply wire to the L terminal of the terminal block on the mounting bracket Connect the household neutral supply wire to N terminal of the terminal block on the mounting bracket Earth to terminal of the terminal block on the mounting bracket Insert the DC motor driver into the mounting bracket as figure show Connect the fixed wire from the mounting bracket to the...
Page 8: ...an s NOTE Ensure that you have installed a single pole disconnection switch in the fixed wiring for each fan NOTE Ensure power to the receiver is ON prior to pairing the transmitter with the receiver Transmitter Receiver pairing for Ceiling fan 1 Turn OFF the mains supply to the receivers of both ceiling fans 1 and 2 Install the 3V DC battery in the compartment Please make sure the polarity of the...
Page 9: ...nd change the speed of ceiling fan 2 by the transmitter to check the operation and successful pairing Note The pairing of the transmitter and receiver is required if only one ceiling fan is installed When more than two ceiling fans are installed near each other please refer to the instruction above Remote Control Buttons 1 FAN SPEED CONTROL BUTTON There are 6 available speeds I button is for the l...
Page 10: ...mitter for 3 5 seconds within 60 seconds of switching the power ON to the receiver of the ceiling fan C Turn ON and change the speed of the ceiling fan via the transmitter to check the operation and successful paring AFTER INSTALLATION WOBBLE NOTE ceiling fans tend to move during operation due to the fact that they are mounted on a rubber grommet If the fan was mounted rigidly to the ceiling it wo...
Page 11: ...y of an electrical shock Ensure that the fitting does not come in contact with any organic solvents or cleaners To clean the fan blade wipe with only a damp clean cloth with NO organic solvents or cleaners The motor has a permanently lubricated ball bearing so there is no need to oil NOTE Always turn OFF the power at the mains switch before attempting to clean your fan TECHNICAL INFORMATION FAN mo...
Page 12: ... required as a result of normal wear and tear 3 The product was installed by a licensed electrical contractor 4 A copy of the original receipt of purchase is presented 5 12 month warranty applies when used in any non domestic applications 6 This warranty does not cover stains scratch and scuff marks or dents if the product is purchased through a factory outlet or to refurbished items Our goods com...
Page 13: ...for your personal records and warranty purposes NAME ADDRESS POSTCODE MODEL NUMBER PO DATECODE Sticker here PO NUMBER or DATECODE DATE OF PURCHASE INSTALLING LICENSED ELECTRICAN LICENCE No ATTACH PROOF OF PURCHASE HERE THIS COMPLETED DETAIL PAGE SHOULD BE PRODUCED AND FAXED TO THE WHOLESALER OR THEIR AUTHORISED AGENTS BEFORE OBTAINING WARRANTY SERVICE ...