V2.1 Published on 11. 2016
LUCCI
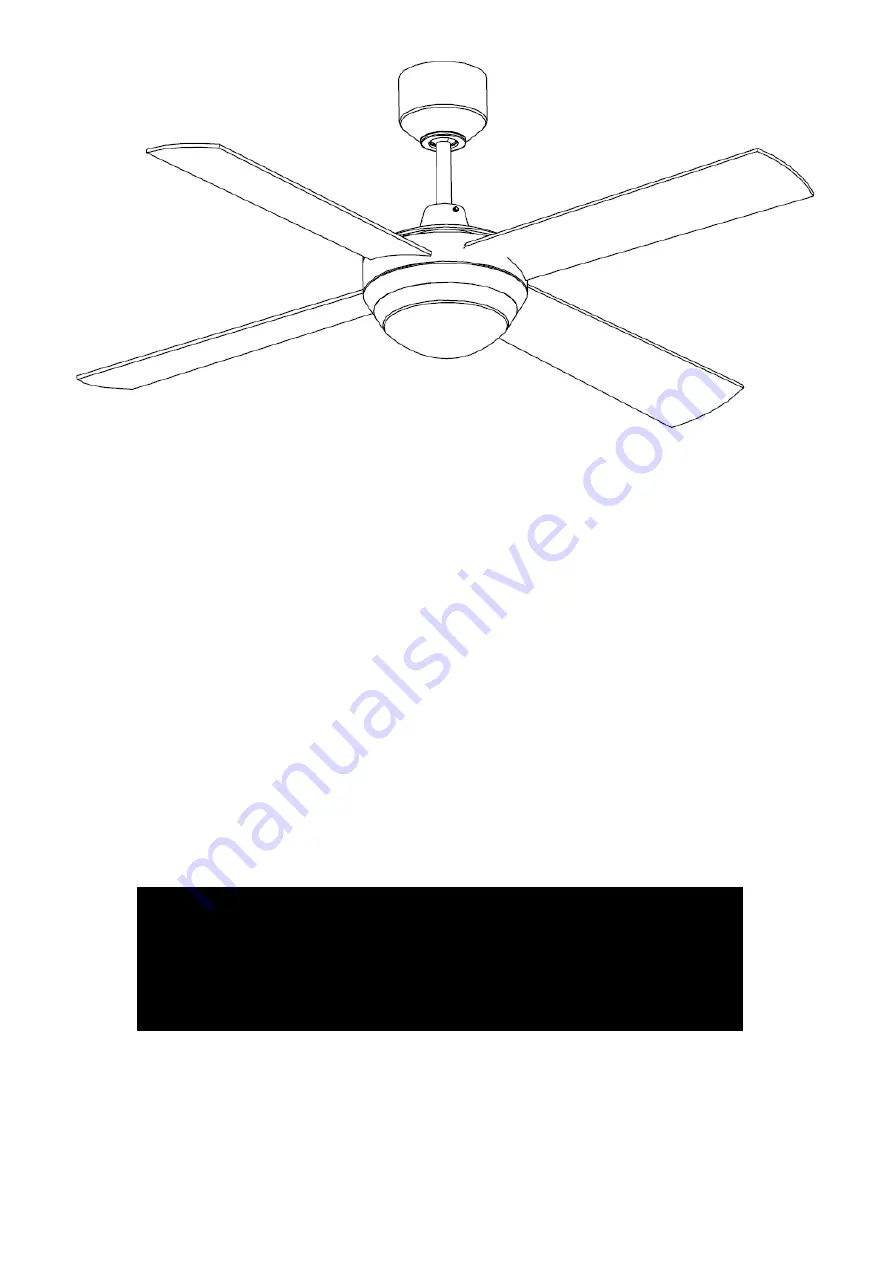
FUTURA ECO DIMMABLE LED
CEILING FAN
INSTALLATION
OPERATION
MAINTENANCE
WARRANTY INFORMATION
CAUTION
READ INSTRUCTIONS CAREFULLY FOR SAFE
INSTALLATION AND FAN OPERATION.
Page 1: ...V2 1 Published on 11 2016 LUCCI FUTURA ECO DIMMABLE LED CEILING FAN INSTALLATION OPERATION MAINTENANCE WARRANTY INFORMATION CAUTION READ INSTRUCTIONS CAREFULLY FOR SAFE INSTALLATION AND FAN OPERATION ...
Page 2: ...e and knowledge unless they have been given supervision or instruction concerning the use of the appliance by a person responsible for their safety 3 Children should be supervised to ensure that they do not play with the appliance 4 An all pole disconnection switch must be incorporated into the fixed wiring in accordance with local wiring rules IN AUSTRALIA WARNING FOR SAFE USE OF THIS FAN AN ALL ...
Page 3: ...the food chain damaging your health and well being 6 The structure to which the fan is to be mounted must be capable of supporting a weight of 40kg 7 The fan should be mounted so that the blades are at least 2 3 m above the floor in Europe or 2 1 m above the floor in Australia 8 This fan is suitable for indoor and outdoor areas provided the fan is fully undercover with a minimum of 2 walls The cei...
Page 4: ...ld have the following 1 Hanger bracket x 1 2 Remote receiver x 1 3 LED driver x 1 4 Pre assembled fan motor down rod and canopy cover x 1 5 LED light kit x 1 6 Blades x 4 7 Screw for hanger bracket x 2 8 Flat washer x 2 9 Spring washer x 2 10 Balancing kits x 1 set 11 Wall plugs for screw x 2 12 Motor screws for blades x 13 13 Remote hand set x 1 set Fig 1 ...
Page 5: ...et to the ceiling joist or structure that is capable of carrying a load of at least 40kg with two long screws provided Ensure at least 30mm of the screw is threaded into the support NOTE The bracket screws provided are for use with wooden structures only For structures other than wood the appropriate screw type MUST be used Angled ceiling Installation This fan hanging system supports a maximum 20 ...
Page 6: ...he fixed wiring 3 After completing the electrical wiring at the mounting bracket terminal and connecting the remote receiver power input wires and fixed wiring via the 4 ports quick connectors 1 connect the LED driver power input wires and remote receiver power output wires via the 2 ports quick connectors 2 connect the LED driver PWM signal input wires and remote receiver PWM signal output wires ...
Page 7: ... the lamp bracket Secure the blades with 3 blade screws Ensure all screws are tightened evenly to reduce the chance of warping or unbalancing Repeat this process for all blades Fig 7 6 Attach the LED light kit to the lamp base and connect wires to the LED light kit via the quick connectors Insert the housing assembly screws into the larger ends of key hole slots and turn the LED light kit body clo...
Page 8: ...ifferent transmitting code combinations This is practical when there is more than 1 remote receiver pair operating locally or in the same room Note To access the receiver DIP switches remove the DIP switch cover Fig 9 Remote battery compartment Fig 10 Receiver DIP switch OPERATING THE REMOTE Before you start using the remote take the time to read through this section and get familiar with the butt...
Page 9: ...table and DOES NOT suggest any problem TO REDUCE THE FAN WOBBLE please check that all screws which fix the mounting bracket and down rod are secure BALANCING KIT A balancing kit is provided to balance the ceiling fan on initial installation Please refer to the instruction on how to use the balancing kit The balancing kit can be used to assist re balancing should the ceiling fan become un balanced ...
Page 10: ... the blades and create the possibility of an electrical shock The motor has a permanently lubricated ball bearing There is no need to oil NOTE Always turn OFF the power at the mains switch before attempting to clean your fan TECHNICAL INFORMATION Futura ECO LED SERIES models Rated Voltage Rated power motor Rated power lamp Lamp type 48 inch blade fan only 220 240 VAC 60W 18W LED Life time 30 000H ...
Page 11: ... a result of normal wear and tear 3 The product was installed by a licensed electrical contractor 4 A copy of the original receipt of purchase is presented 5 12 month warranty applies when used in any non domestic applications 6 This warranty does not cover stains scratch and scuff marks or dents if the product is purchased through a factory outlet or to refurbished items Our goods come with guara...
Page 12: ...r your personal records and warranty purposes NAME ADDRESS POSTCODE MODEL NUMBER PO DATECODE Sticker here PO NUMBER or DATECODE DATE OF PURCHASE INSTALLING LICENSED ELECTRICAN LICENCE No ATTACH PROOF OF PURCHASE HERE THIS COMPLETED DETAIL PAGE SHOULD BE PRODUCED AND FAXED TO THE WHOLESALER OR THEIR AUTHORISED AGENTS BEFORE OBTAINING WARRANTY SERVICE ...