16
Step 3
. Click the “Program Settings” button in the Manage 3D Settings interface.
Step 4
. Click the “Add” button on the Manage 3D Settings interface.
Step 5
. Click the “Browse” button in the pop-up interface.
Step 6
. Find the application file (.exe file) of the software according to its installation
path in the pop-up browsing interface.
Step 7
. Click “OK” to automatically return to the NVIDIA control panel, select the
high-performance NVIDIA processor in the combo box of the preferred graphics
processor for this program in Option -2., and click “Apply” in the lower right corner.
After the computer application is set, close the NVIDIA Control Panel to complete the
setting.
4.2 ROS Driver Operation Under Linux OS
4.2.1 Hardware Connection and Test
Step 1.
Connect the Lidar to the internet and power supply
Step 2.
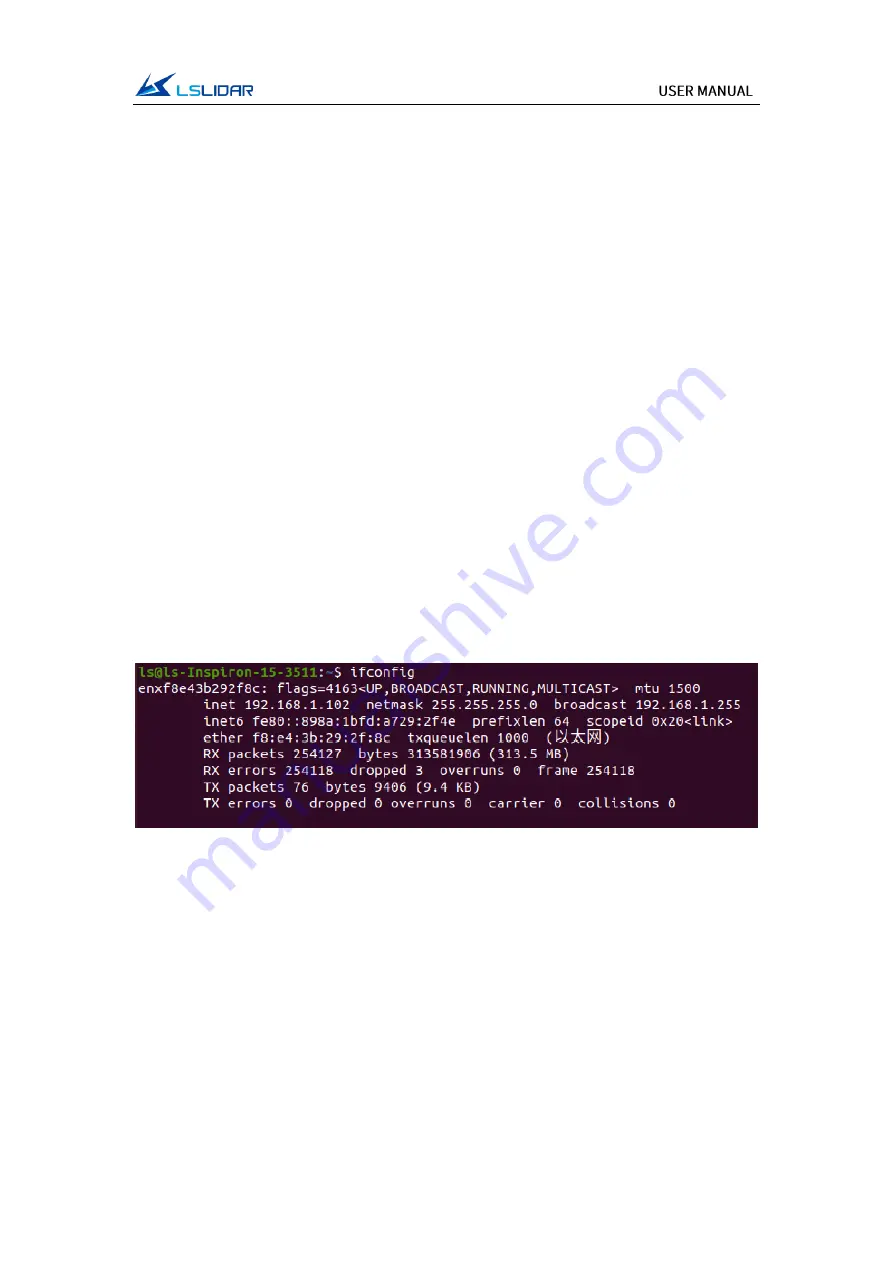
Set the computer wired IP according to the destination IP of the Lidar, (whether
the computer wired IP is set successfully can be checked by the ifconfig command, as
shown in the figure, the destination IP is 192.168.1.102)
Figure 4.8 ifconfig Command Feedback
Note
: The default destination IP of the Lidar is 192.168.1.102, and the computer must
be configured according to the actual Lidar destination IP. After setting the IP for the
first time, please restart the Lidar.
Step 3.
After the Lidar is powered on and restarted, check the wired connection icon of
the computer to see whether it is connected properly.
Step 4.
Open the terminal: ping the Lidar IP, and test whether the hardware is connected
normally. If the ping is successful, then the data is received, otherwise check the
hardware connection.
Step 5.
Use “sudo tcpdump -n -i eth0” (here eth0 is the name of the wired network


