4.4
STEP 4: Connect monitor
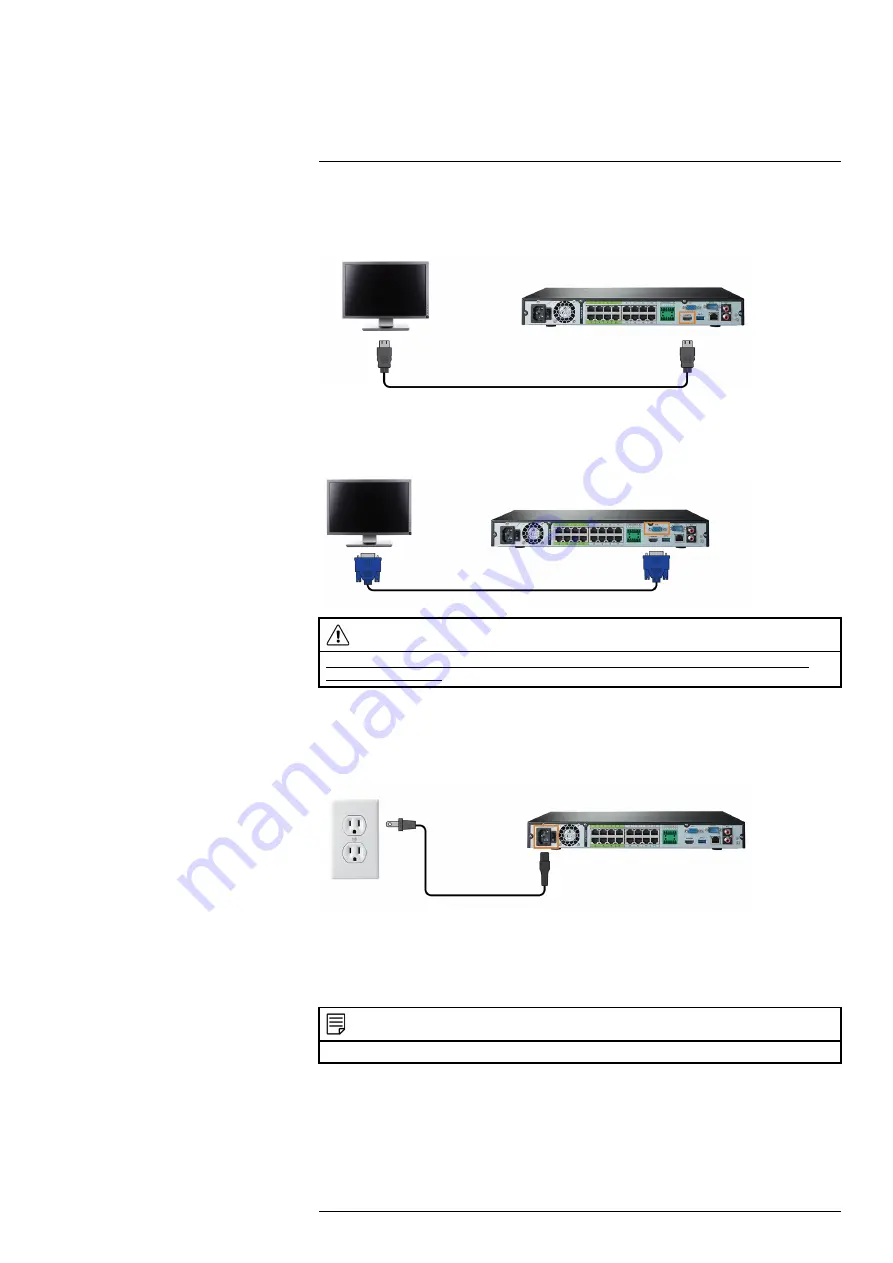
Connect the recorder to a monitor using the included HDMI cable (supports up to 4K resolution).
OR
Connect the recorder to a monitor using a VGA cable (not included - supports up to 1080p
resolution).
CAUTION
If you need to switch monitors, make sure you set the recorder to an output resolution supported by the new
monitor before switching. See 16.4.17
Setting the Monitor Resolution (Display)
4.5
STEP 5: Connect power
Use the included power adapter to connect the recorder to a nearby outlet.
Turn on the power switch on the back of the unit to power up the recorder.
4.6
STEP 6: Upgrade Firmware to Latest Version (If Available)
If a firmware upgrade is available, you will be asked to install it once the system starts up. It is
recommended to upgrade your system firmware and client software or mobile apps to the latest
version to ensure remote connectivity to the system and support newly-developed features.
NOTE
You must connect your recorder to a router with Internet access in order to get automatic firmware upgrades.
If a firmware upgrade is available:
1. After startup, a notification will appear asking you to upgrade the firmware. Click
OK
to
upgrade.
#LX400117; r. 6.0/57895/57895; en-US
8


